Skip to content
About
advertise
Resources
Email
Facebook
Instagram
Pinterest
Twitter
Home
Decorating
Gardening
Organizing
Entertaining
Search
Browse by room
kitchen
bathroom
bedroom
dining room
living room
outdoor
Facebook
Twitter
Instagram
Search
Toggle Menu
Home
/
home office
home office
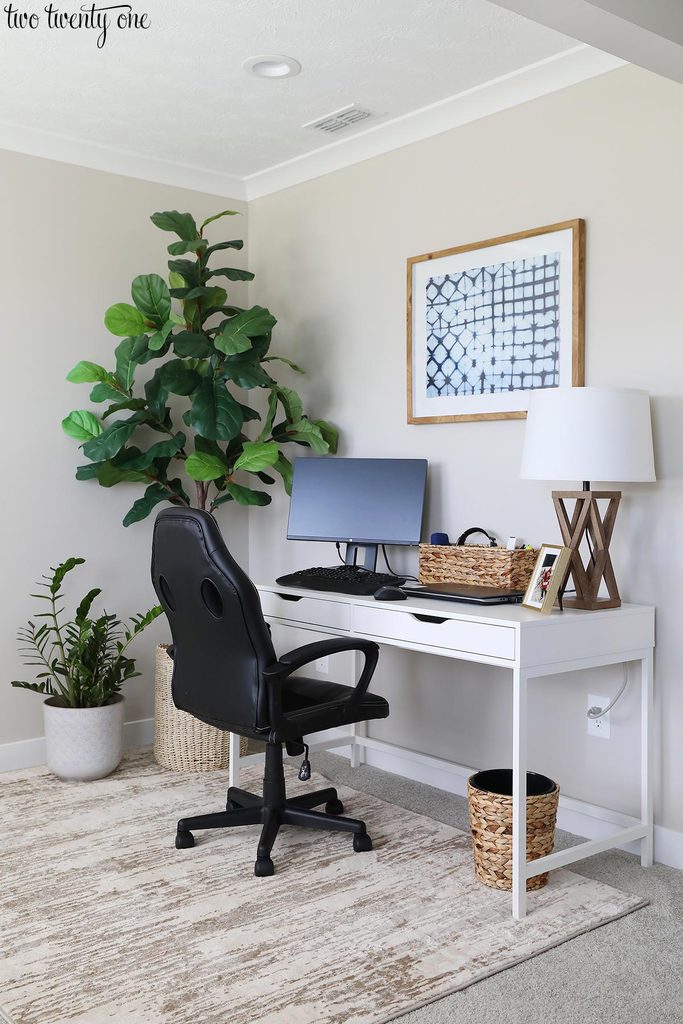
Home Office Area
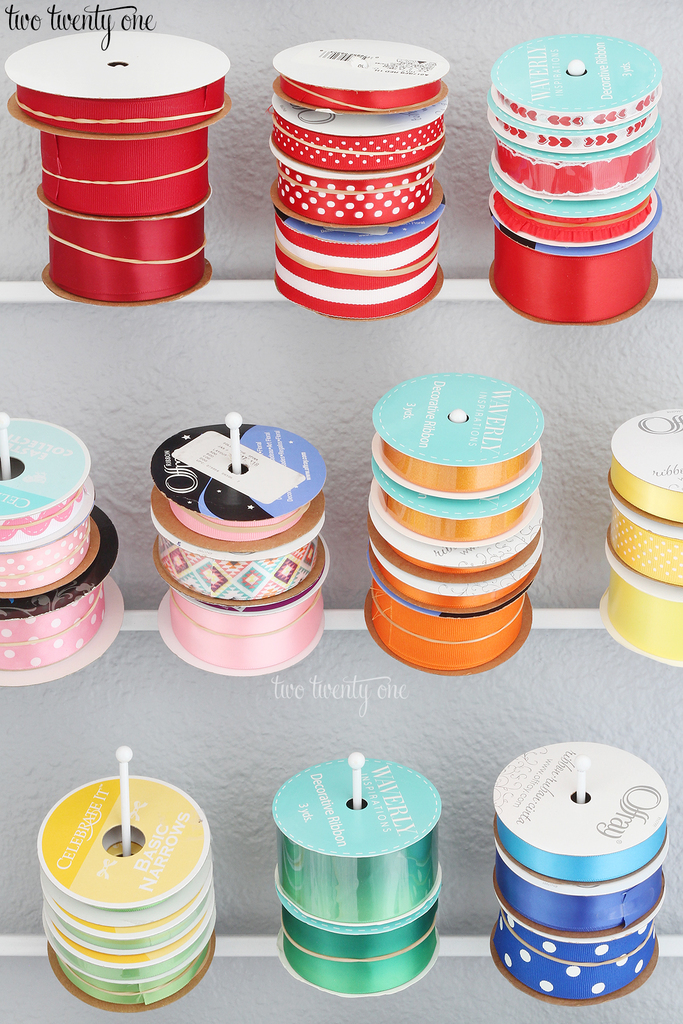
Home Office – Gift Wrap & Ribbon Storage
DIY State Cork Board
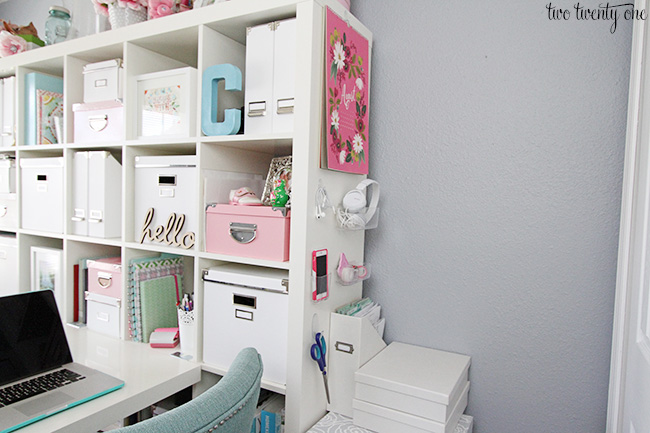
Quick And Easy Office Organization
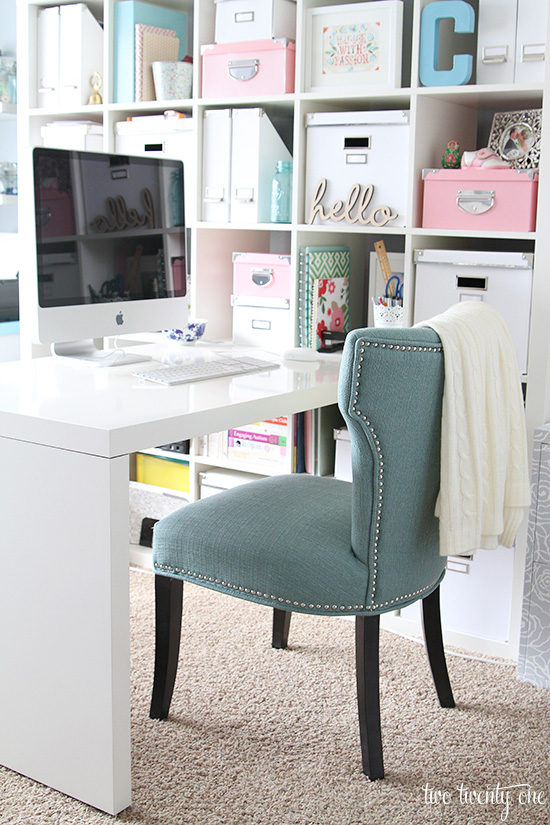
Home Office Update
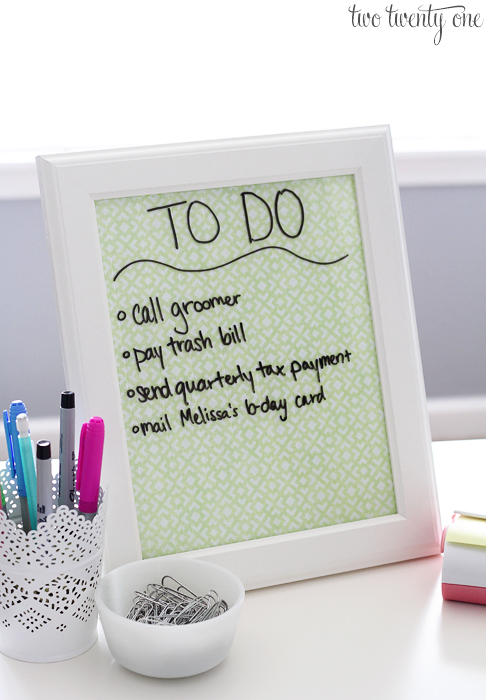
Dry Erase Board and Desktop Tray
Everyday I’m Hustlin’ Desktop Wallpaper
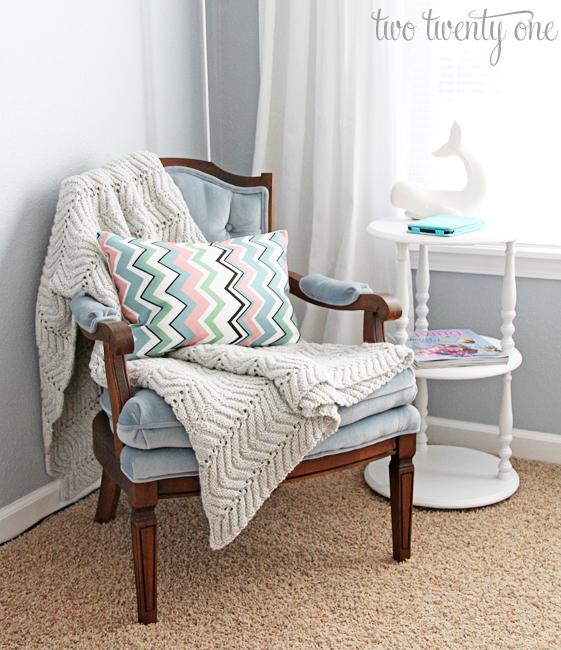
Home Office Details
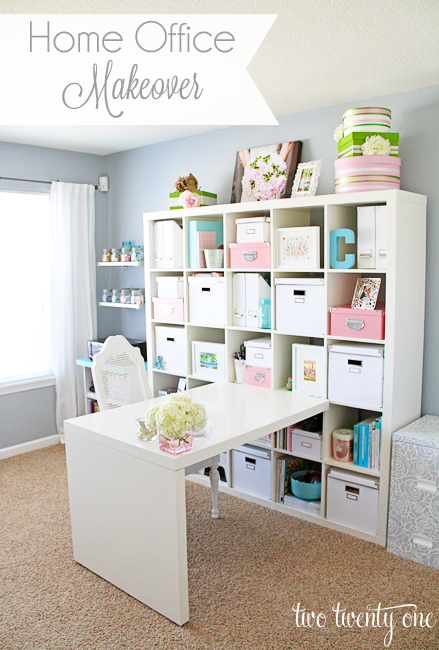
Home Office Makeover Reveal
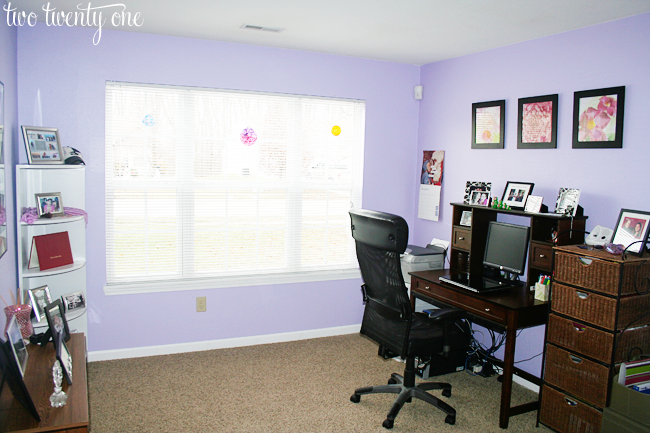
Home Office: Before
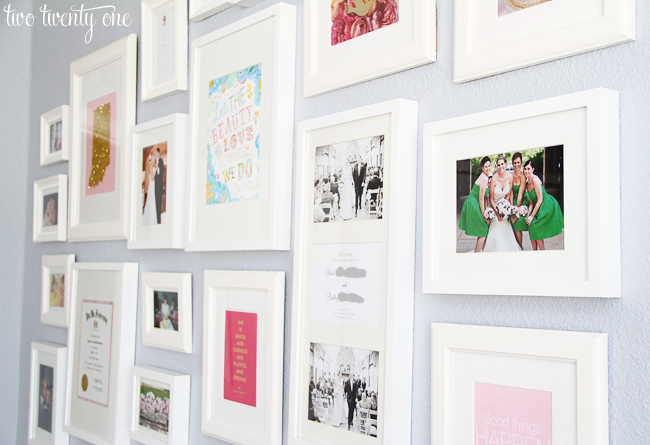
Home Office Gallery Wall {Decorating Ideas}
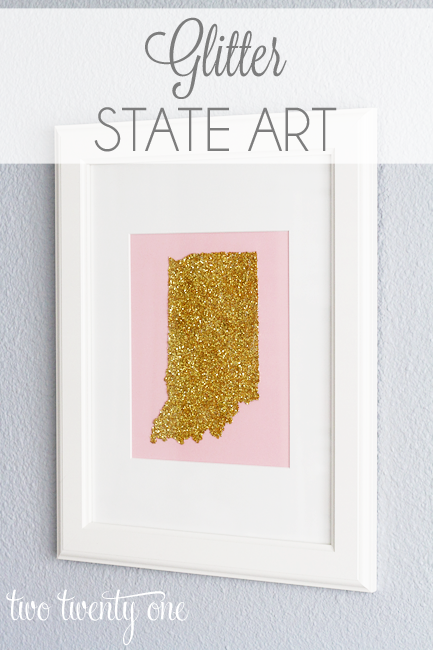
Glitter State Art {DIY}
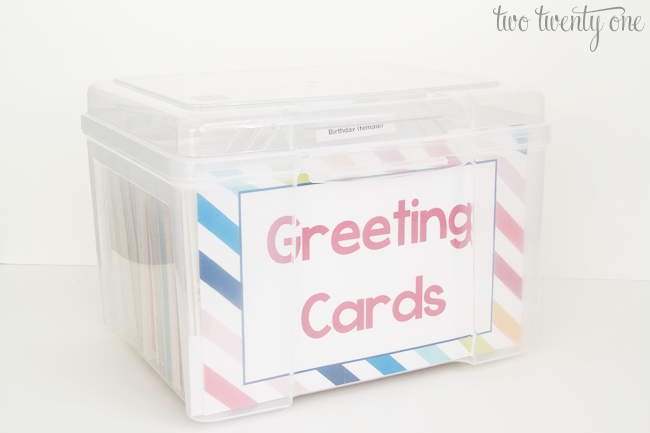
Greeting Card Organizer
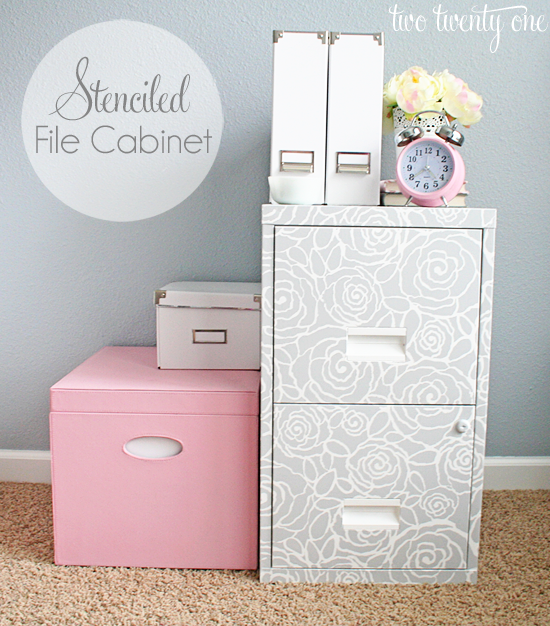
Stenciled File Cabinet
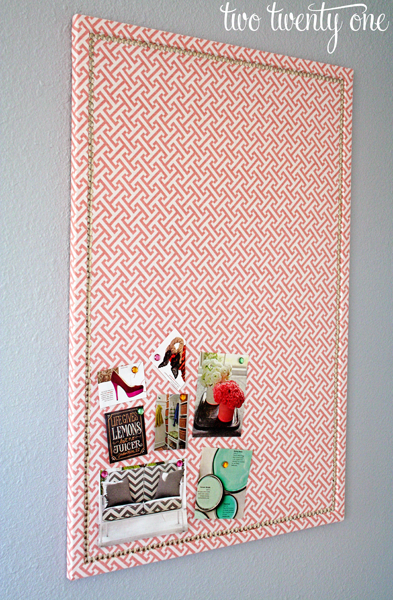
Faux Nail Head Trimmed Cork Board {Cork Board Makeover}
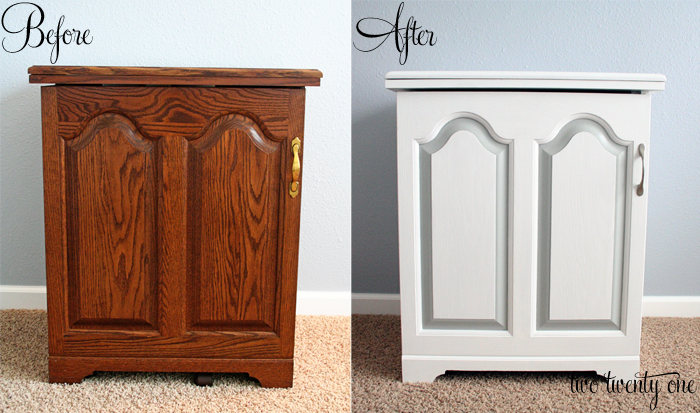
Sewing Cabinet Makeover {How to Paint Laminate Furniture}
Scroll to top
Scroll to top
Home
Decorating
Gardening
Organizing
Entertaining
Toggle Menu Close
Search for:
Search