DIY | Home Decor | spring
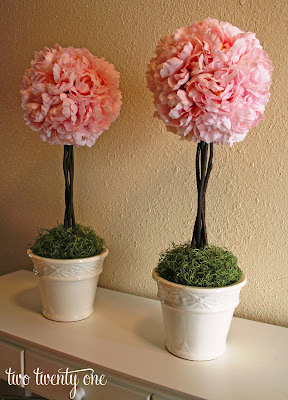
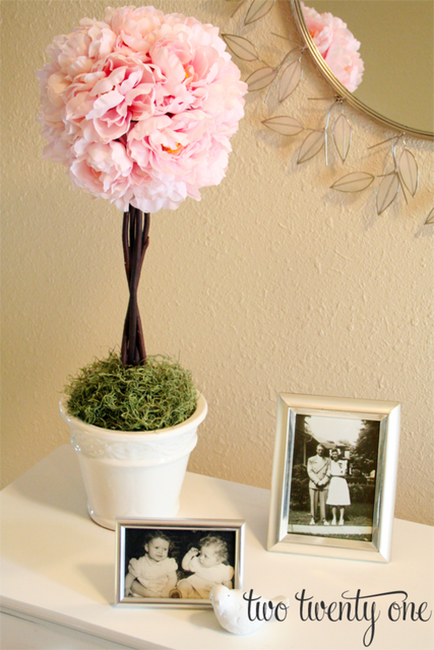
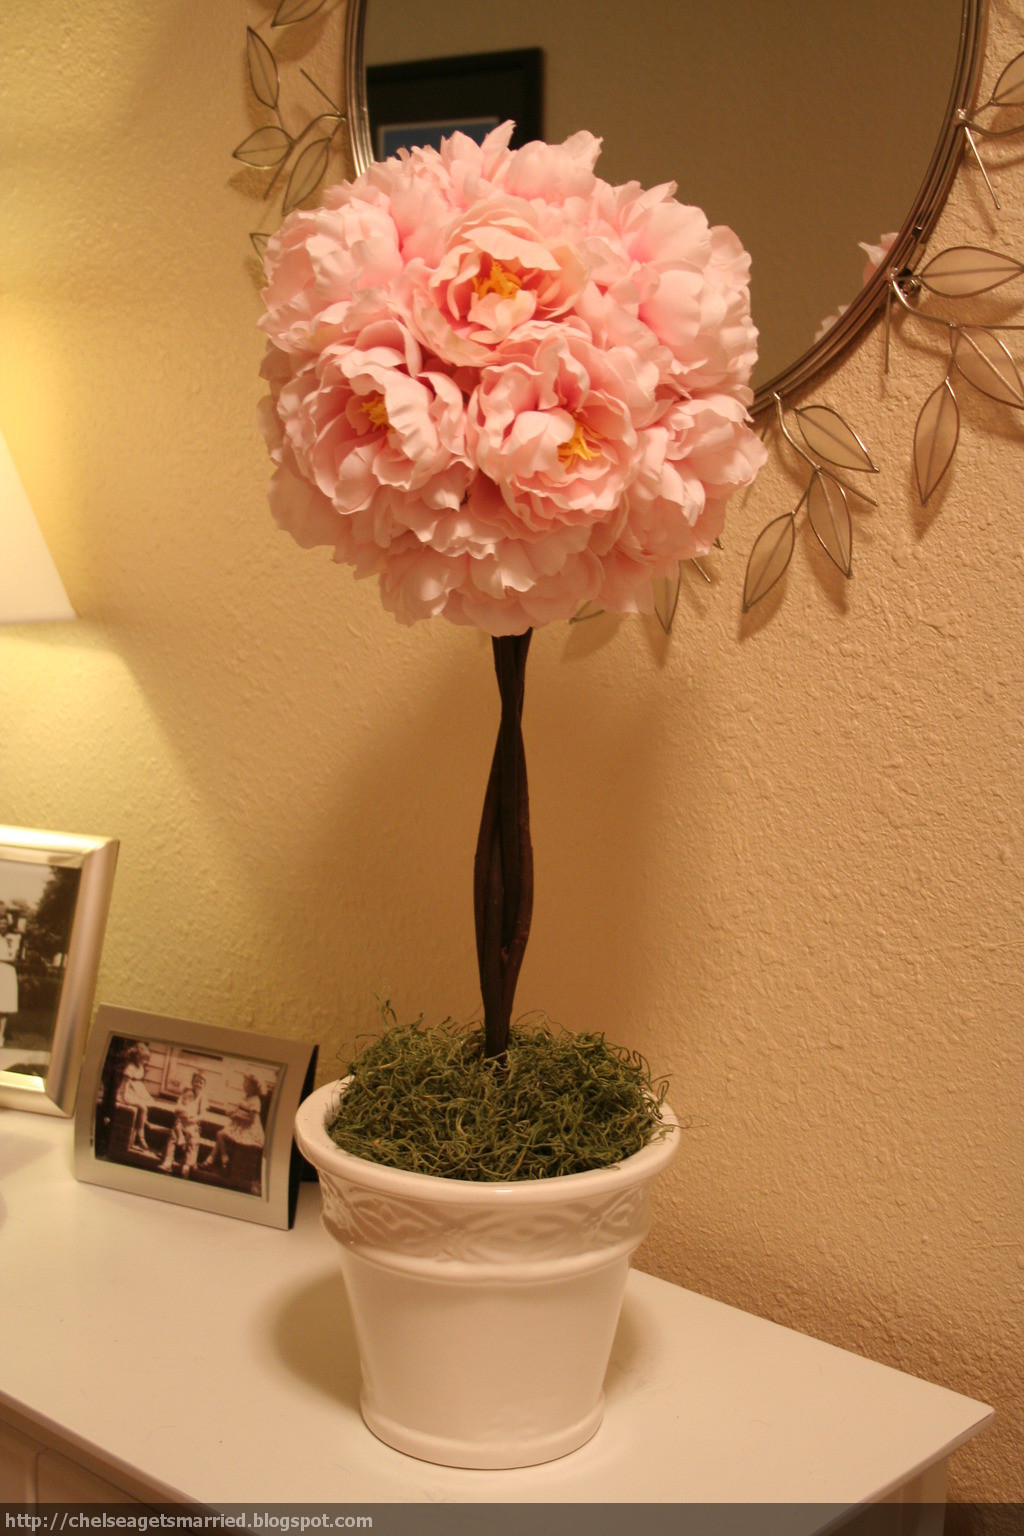
Pink Peony Topiary Tutorial

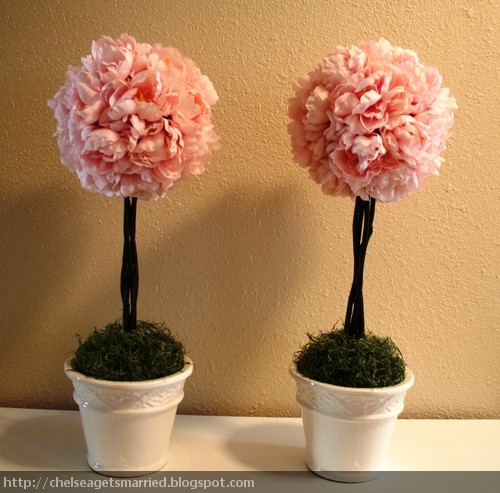
I made two of these topiaries for our wedding this upcoming June.
I originally posted the tutorial on my wedding planning blog, but I thought I would post the tutorial here because these can easily be made to decorate for spring… or year-round, which is what I plan to do after the wedding. 🙂
I originally posted the tutorial on my wedding planning blog, but I thought I would post the tutorial here because these can easily be made to decorate for spring… or year-round, which is what I plan to do after the wedding. 🙂
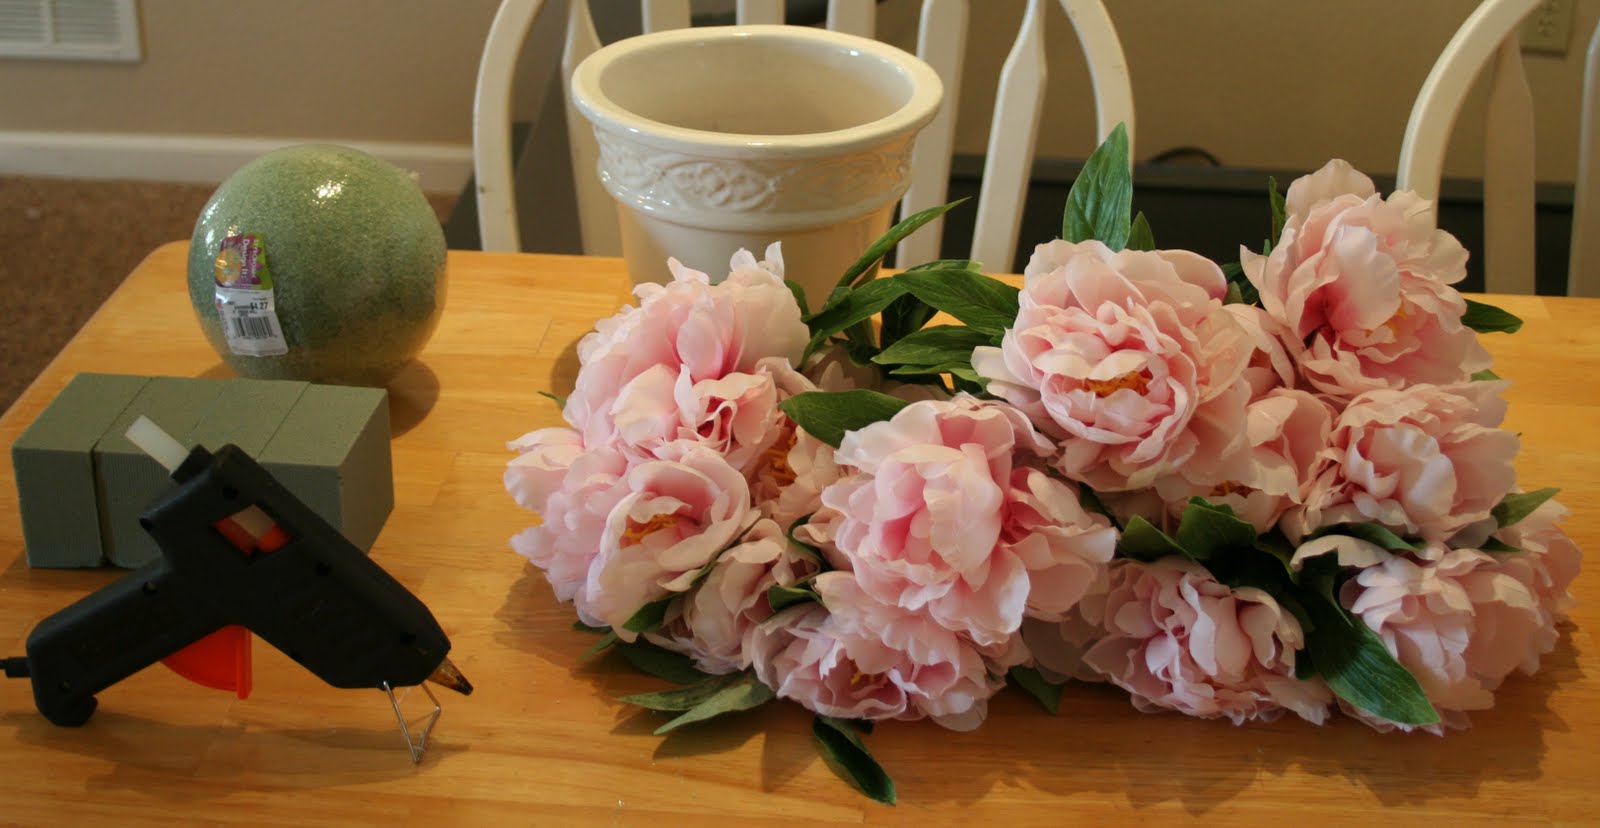
I used the following materials and supplies:
- 6 inch foam ball
- white pot
- Silk pink peonies
- Floral foam
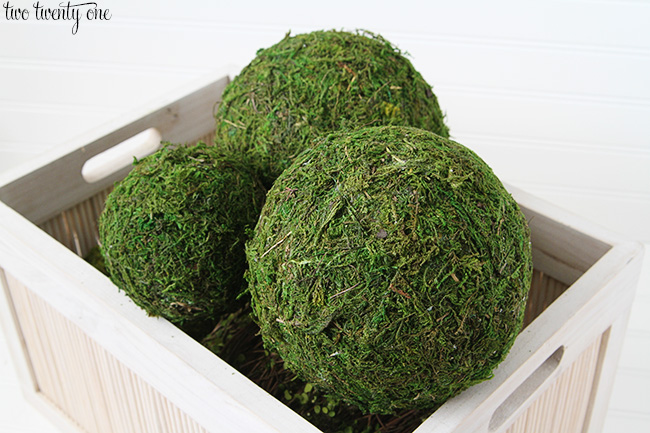
- Spanish Moss
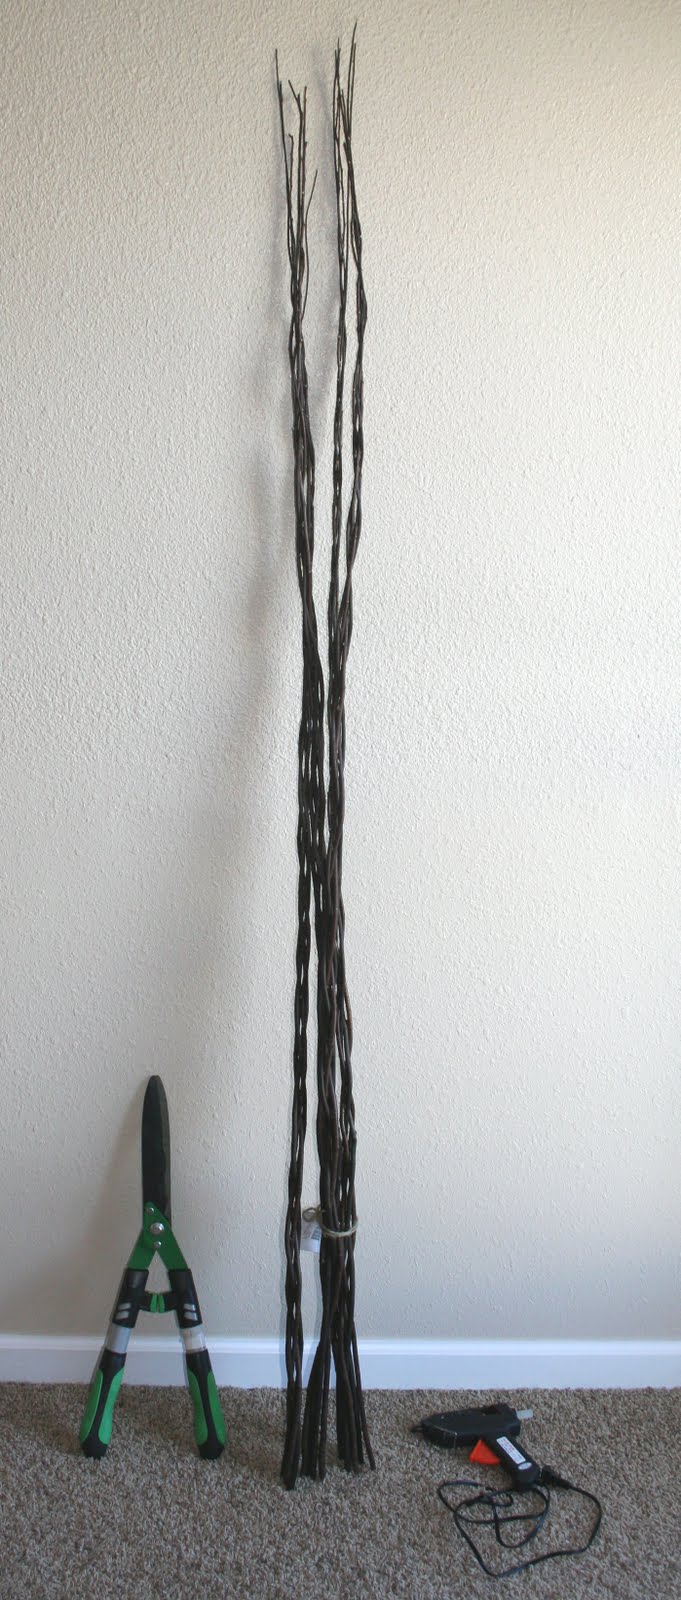
- Bundle of 5 twisted willow branches
- Hot glue gun
- Tape measure
- Hedge clippers
- Knife


Instructions for how to make one topiary:
1. Take the peony heads off of the stems.
2. Begin placing some of the peonies in the foam ball to determine spacing.
3. After determining spacing, remove the peonies.
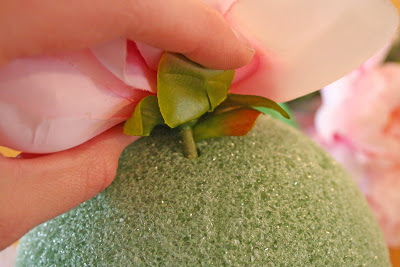
4. Begin applying hot glue to the green tip of peony and inserting it in the pre-made hole.
5. Continue step 4 until the entire ball is covered with peonies.
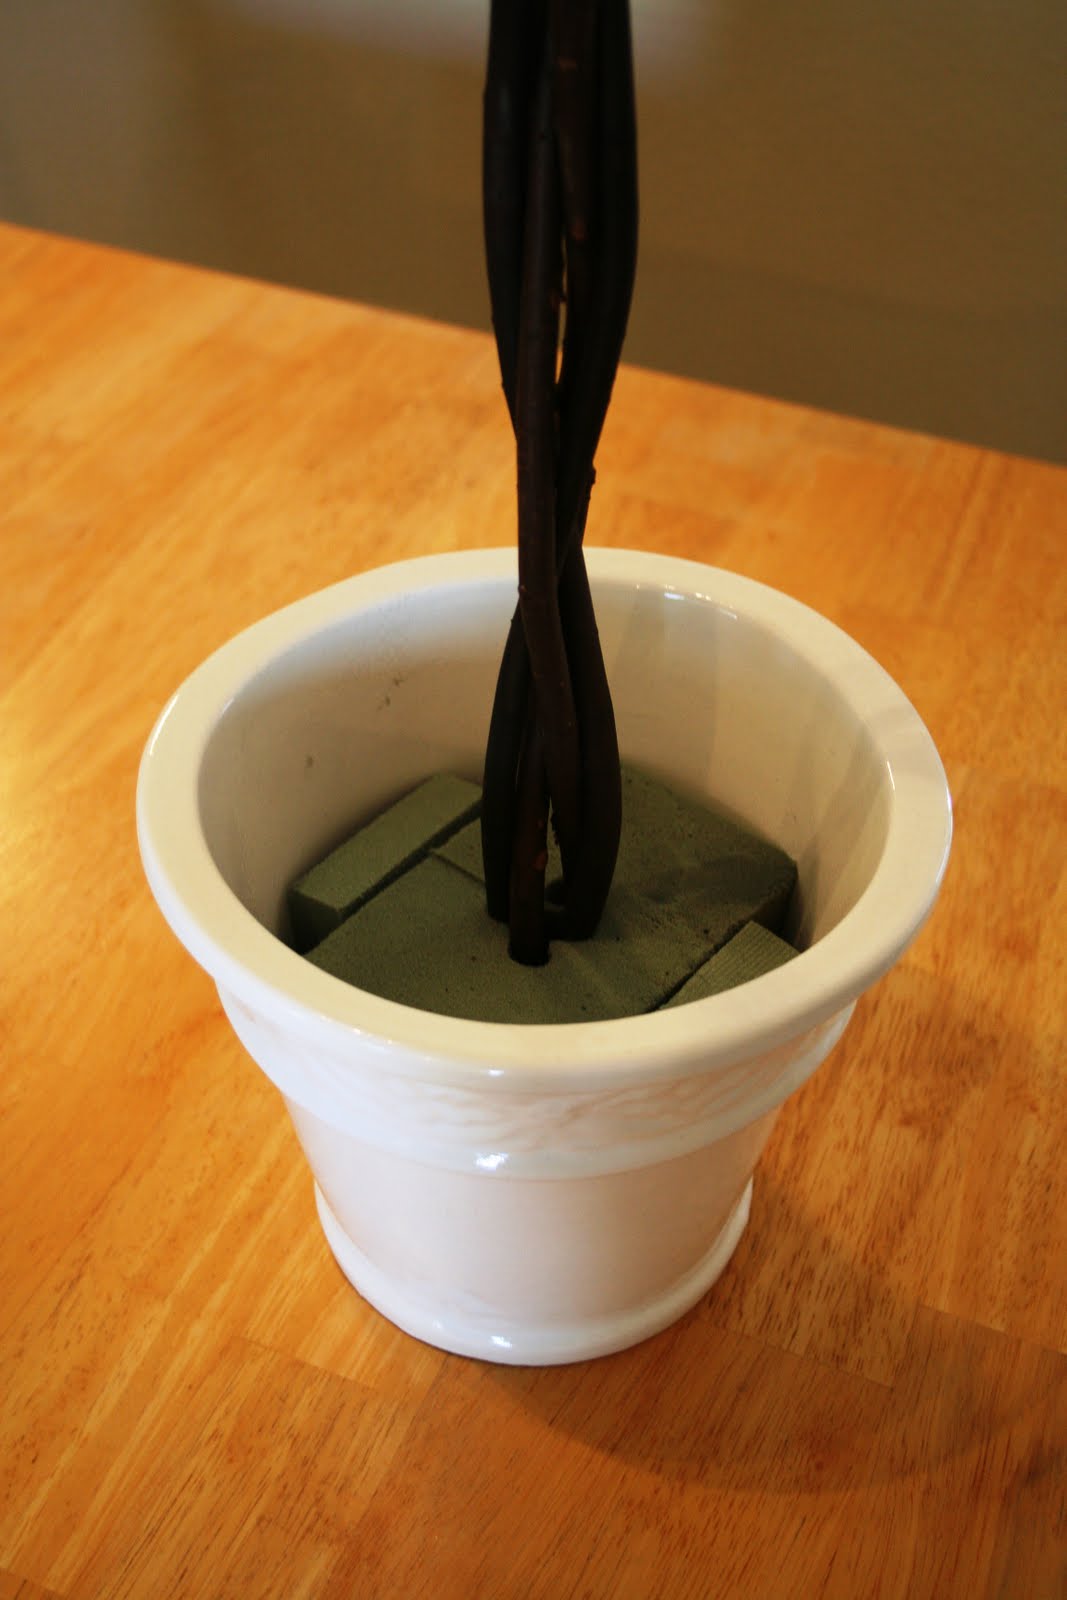
6. Insert 4 floral foam pieces into the pot
7. Determine the center of the pot and insert a bundle of twisted willow branches into the floral foam.

8. Use the remaining 4 floral foam pieces to secure the willow branches in the pot. You may need to use your knife to cut the foam to fit.
9. With your tape measure, measure 16 inches up the willow branches and make a notch with your scissors or knife.
10. With your hedge clippers, chop off the willow branches above your notch.
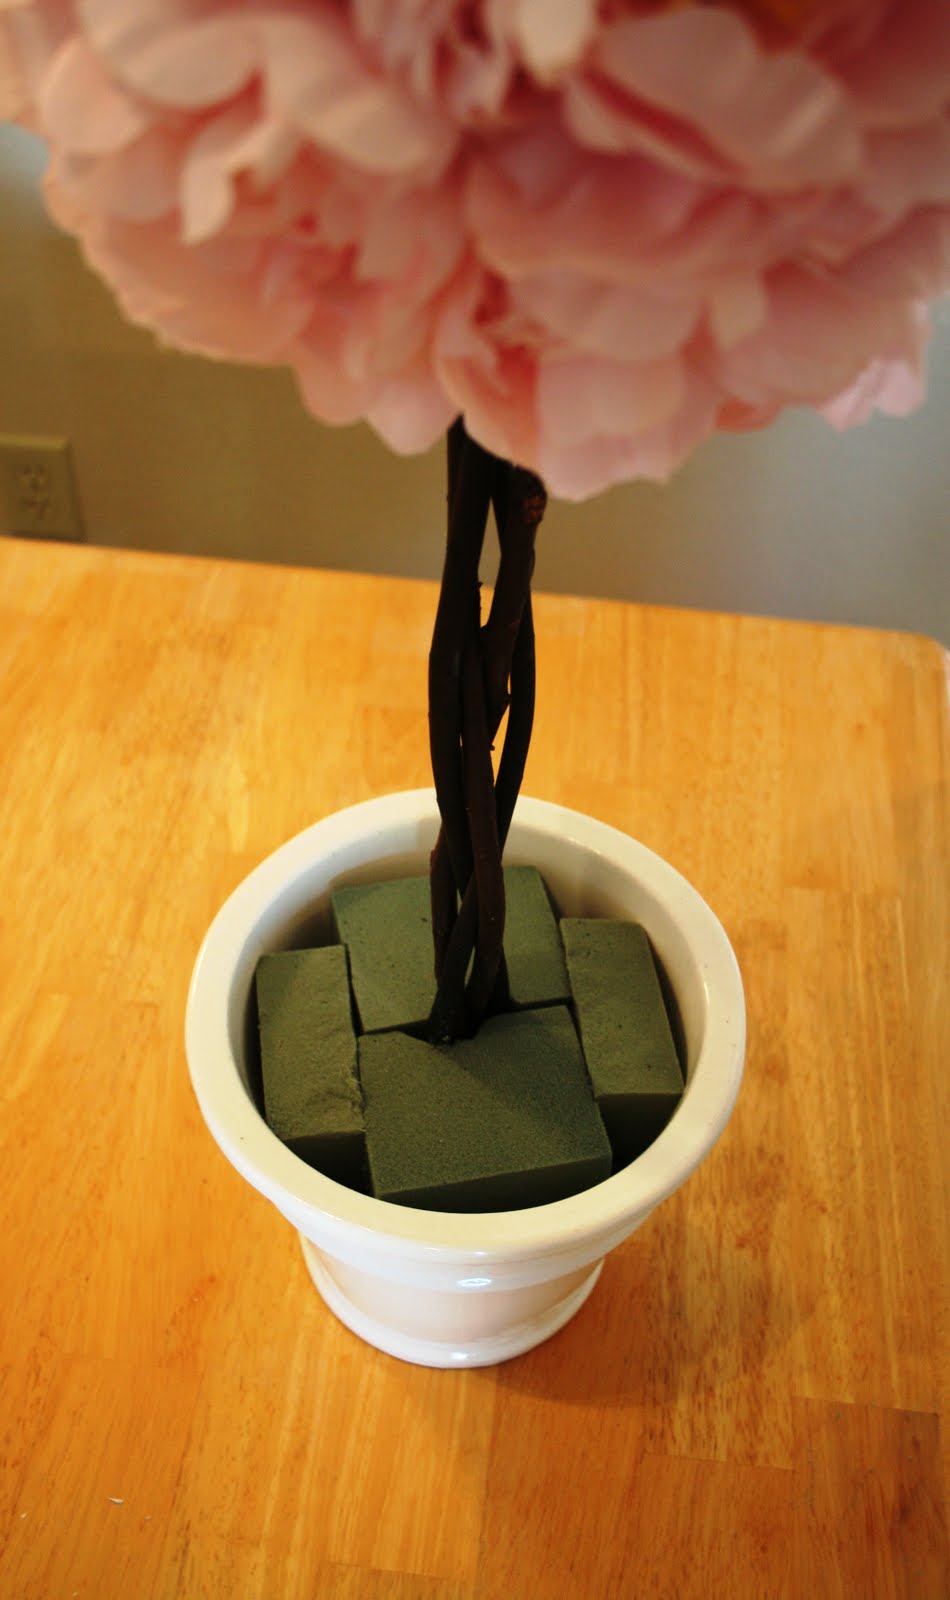
11. Take your peony ball and insert it on top of the willow branches, making at least a 1 inch hole in the foam.
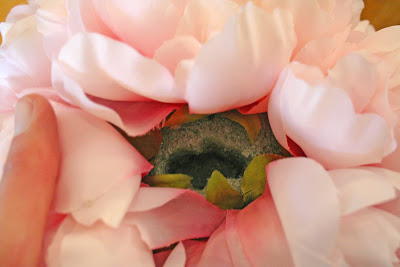
12. Insert hot glue into hole in foam in peony ball and immediately place on top of willow branches.Hold it in place for a few minutes, allowing the glue to dry.

13. Lay the Spanish moss over the floral foam in the pot, covering it so that the floral foam is not visible. If you wish to secure the moss, glue it to the floral foam using the glue gun.
***Note: My topiaries came out to be 27 inches tall. Kind of a random height, but I went with what looked best proportion-wise to the peony pomander and the white pot.


Very pretty in pink!
Cathy
So cute! I love this idea for spring!
GORGEOUS! LOVE THESE! LOVE!!! sharing this link on my CraftOManiac FB page! winks-jen
I love these! And pink is my favorite. I need to try making some!
These are lovely Spring decor!!
cute!!!! i love pink. 🙂
Great idea for weddings and blogs and perfect for those of us who end up being the ones making the centerpieces and decorations!
Blessings,
Debbie
Thank you so much for sharing this! They look absolutely FANTASTIC! Visiting from Making Monday Marvelous and am your newest follower now!
LOVE these! Peonies are my favorite! These would be so cute in a pink little girls room too!
BEAUTIFUL! I love the soft shade of pink, I found you from Sumo’s blog, Id love to have you stop by and check out my project! http://xsurvivingmotherhoodx.blogspot.com/2011/03/i-made-it-kindle-kozy.html
Love these! Peonies are my favorite flower. I hope you’ll share this on my linky party this weekend!
These are beautiful! Love the color and the simplicity of them.. hope you will share with my Pink Hippo party @ http://pinkapotamus.blogspot.com/2011/03/pink-hippo-party-21.html
These are so pretty and I love the pink color! I think I’ll try to make some too! – Karen
They look lovely!
I am having a $35 store credit + free shipping giveaway on my blog. A chance to select a custom trendy backpack for your kid from Paige Holliday Designs. All you have to do is leave a comment.
check it out!
http://houseonashwelllane.blogspot.com/2011/03/35-store-credit-free-shipping-to-get.html
Those are so cute!! I love them. Where did you find the bundle of willow branches? Did you buy it or gather it from the backyard? I’m following you now, would love if you could follow back 🙂
krazycraftylady.blogspot.com
Love these!!!! I did something similar on my blog for V-Dsy
come visit and enter my GiveAway
chickhardware.blogpspot.com
Oh so cute! This would look great as a baby shower decor ideas as well. great job!
Laurie {Tip Junkie}
Very Pretty! LOVE them!
This is gorgeous! I can’t wait to try making one of these to add to my kitchen decor. 🙂
Found you through Too Cute Tuesday and am now a follower! Stop by mu blog when you have a chance–I’d love to have you join my followers, as well! 🙂
Beautiful!
Beautiful! I love this! I’d love if you linked this up to my very fist link party! http://runwithglitter.blogspot.com/2011/03/glitters-first-linky-party_22.html
So pretty! And oh, how I love Peonies! <3
Those are so cute! And congrats on the upcoming wedding!
Great job! They are so beautiful!! Also I love that you link up your linkys, that is pure genius! Thanks for linking up to my party!!
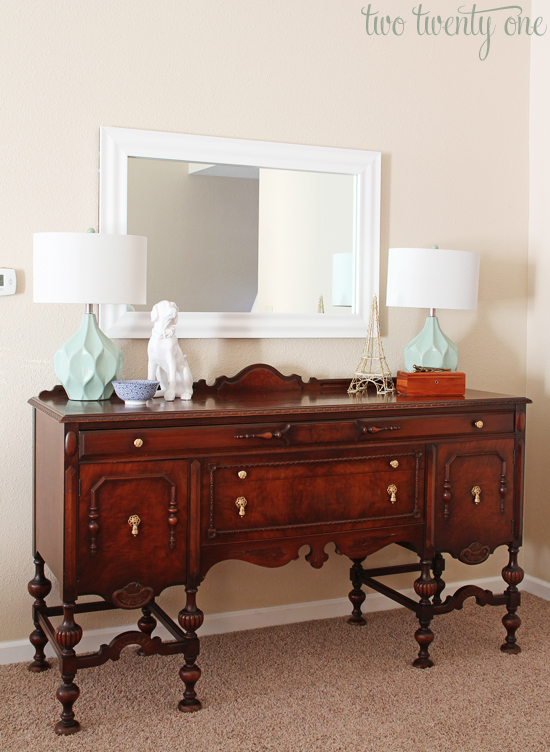
Oh!… these might be just the thing for my dining room side board… Very Springy! Love it!
Maddie – the Domestic Anarchist
http://www.domesticanarchy.blogspot.com
These are so pretty- they just make me happy!
Oooo I love these!!!
Those are absolutely gorgeous! Your wedding is going to be stunning! I went over to become a follower because I love this project so much and realized I already am one! 😉 Great work!
Rachel @ Maybe Matilda
So, so pretty! I love how full they are! Great job on these!
I love these! they are just lovely! I’m going to make some with my mom this summer!
xoxo
Cat @ BudgetBlonde
I just found your blog and am your newest follower. These topiaries are stunning! Thanks for the great inspiration and blog.
This looks so nice and so like spring!!! Very cute!!!
Gorgeous! I love them!!
These are so pretty! I’d love for you to submit this to the M&T Spotlight at http://www.makeandtakes.com/spotlight
I didn’t find if you said how high the final project was but I’m guessing shy of 2′ (?). I’m too cheap to buy artificial, so I’m going to try this using the plastic bag technique. Thanks for the tutorial!
Wow, I love these! Great tutorial. It’s still snowing hard here in Idaho, but maybe I can bring a little fake spring inside.
Gorgeous! You got me!! I am a new follower!
Love that! I think I will make them as decorations for my sister’s baby shower. Where did you find the willow sticks at? Absolutely gorgeous! 🙂
Visiting from Serenity Now.
This is very nice! I like the twisted willow. Your wedding is going to be gorgeous!
Visiting from tater tots….
Gorgeous topiary! Love the color.
visiting from tatertots
xoxo,
Amy
These are so cute, I love topiary’s
Penny
Hello there YOU HAVE BEEN FEATURED for Super Saturday Spotlight Talents at CraftOManiac. Thanks a bunch. winks-jen
So, you commented on MY blog before I had a chance to come here and tell you about your Feature. 😉 It was my pleasure…this was a fabulous project. Thank you so much for joining my Weekend Bloggy Reading party. I hope you’ll stop by Serenity Now again soon. 🙂
Very pretty topiaries… great tutorial!
So pretty! I was actually thinking last night that I wanted to make a colorful topiary for my Easter display. Can I just have yours? 😉 Seriously though, so fun. Thanks for the tute.
I would love if you stopped by my blog sometime!
http://www.wannabecrafty.com
These are just gorgeous!
Following from Sunday Showcase =)
Monica @ ellabellabutterfly.blogspot.com
These topiary are so lovely! I’m going to have to keep my eye out for silk peony.
OH I need to make something for my topiary urns so badly and these GORGEOUS! I would love to have you share this at my VIP party today =) http://designergarden.blogspot.com/2011/03/vip-party-8.html
I love these! I featured them on my blog @ http://pinkapotamus.blogspot.com/2011/03/pink-hippo-party-22.html
Hope you stop by and pick up a featured button!
so pretty and spring’y. How much would you say it cost per topiary?
Super cute! I think I will try this one! Please visit me anytime at http://twogingerprinces.blogspot.com/
So pretty; very ‘springy’. Great tutorial, too. I just became your 133rd follower! (and will add your button to my blog). ~ Heather
This is gorgeous!! Hope to see you at My Dream Canvas.
Love these, I’m sharing today on my blog:)
Very Pretty, looks professional. I saw you at Saturday Spotlight by Craft Envy.
My blog is having it’s first linky party this weekend. I would love for you to add this post: http://koolbeenz-blog.blogspot.com/2011/03/funky-fresh-friday-1.html
That is so cute. I really love it. Thanks for sharing at my Swing into Spring party.
Adorable. I love these for spring. I think I’ll update my mopss topiaries! I found you on Pinterest.
Have a great week!
Deborah
Thanks for the tutorial I will soooo do this!!!
I’m just curious.. about how many peonies did you attach to each ball?
Honestly, I have no idea. I think it depends on the size of peonies you’re working with.
Could you share where you bought those branches? I am having a hard time finding that type. Thanks!
It’s been 4 years, but I think I got them at Michael’s.
Where did you get the silk peonies?