• Home
  • Home Tours
    • Home Tour – Current House
      • Paint Colors & Sources
      • Full House Tour
      • front porch
      • Entryway
      • living room
      • kitchen
      • Dining Area
      • playroom
      • nursery
      • bonus room / loft
      • basement
      • deck
    • Home Tour – First House
      • Full House Tour
      • front porch
      • entryway
      • kitchen
      • home office
      • living room
      • dining room
      • great room
      • nursery
      • master bedroom
      • master bathroom
      • guest bedroom
      • guest bathroom
      • laundry room
      • pantry
      • Closets
      • outdoor
  • Lifestyle
    • organization
    • gardening
    • hair & beauty
    • christmas
    • travel
    • tips and tricks
    • stories
    • party
    • Gift Ideas
    • wedding anniversary gift ideas
    • debt free
    • blogging
    • photography
    • personal
    • podcast
  • baby
    • pregnancy
    • baby & kid organization
    • nursery
    • Tips & Tricks
    • Travel Tips
    • Favorite Products
    • child safety
    • Holiday
  • Projects
    • Home Decor
    • organization
    • outdoor
    • furniture
    • christmas
    • holiday
    • wreaths
    • printables
    • sewing
    • wedding
    • car series
  • recipes
    • desserts
    • appetizer
    • meals
    • holiday foods
    • drink
    • kid
  • Shop
    • Amazon Storefront
    • Affiliate Links
    • Shop My House
    • Shop My Closet
    • Shop Gift Guides
    • Shop Baby & Kid
    • Shop Toys
    • Shop My Favorites
    • Shop Holiday
  • About
    • Meet Chelsea
    • FAQ
    • Advertise
    • Press
  • Contact
    • Advertise
    • Email
    • Facebook
    • Instagram
    • Pinterest
    • Twitter

Two Twenty One

How to Install a Door Knob

36 shares
  • Share
  • Tweet

This is a sponsored conversation written by me on behalf of Schlage . The opinions and text are all mine.

How to Install an Interior Door Knob

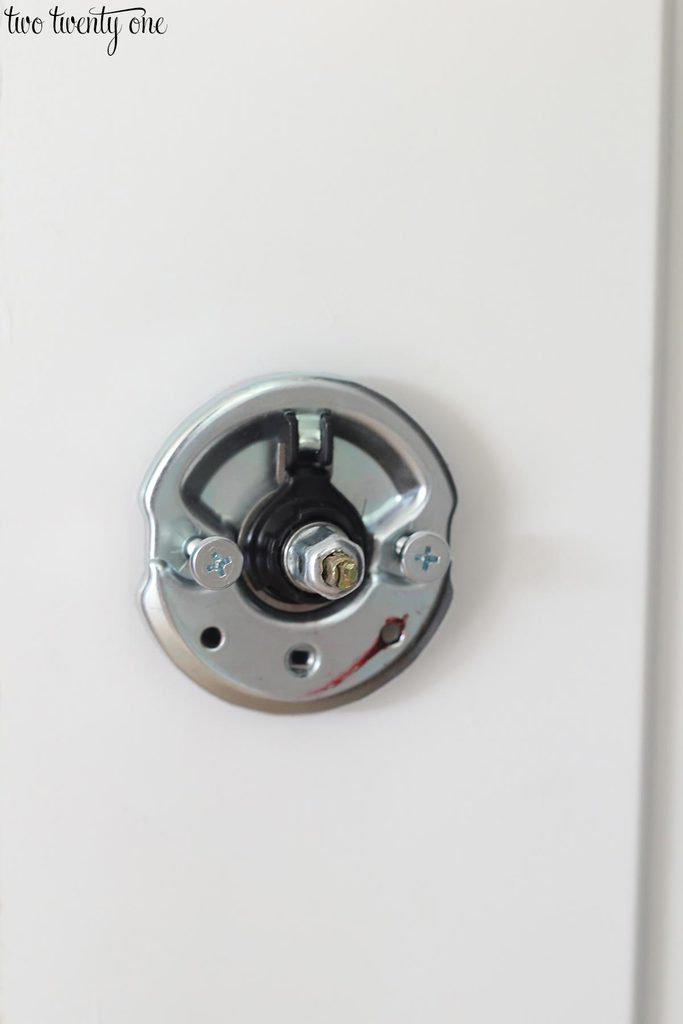
Step One: Remove the entire old door knob.

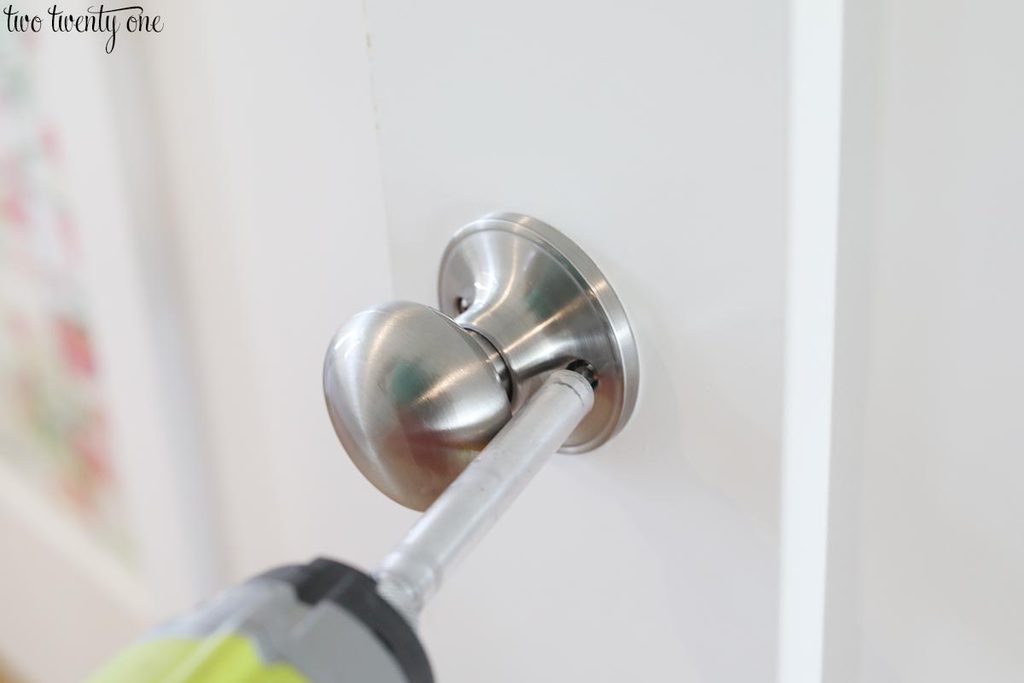
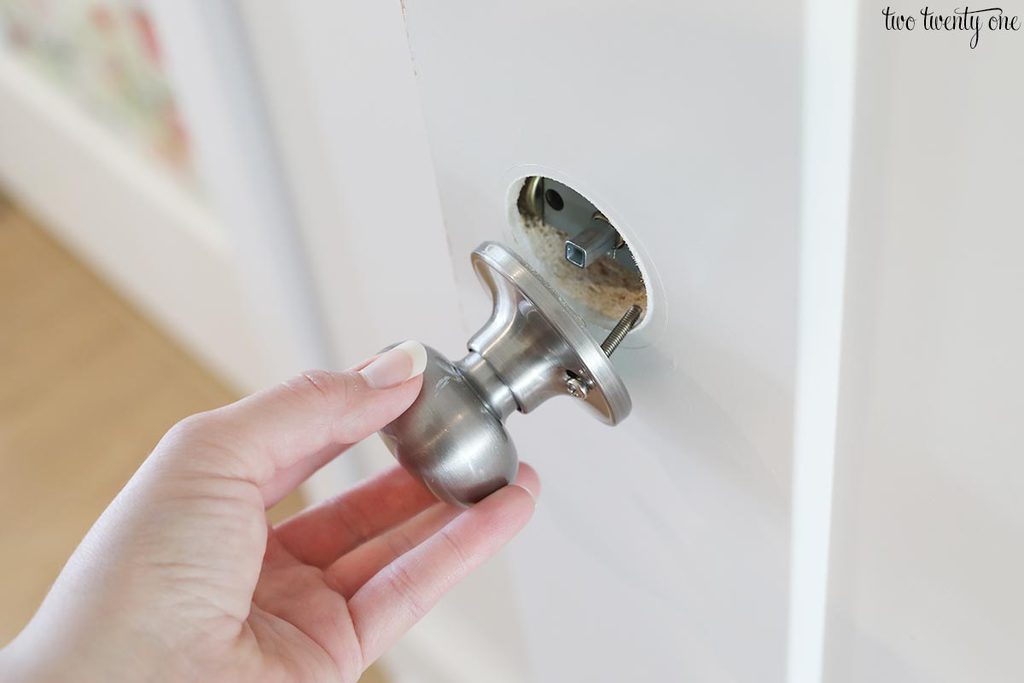
To loosen and remove the latch, thread a screwdriver through and pull toward yourself.

Step Two: Install that new latch. Making sure the bevel faces the door frame. Use a wood block and hammer to push the latch into place.

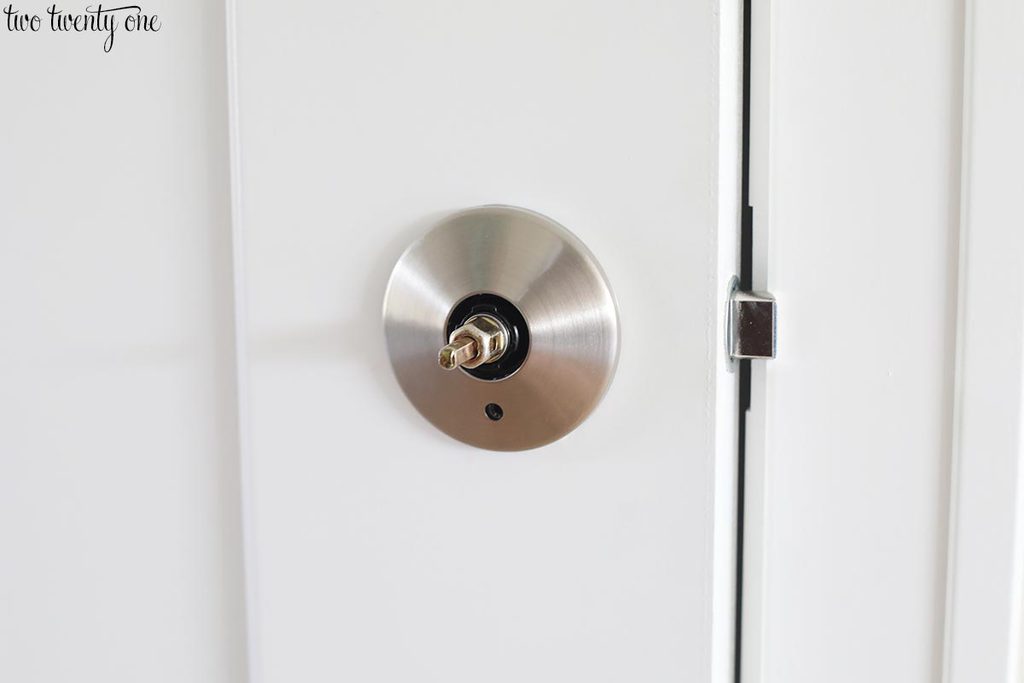
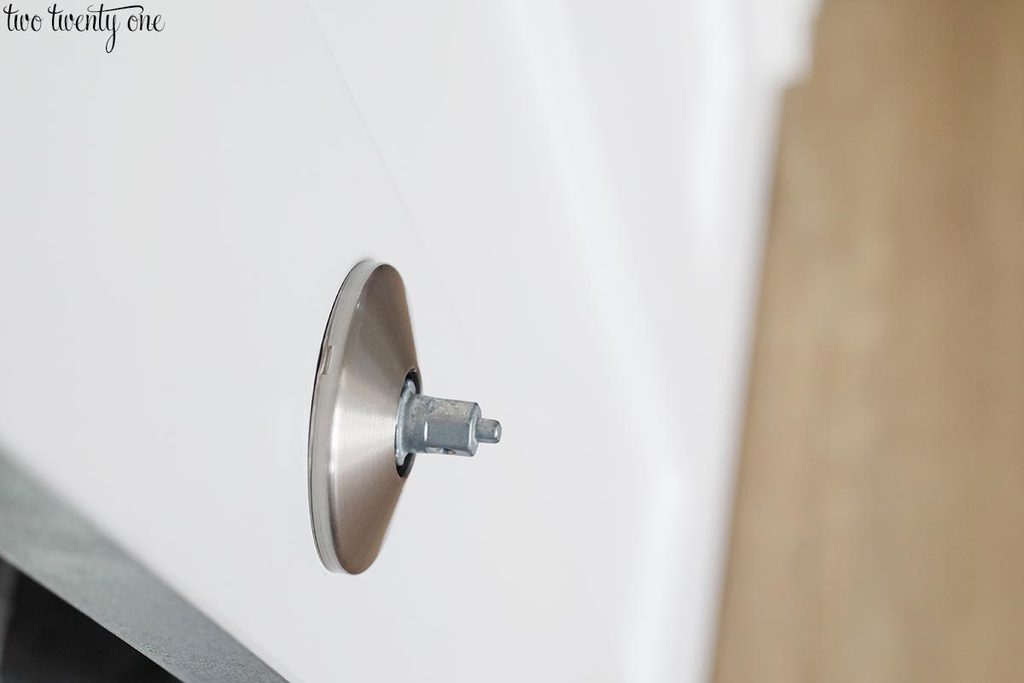
Step Three: After identifying the interior and exterior chassis, install the exterior chassis. Then install the interior chassis, pushing the pegs into slots and holding in place. Secure with two screws, making sure the chassis is straight.

Step Four: Install the trim by aligning the hole in the trim with the hole in the chassis. Repeat on the other side of the door.

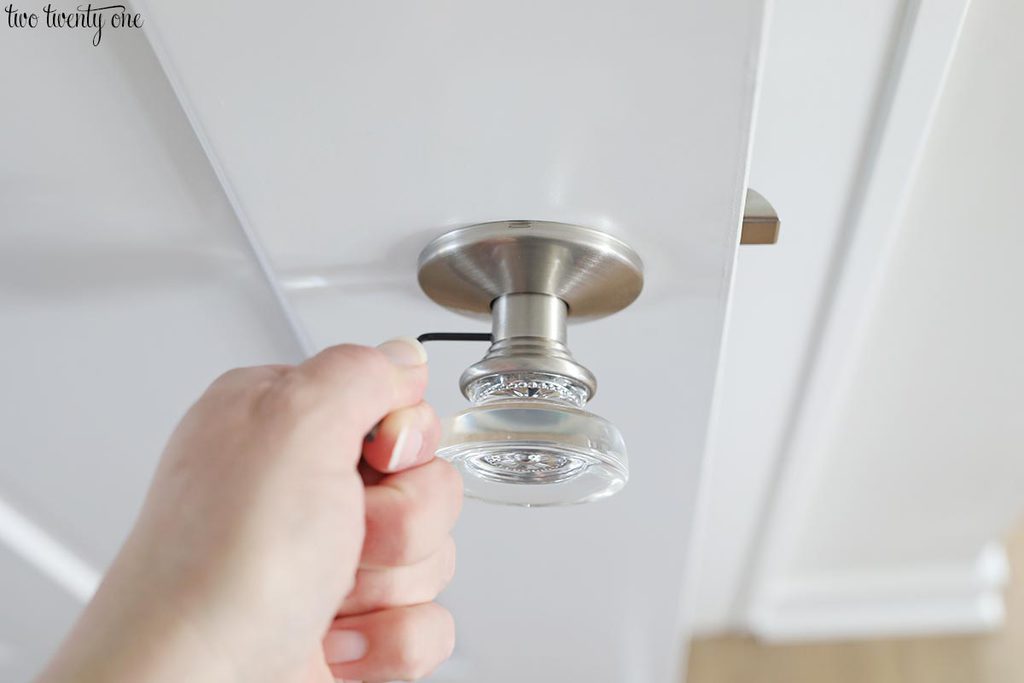
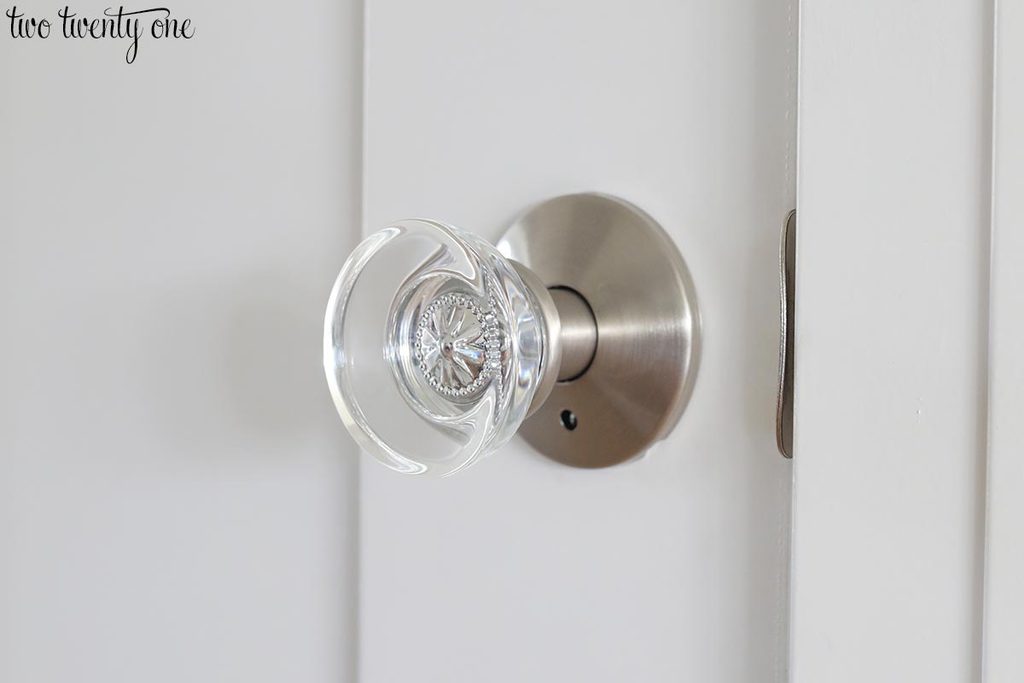
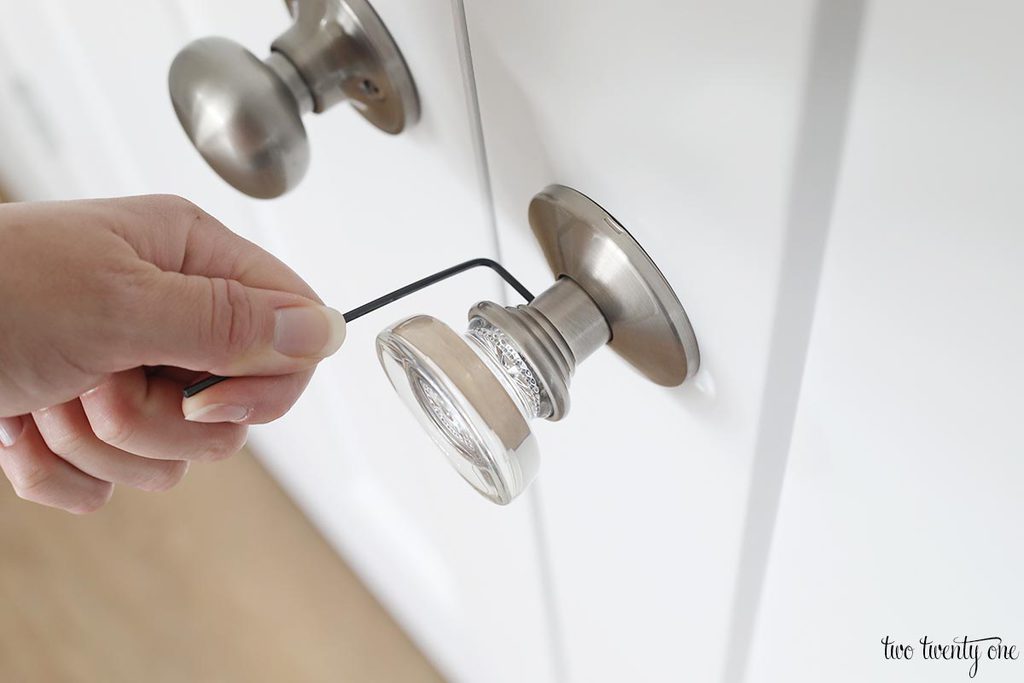
Step Five: Install the exterior door knob by pushing firmly into place. If needed, install the privacy pin before installing the interior door knob. Tighten the set screw.

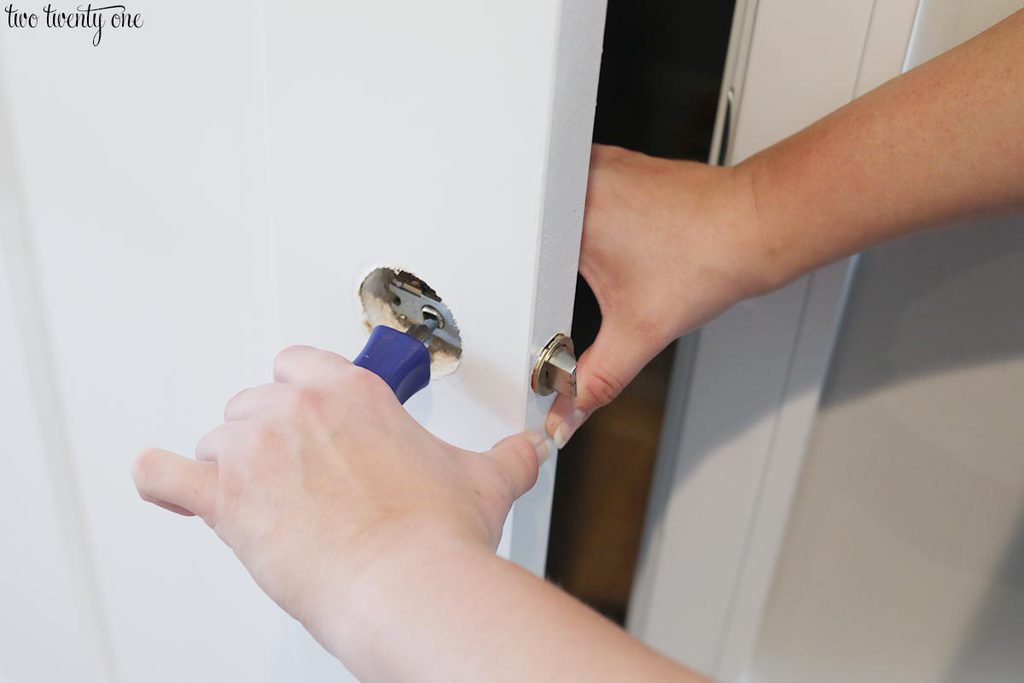
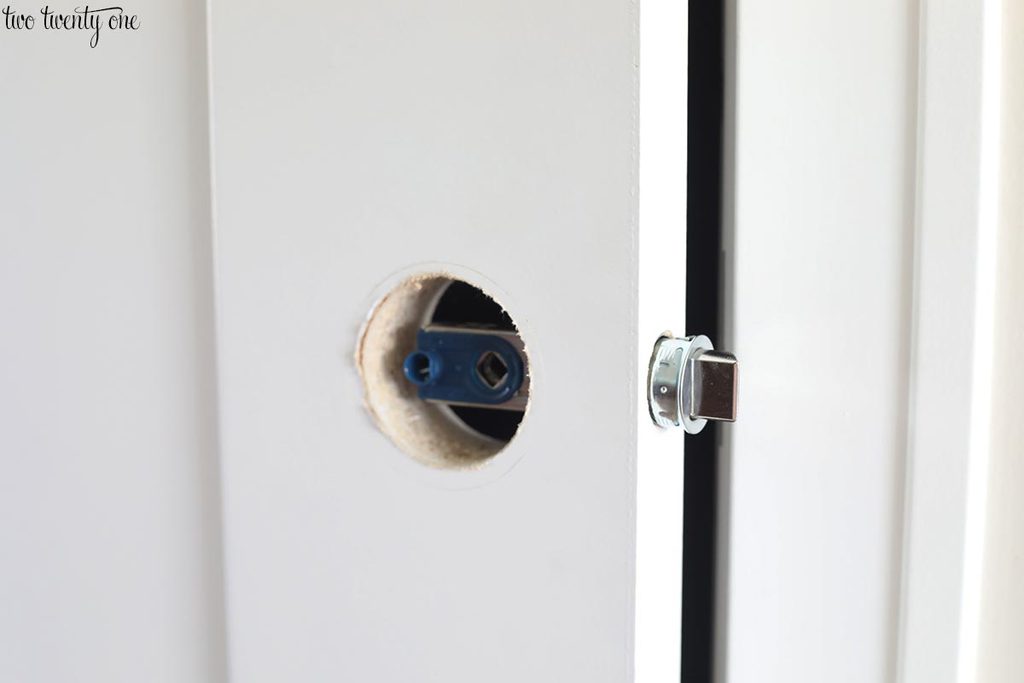
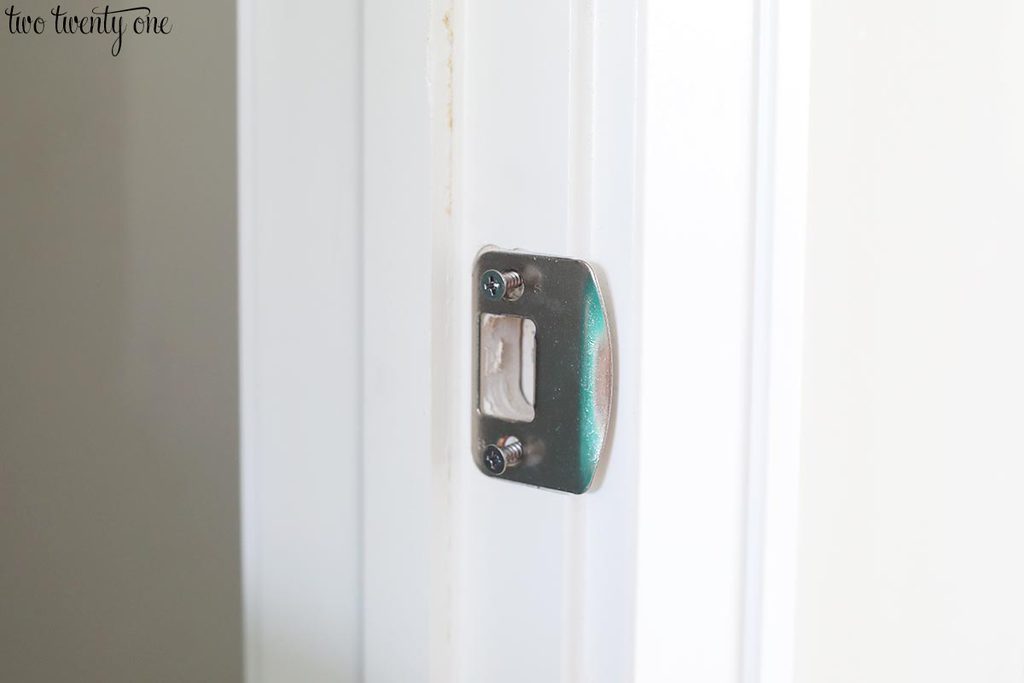
Step Five: Remove the old strike plate.

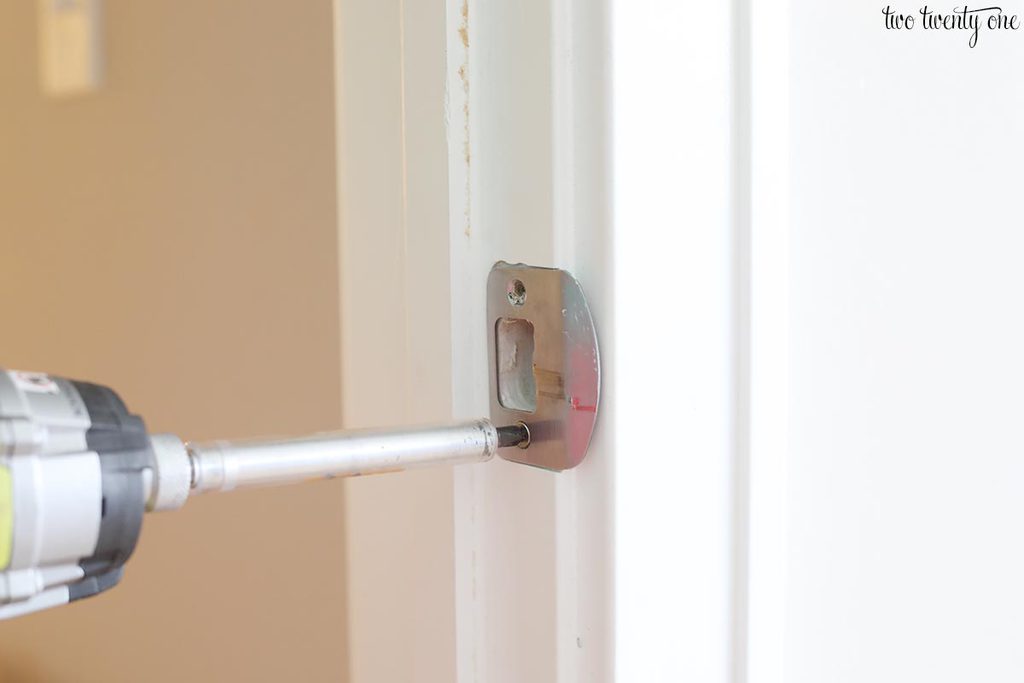
Step Six: Install the new strike plate.

Since this door knob is on our basement door, and we didn’t want it to lock, we didn’t want to use the privacy pin.

How to Install an Interior Dummy Door Knob

We have a couple sets of dummy door knobs in house (my office and a closet), so I’m also showing how to swap out those door knobs as well.

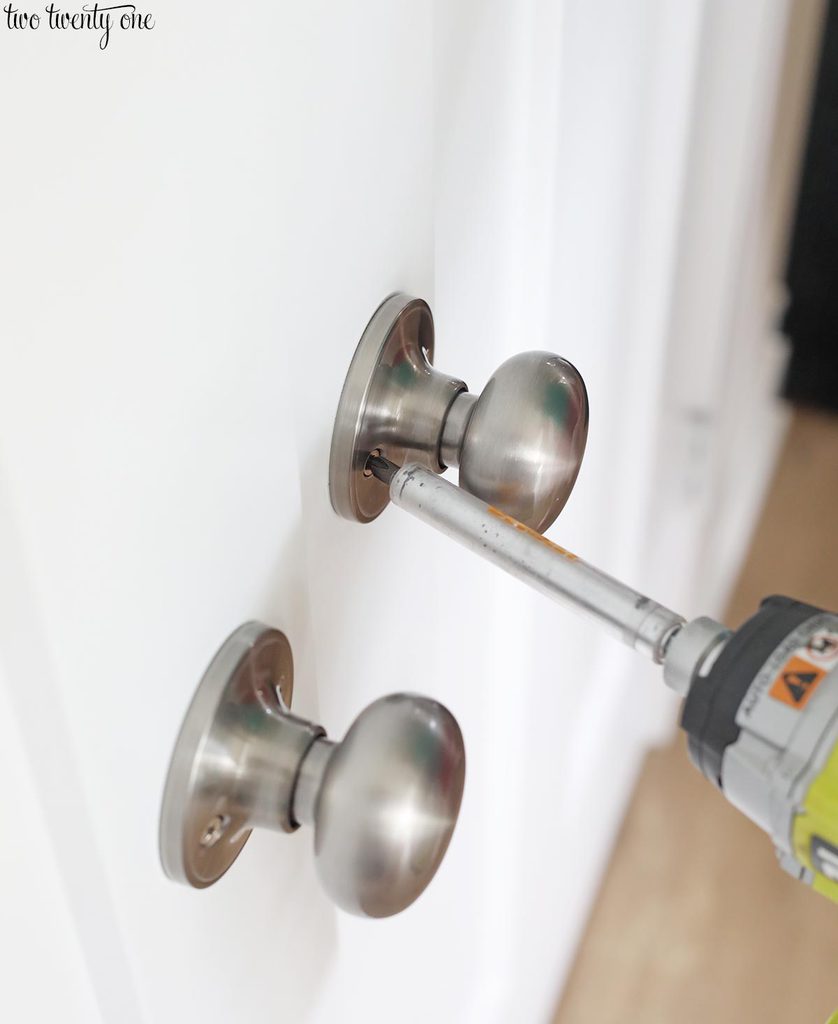
Step One: Remove the old door knobs.

Step Two: Using the notches to align the marks, install the chassis into holes marked B. The screws are self-drilling so there’s no need to pre-drill.

g

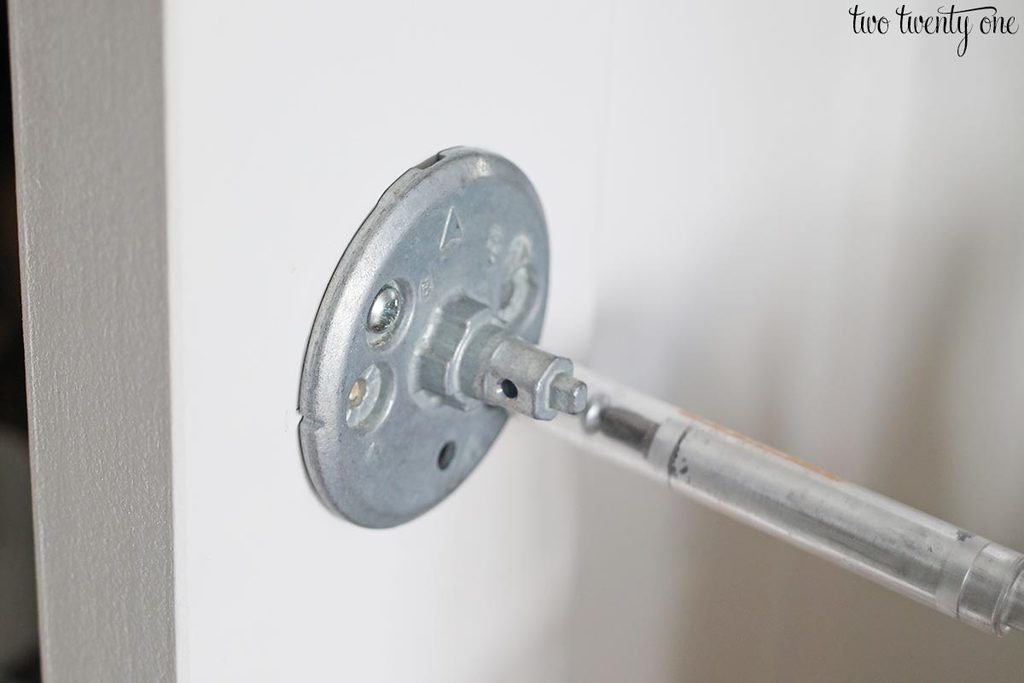
Step Three: Install the trim.

Step Four: Install the knob by pushing firmly into place. Tighten the set screw.

Done!

Once you get in the hang of installing door knobs, you can move rather quickly. If you have more than one person, one person can start uninstalling the old door knobs while the other person works behind, installing the new door knobs.

Filed Under: DIY, sponsored post, tutorial

Never miss a post from Two Twenty One!

Get the latest DIY projects, organization ideas, tips & tricks and more delivered to your inbox!
Your information will *never* be shared or sold to a 3rd party.
« Life Lately
Fall Deck Tour »

Comments

  1. laura says

    October 2, 2018 at 8:27 AM

    These are gorgeous door knobs! They remind me of my grandmother’s house! Enjoy! laura

    Reply
    • Chelsea @ two twenty one says

      October 10, 2018 at 9:48 AM

      Thank you, Laura!

      Reply

Leave a Reply Cancel reply

Your email address will not be published. Required fields are marked *

Recipe Rating


  • Email
  • Facebook
  • Instagram
  • Pinterest
  • Twitter

Never miss a post from Two Twenty One!

Get the latest DIY projects, organization ideas, tips & tricks and more delivered to your inbox!
Your information will *never* be shared or sold to a 3rd party.
This blog accepts forms of cash advertising, sponsorship, paid insertions or other forms of compensation. The compensation received may influence the advertising content, topics or posts made in this blog. That content, advertising space or post may not always be identified as paid or sponsored content.

The owner(s) of this blog is compensated to provide opinion on products, services, websites and various other topics. Even though the owner(s) of this blog receives compensation for our posts or advertisements, we always give our honest opinions, findings, beliefs, or experiences on those topics or products. The views and opinions expressed on this blog are purely the bloggers’ own. Any product claim, statistic, quote or other representation about a product or service should be verified with the manufacturer, provider or party in question.

Two Twenty One is a participant in the Amazon Services LLC Associates Program, an affiliate advertising program designed to provide a means for sites to earn advertising fees by advertising and linking to amazon.com.

Blog Policy

© Two Twenty One, 2011-2020. Unauthorized use and/or duplication of this material without express and written permission from this blog’s author is strictly prohibited.

Privacy

Copyright © 2022 · glam theme by Restored 316 · Design by Stephanie Jones

Copyright © 2022 · Glam Theme on Genesis Framework · WordPress · Log in

36 shares