Halloween Fabric Garland
First, how is it October already? Before we know it we’ll be watching Elf every other day and voraciously eating peanut butter balls.
Secondly, it’s another installment of Chopped– but with Crafting Supplies.
Can you guess this month’s theme? I think you’ll be able to figure it out rather quickly.
![]()
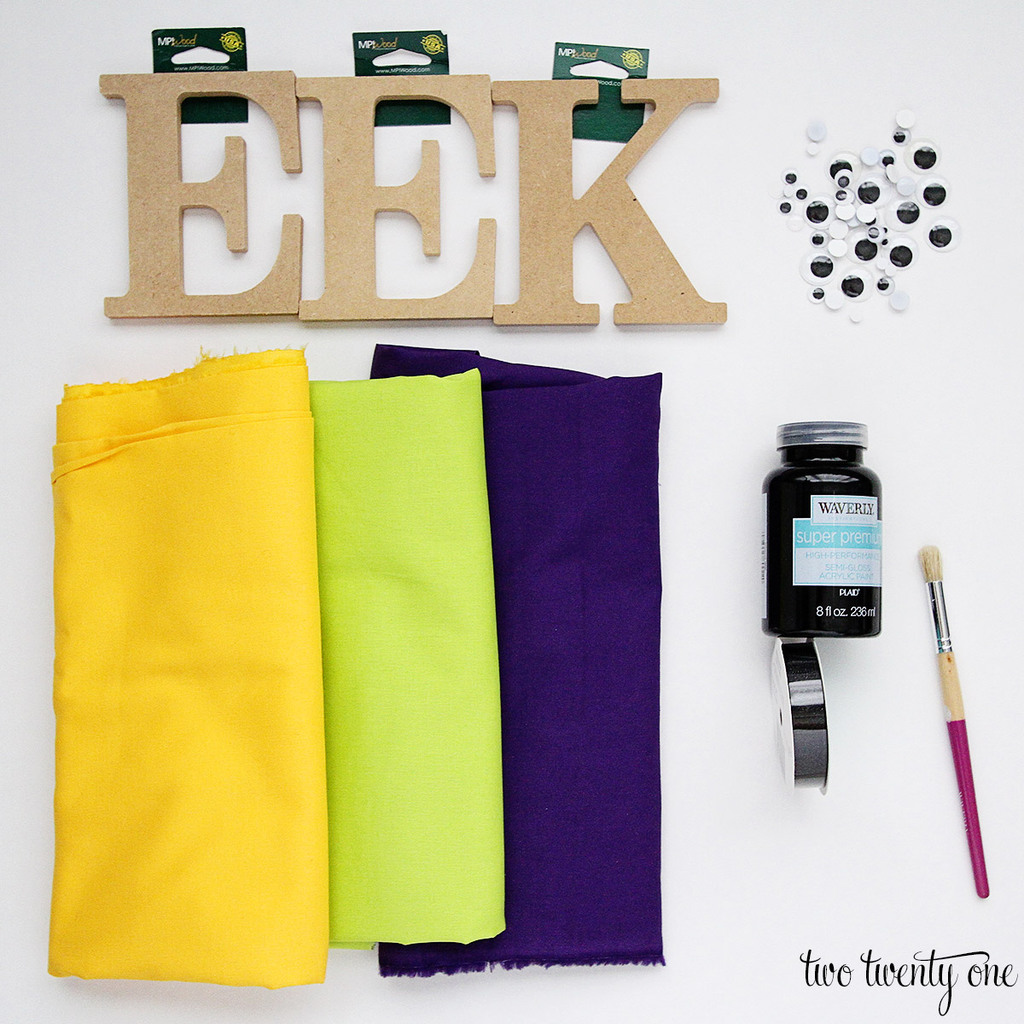
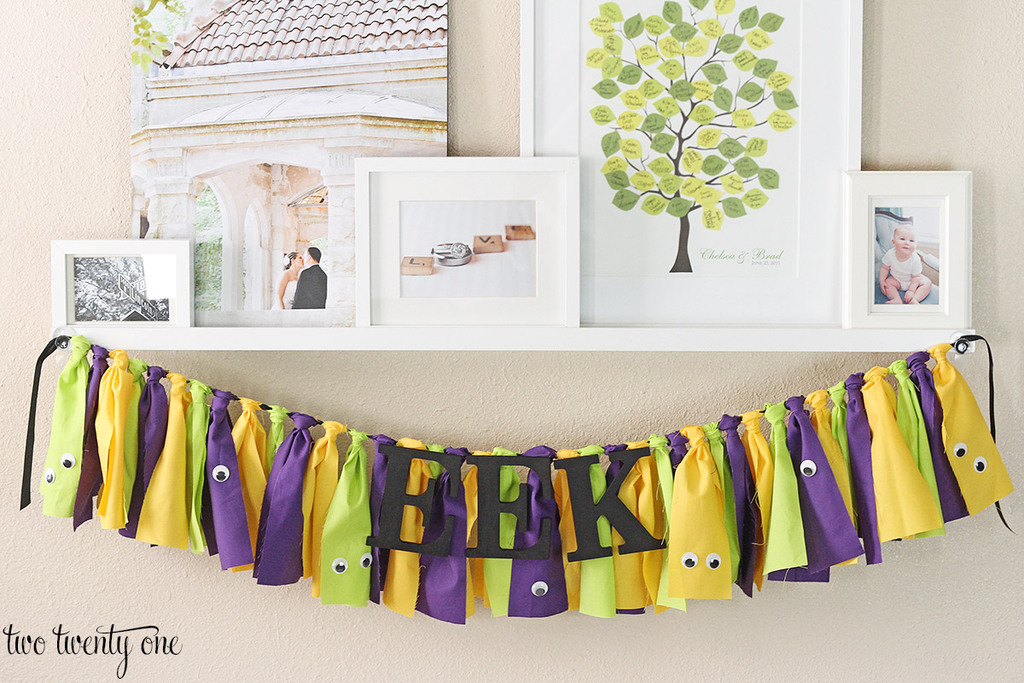
This month I decided to make a halloween fabric garland with a monster theme.
Here’s what I needed:
Waverly Inspirations fabric … Walmart
Waverly Inspirations ribbon … Walmart
Waverly Inspirations acrylic paint … Walmart
Waverly Inspirations paintbrush … Walmart
wooden letters … Walmart
googly eyes … Walmart
I started by cutting my fabric into 20″ by 3″ strips. I LOVE my handy cutter.
Note: it’s easier and faster to cut the fabric when you fold it in half.
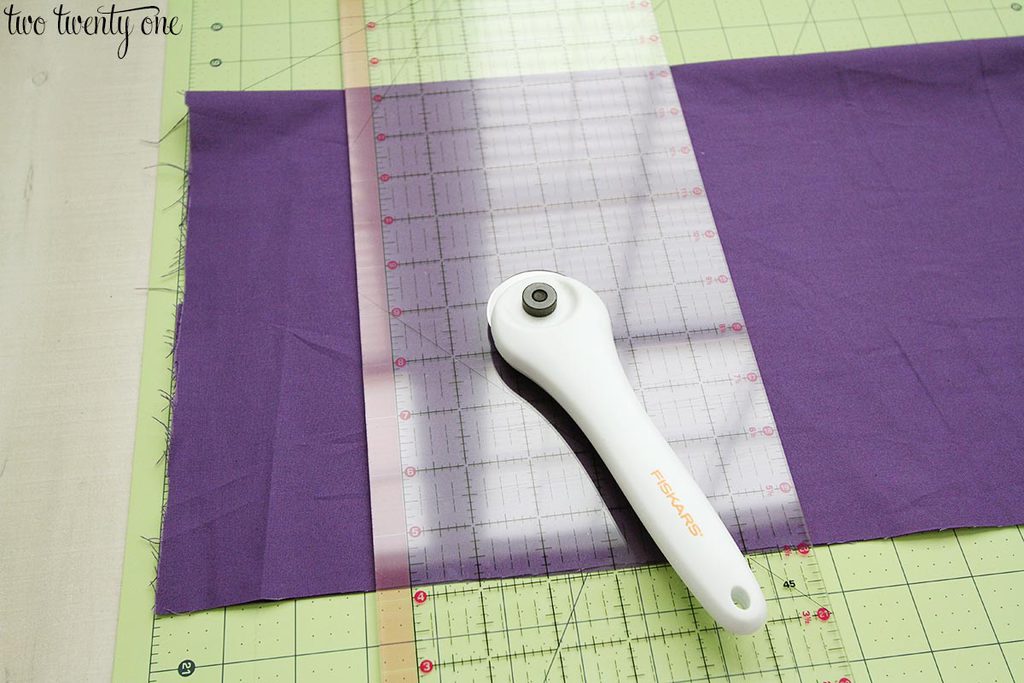
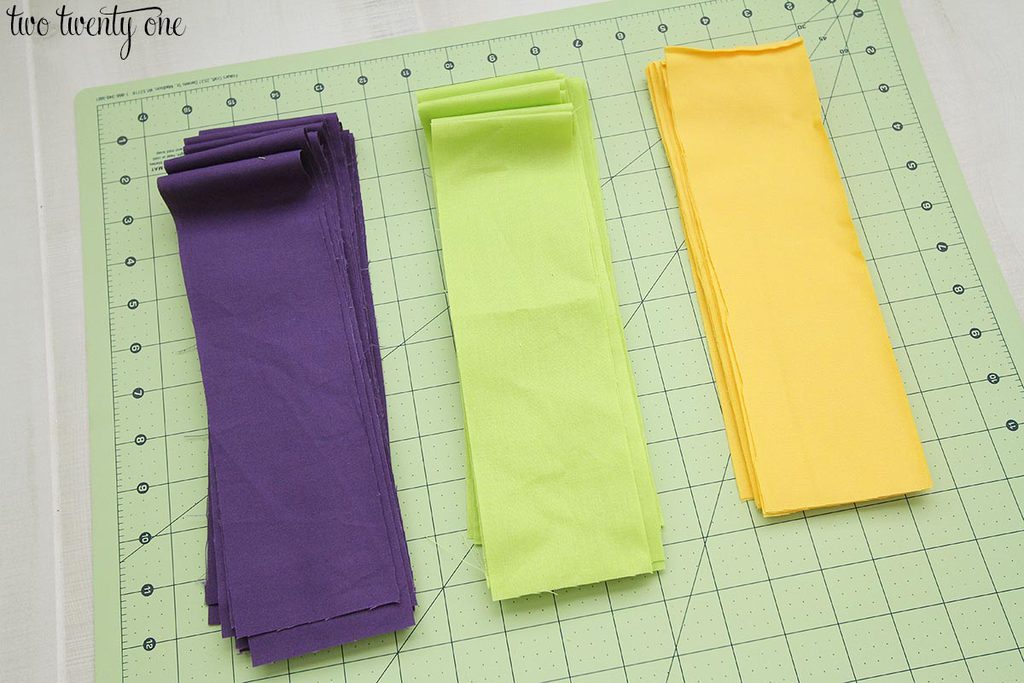
I ended up with about 14 strips of each color.
To attach the fabric strips, I followed the same steps I detailed in here. In short, I’d fold the fabric strip in half with a loop. I’d lay the ribbon on top, grab one tail and feed it over the ribbon and through the loop of the fabric. I’d repeat with the other tail, and then pull down on the two ribbon strands. But like I said, you can see some detailed photos here.
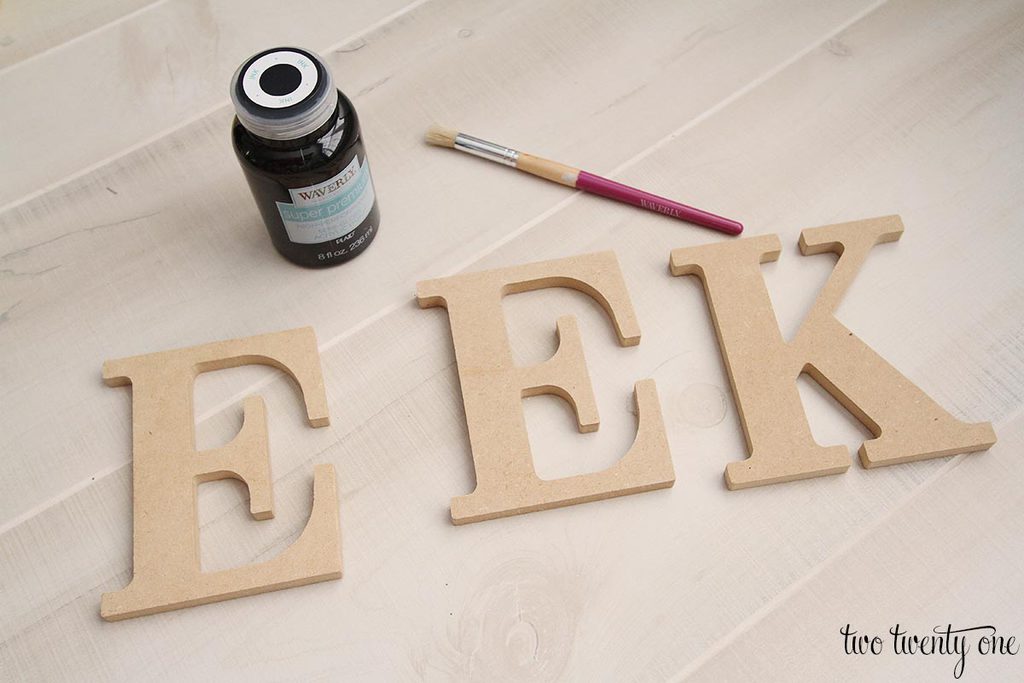
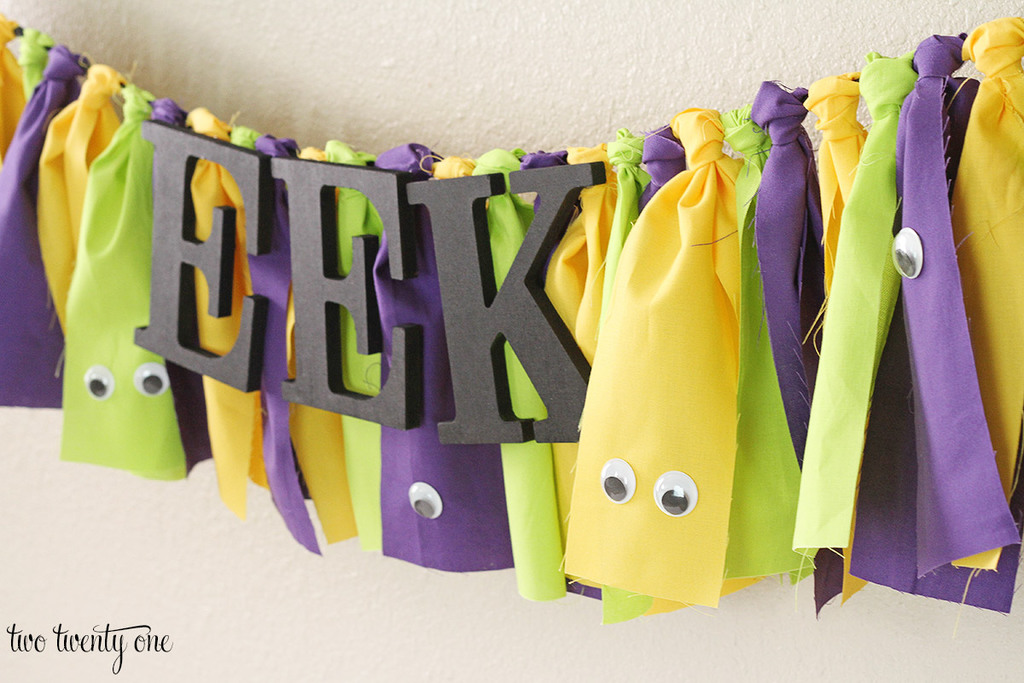
I decided it’d be fun to add ‘EEK’ to the garland, so I painted these wooden letters black.
After I hung the fabric garland, I attached the googly eyes with hot glue. I waited until it was hung so I could figure out the placement.
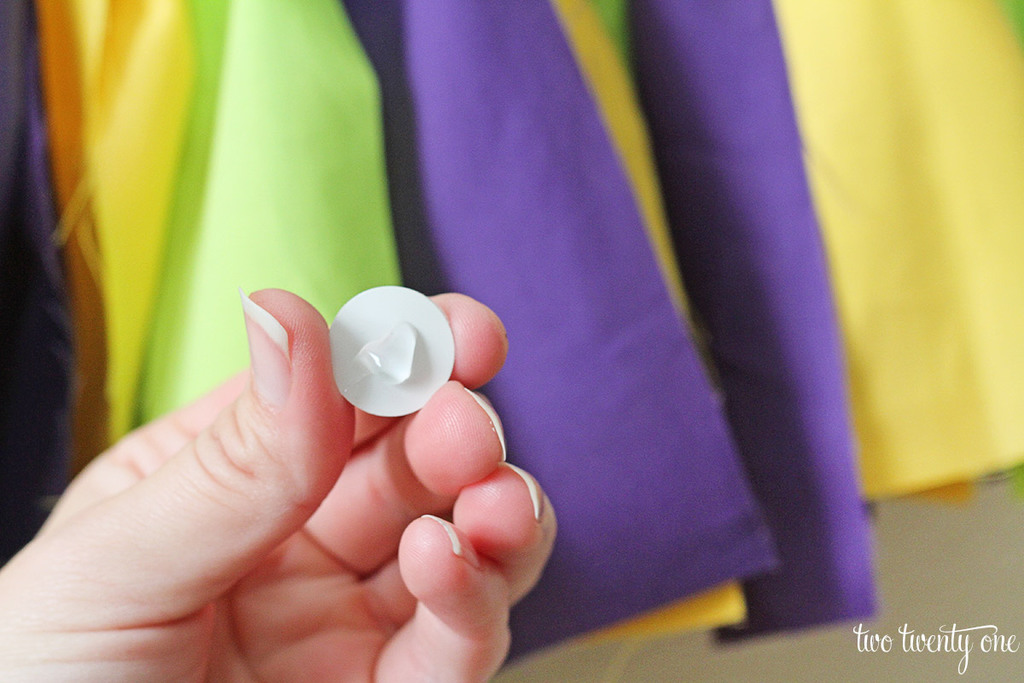
They add a cute touch, no?
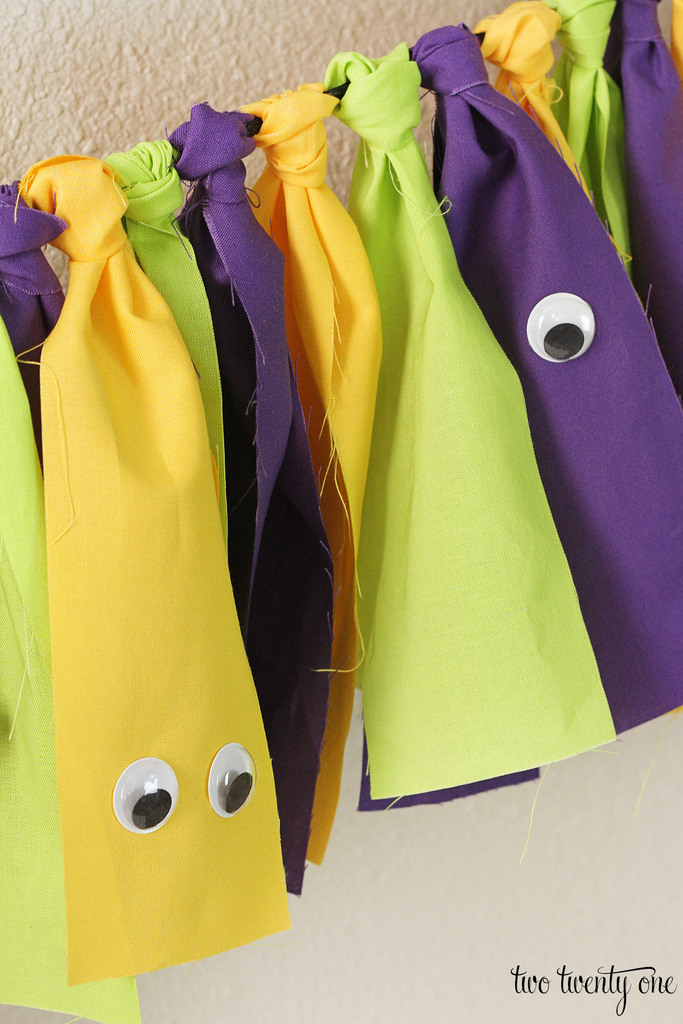
To attach the letters, I used a few small dots of hot glue and stuck them to the fabric tassels.
Since we don’t have a mantel, I attached it with these to one of our living room picture ledges. But I think it’d look cute on a mantel or even on an entryway table.
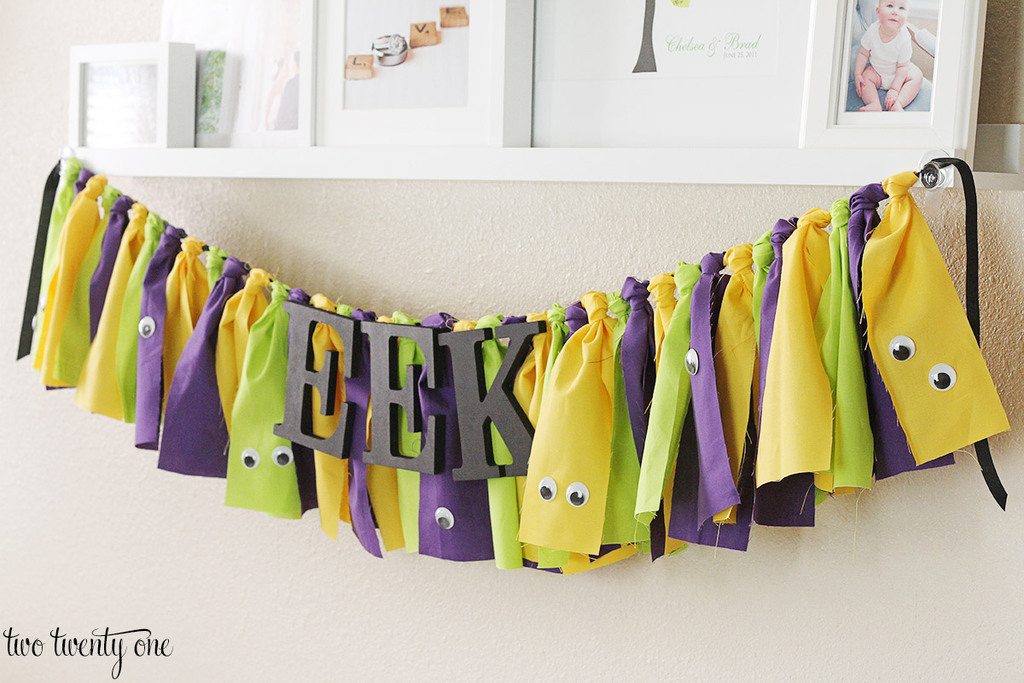
Looking back, I kind of wished I would’ve gone with a slightly different color scheme so the ‘EEK’ could stand out more, but I still like the garland.
This post is brought to you by Waverly Inspirations. As always, opinions are 100% my own.
I love the Halloween garland and I do agree with you that the color scheme should be a little different, but if you were to add a little orange glitter to the black letters, that may make them stand out a little more, and I have made a few ribbon and fabric garlands, as the base I used a string of lights, (this would be so cute on a purple string of lights!) and have also tied them to rope lighting and the addition of the light makes the garland “pop”. Thank you for all of the great ideas!!!
This is so cute!
So cute love this garland. Thanks for sharing at Inspire Me Monday. Enjoy your week.
Elf and peanut butter balls? Count me in!
I never do much of anything for Halloween, but I am thinking this would be a good idea for Thanksgiving.
I’ve been told I need to purchase a rotary cutter for all my crafting; that might be going on the wishlist now.
Cute garland!
Super cute and cant wait to make it. I make my daugthers tutus wtih the same method.How much of each color fabric did you buy?
Thank you
This is so cute! I love the googly eyes!
This looks so super cute. I love the googly eyes as well. THanks for sharing your talent with us all.
This is the most creative idea for Halloween I have seen.
Adorable.
I won’t be making it because I have no crafty bone in my body, but I will share it.
Super cute idea! Love the addition of the googly eyes. Thank you for sharing at Merry Monday!
I wanted to tell you I did make this, it turned out wonderful and I pinned it to my halloween board and forwarded it to you yo show you! Thank you