Halloween Tomato Cage Tree
I haven’t done much Halloween decorating in the past couple years. I know you’re super curious, so here’s my usual decor progression: summer > fall > Christmas. Halloween and Independence Day tend to get left out. Poor neglected holidays.
Although, I did surprise myself by decorating for the 4th of July this year. And the surprises keep on coming because I cooked up some Halloween decorations this year!
I’m. On. Fire.
Today I’m sharing the Halloween tomato cage tree that I made. I may have a slight addiction to making trees out of tomato cages. Hey, it’s better than crack.
This would be the fifth tree that I’ve made. You may recall my popular tomato cage Christmas trees.
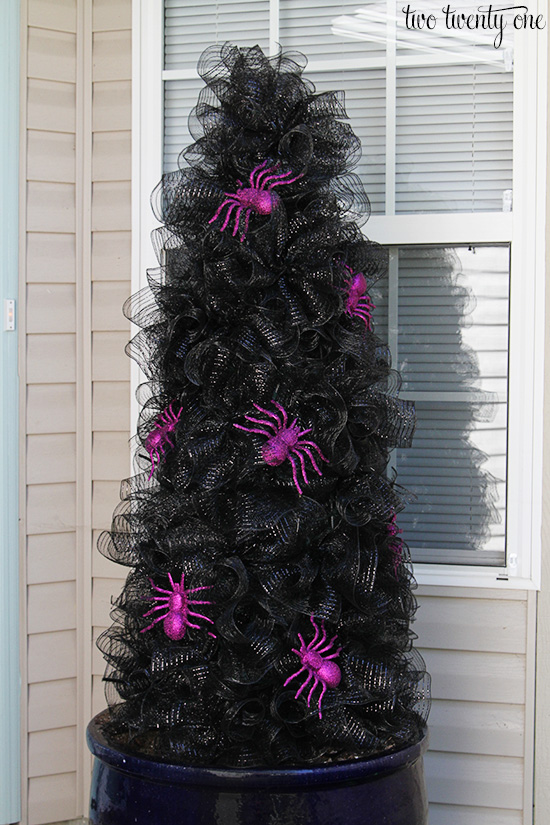
It’s beautiful, yet spooky at the same time, no? Like Morticia Addams.
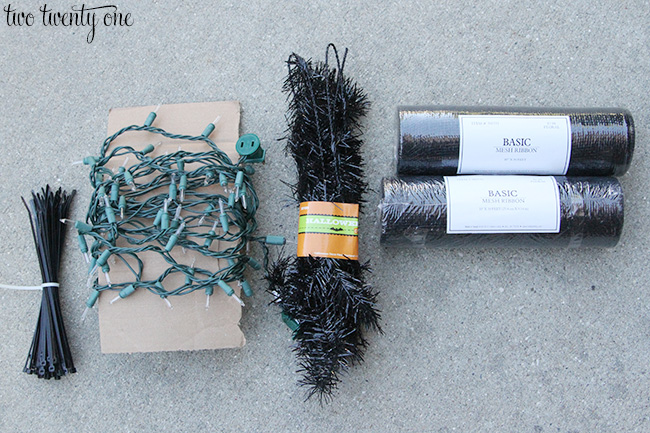
Now, I always have to take the photos of my materials before starting the project, but I never know how many things I’m going to use, so I guess. Subsequently, I almost always underestimate. So don’t go shopping based on the photo below because you’ll be cursing my name when you run out of materials and have to drag your tookus back to the craft store. You’ve been warned.
Here’s what you’ll need to complete a 50″ Halloween tomato cage tree:
54″ tomato cage (if you can’t find them in-store, you can get them from here)
10-15 zip ties
2 sets of 100 Christmas lights
5 rolls of 10″ mesh ribbon (found at craft stores– use coupons or buy on sale!)
100 black pipe cleaners
extra decorations (spiders, pumpkins, etc.)
Disregard the black shiny stuff with the orange band in the photo below.
Now, you can make a smaller tree. If you have a 54″ tomato cage, but would like to make a smaller tree, see this tutorial on how to turn your 54″ cage into either 36″ or 30″ trees.
I purposely cut off the top of the tomato cage so I can create stakes once the cage is flipped over to make the tree. So we used lineman’s pliers to cut off the top circle.
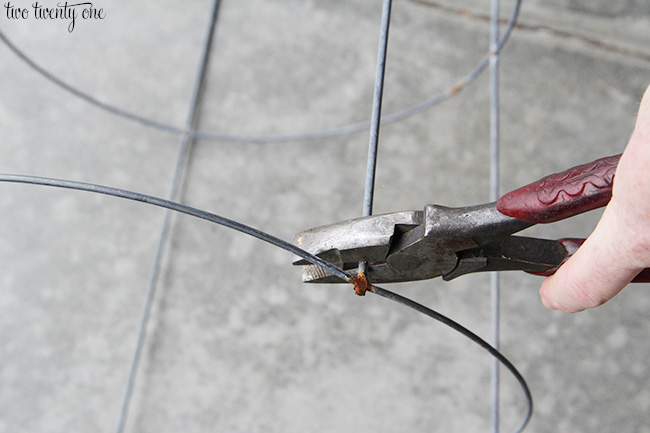
Now the cage can easily be pushed into the ground.
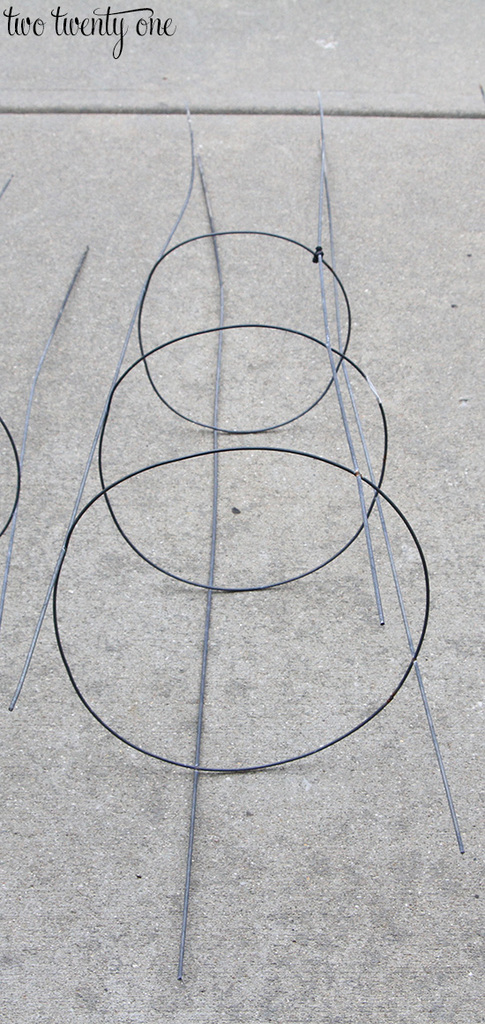
Take the traditional bottom of the tomato cage and zip tie the stakes together to form a point, which will now be the top of your tree.
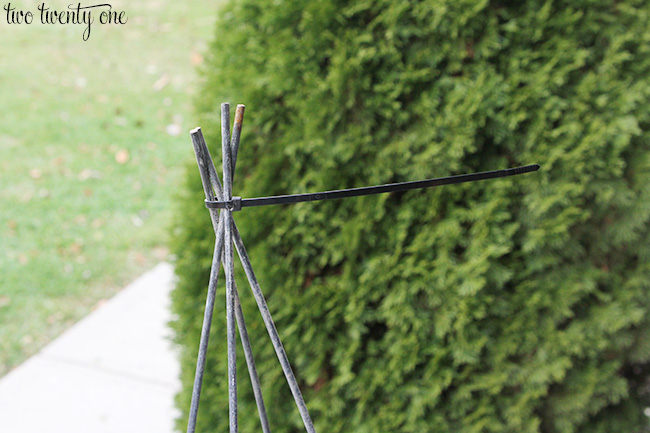
Start adding lights but looping them around and around and around, securing them once in a while to the tomato cage with a zip tie.
Now, lights are optional for this tree. And you can use different colored lights. I was going to use purple but they were too expensive for my liking so I grabbed some white lights that I already had.
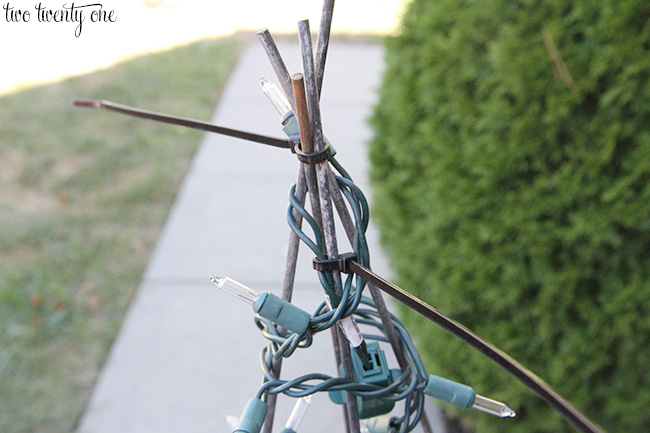
Here’s how I secured the plugs when I had to add the other set of 100 lights.

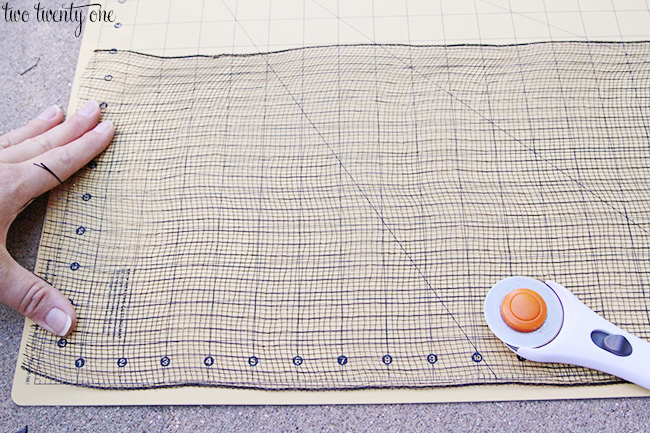
Once your lights are on the tomato cage, start cutting your ribbon mesh.
I LOVE my rotary cutter set. Seriously, put it on your Christmas list. Just be careful– that blade is sharp. I may or may not have cut the new iPhone charger cord Brad bought me with my rotary cutter. He knew exactly what I had done when I said, “Oh no. Uh, honey, how much did you pay for my new lightning cable?”
Moving on…
You’re going to want to cut 10″ pieces, so you’ll end up with a bunch of 10″ x 10″ squares.
FYI, my favorite black ribbon mesh is from JoAnn Fabric.
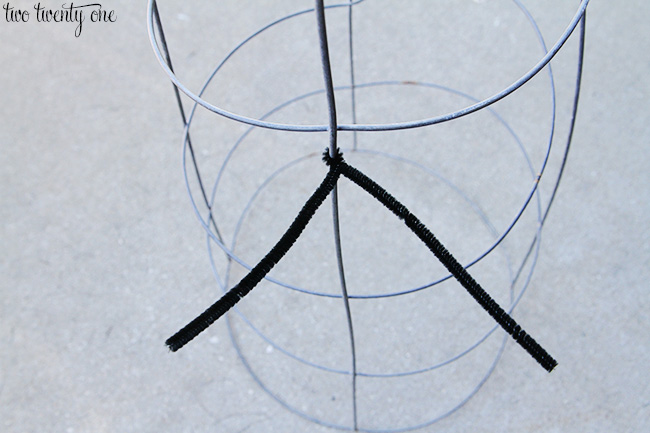
I felt like it would be easier to see if I used a non-lit up tomato cage to demonstrate the technique, so that’s why you’re looking at a naked tomato cage below.
Grab a pipe cleaner and attach it to the tomato cage.
Accordion fold one piece of mesh.
Accordion fold another piece of mesh.
Hold them together, side by side.
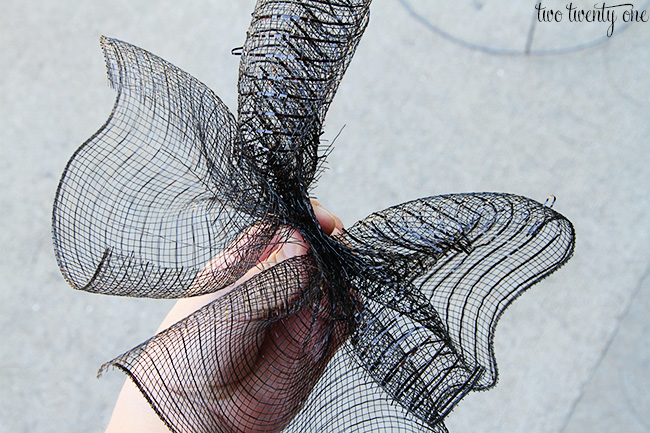
Twist them in the pipe cleaner.
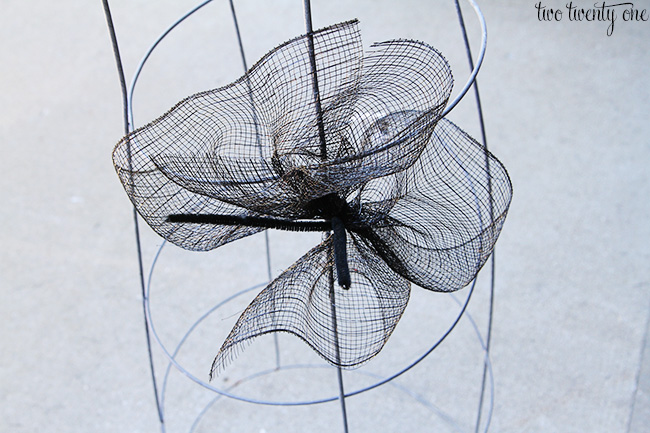
Repeat.
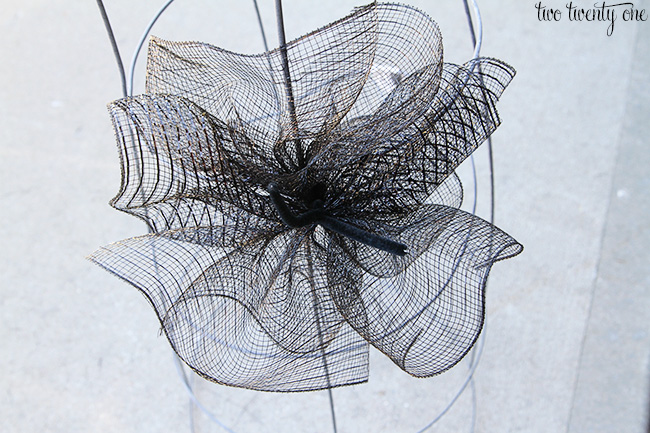
Clip the excess pipe cleaner legs to make them shorter.
Keep adding the mesh until the entire tomato cage is covered. More is more.
Once the tree is covered, sans empty spots, add any embellishments.
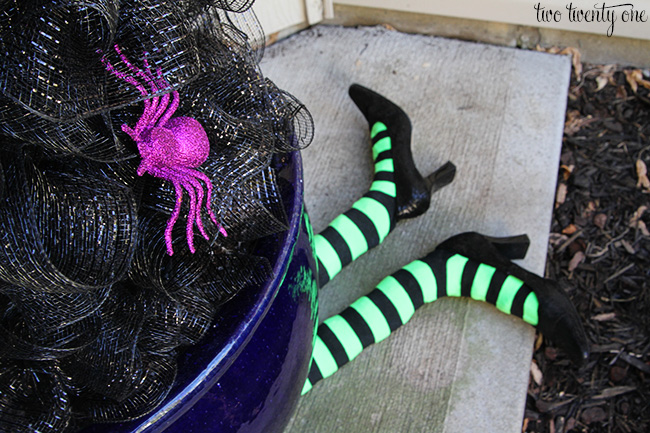
I went with purple spiders from Dollar Tree– 2 for $1. I attached them to the pipe cleaners.
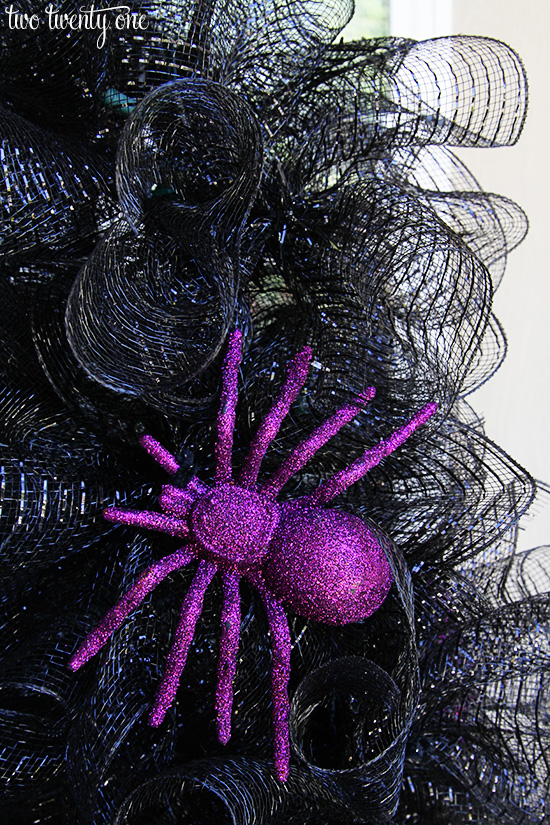
I’m displaying my Halloween tomato cage tree in the planter on our front porch this year.
I also added witch legs.

Here’s my tutorial on the witch legs.
And the best part? I whipped up those faux extremities for $5.
I loathe taking nighttime photos. But here’s what part of the tree looks like lit up at night.
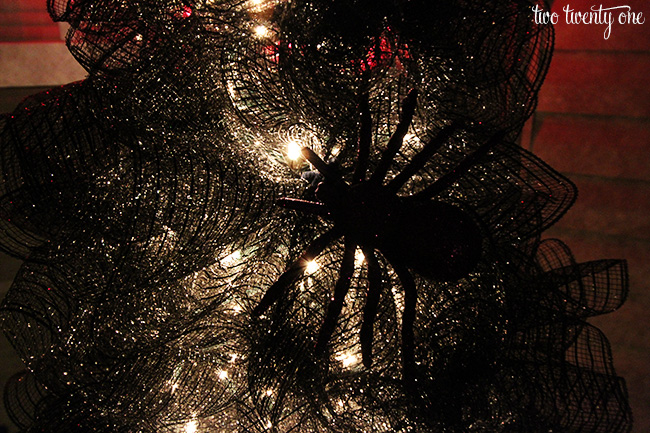
If you don’t want to put lights on your tree that’s fine. I think it would look great illuminated by a porch light or spotlight.

This post contains affiliate links.
Funds from affiliates help pay for web hosting, domain registration, email delivery, the occasional bottle of wine, and other fees to keep twotwentyone.net up and running. Thanks for your support! I appreciate it!


that looks amazing! how fun! I would have never thought to do that!
Thanks so much!
I think this is a great idea! I’ve seen some projects like this for Christmas but not for Halloween and I LOVE it! I also love how your personality comes through in your posts! From one blogger to another(bigger) one, I think that you are an inspiration to me. We think a lot alike and that’s why I’ve been following you for so long! Great post!
Kate | TheOrganizedDream.com
Thanks so much! Yeah, I’ve done two tomato cage Christmas tree posts so I thought I’d try Halloween. And thanks for your sweet words about my personality coming through in my posts! I try my best to write how I talk. 🙂
i like this
Do you keep adding the pipe cleaner and mesh around or use the same until full?
I kept adding the mesh until it looked full.
Question what is sans the empty spots? I have never heard the term. I have my tree done except the bare spots in the middle between the tiers. I just need to fill the gaps but I am using orange so I think your black covers better. Any advice would be appreciated.
The black probably covers better than orange, so I would just keep adding mesh until it looks as full as possible.
How fun is this! Love it! Thanks for linking up to Merry Monday! Sharing on FB! Have a great week!
Kim
It came out so pretty and spooky! I really like the witch’s feet!
Kate | The Organized Dream
Your tree looks amazing. Thank you for linking up with us at #HomeMattersParty. See you again next week.
I made a 54″ tree. Followed your instructions. It looks great. Thx for the idea and info. I ended up using 8 rolls of the mesh. Craft outlet sells it for less than Hobby Lobby. But of course there is shipping!
They are just lovely, but the least expensive 10″ mesh ribbon I could find was $7.99 per roll- and to make 2 trees I would need 10 rolls! That’s a pretty expensive tree!