How to Make Blackout Curtains
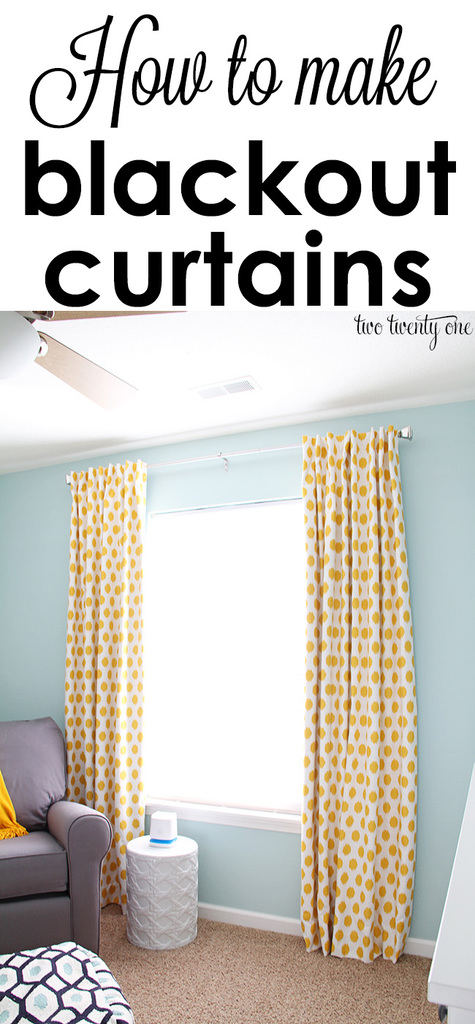
Today I’m sharing how to make blackout curtains.
My mom and I made the blackout curtains for Owen’s nursery. Babies slept best in very dark rooms, so blackout curtains are great for blocking outdoor light any time of the day. They’re also energy efficient and help reduce noise.
These were pretty simple to make once we figured out our game plan on how we were going to sew them. I tried my best to show the steps with photos but it was kind of hard because we were dealing with so much fabric.
Here’s everything I used to make these blackout curtains:
6 yards of fabric … the fabric I used can be found HERE
6 yards of blackout lining … the fabric I used can be found HERE
1-1/2 inch white grosgrain ribbon … JoAnn Fabric
5/8 inch white grosgrain ribbon … JoAnn Fabric
white thread … found HERE or JoAnn Fabric
sewing machine
scissors … found HERE
pins … found HERE
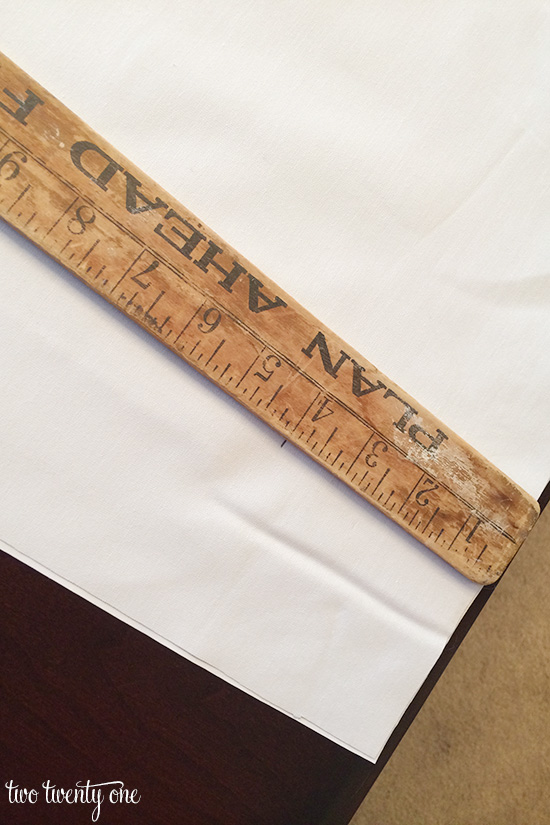
Measure Out the Fabric
Start by measuring and cutting the curtain fabrics for the panels. If you’re working with an 8 foot tall room, you’re going to want your panels to be 100 inches tall. You need to add 10 inches to that to account for hems. But keep in mind, your length is going to depend on how high your curtain rod is hung.
Since we were dealing with so much fabric, we folded the fabric over, measured out 50 inches, and then made the straight line cut.
We didn’t cut the width of the yellow fabric, leaving the 55 inches intact.
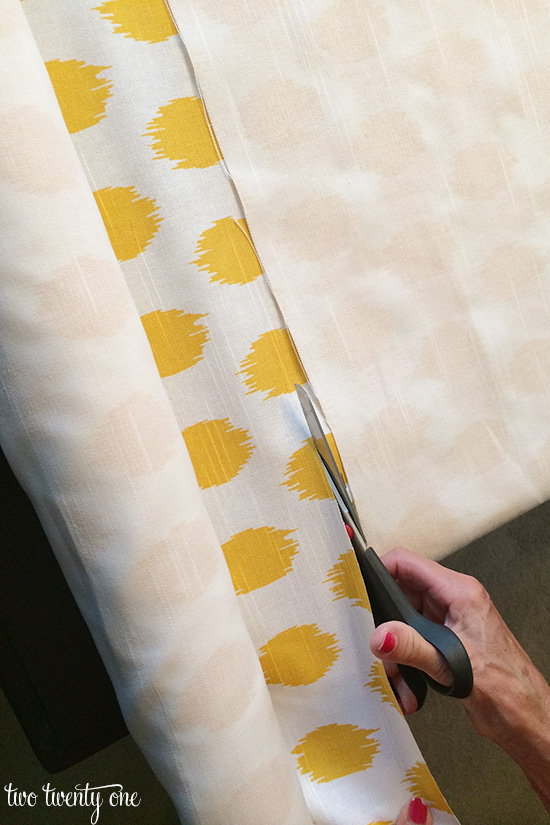
Cut the same length, 100 inches, on the blackout liner.
Then, cut 4 inches off of the longer side of the blackout fabric.
Sewing the Black Out Curtains
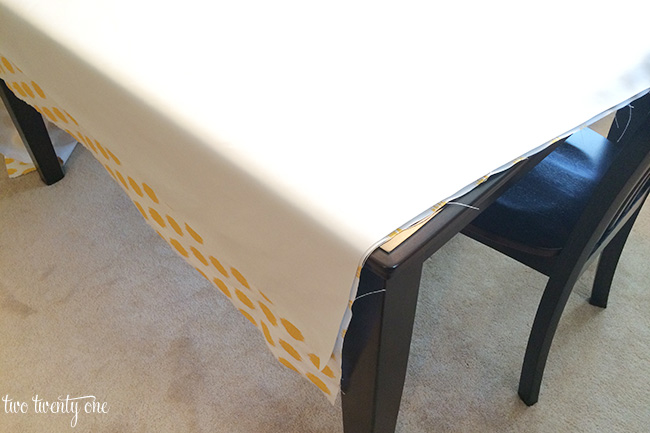
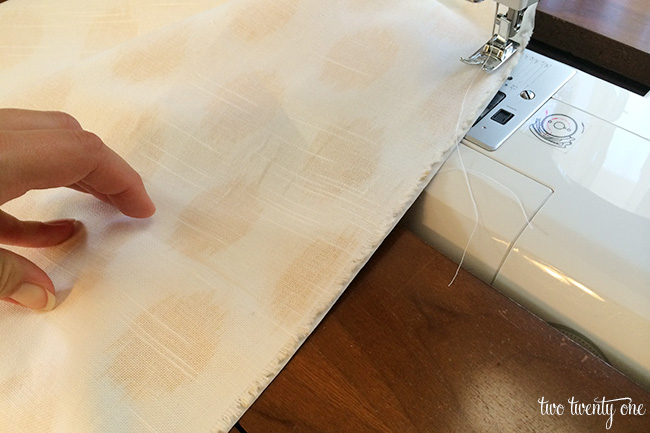
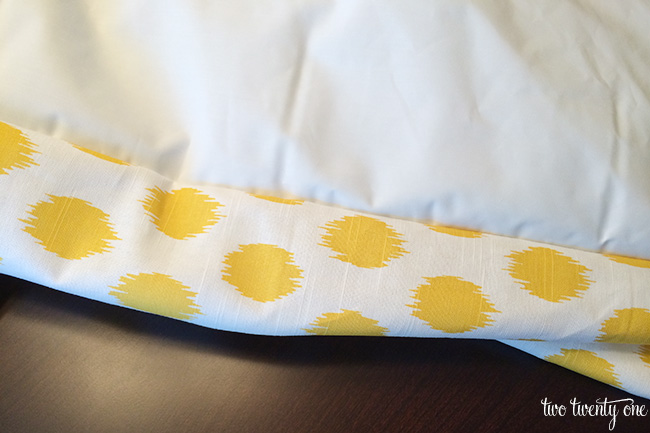
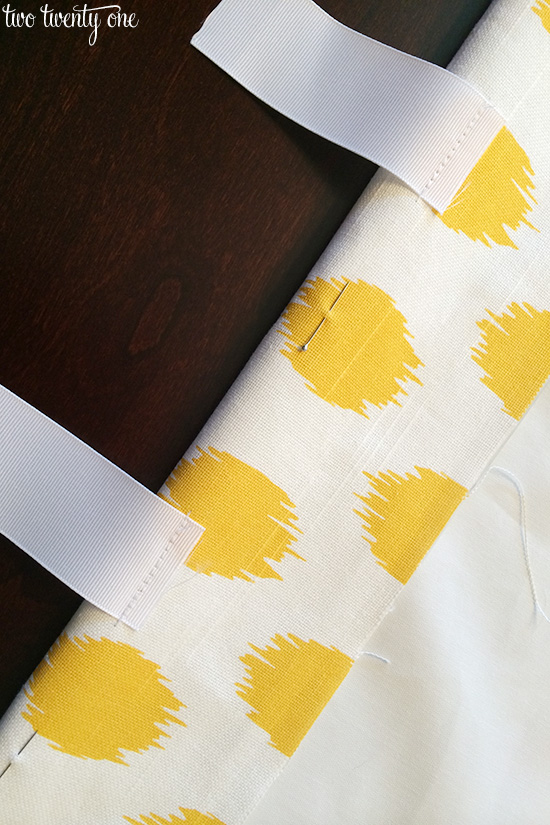
Put the right sides together (yellow fabric and soft side of blackout fabric), matching up the edges of the curtain (as shown below), and sew the long sides together.
Since there’s 4 inches less blackout fabric than yellow fabric on the long sides, you may have some excess yellow fabric in the middle, but don’t worry, that will work itself out– just stay with me.
After sewing the two long sides, turn the panel right side out.
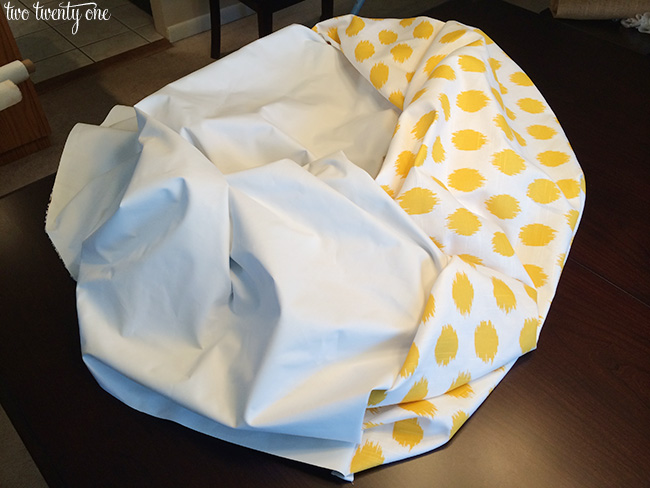
See how the blackout fabric is on one side and the yellow fabric is on the other side?
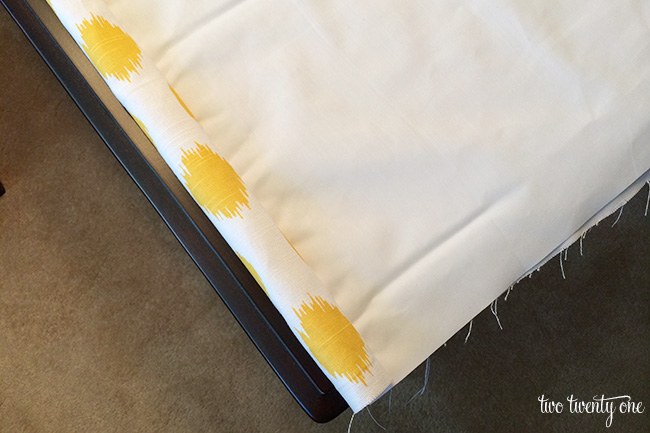
Remember how we cut off those 4 inches? Well, there ended being about 2 inches of yellow fabric on each side because of the blackout fabric being 4 inches less.
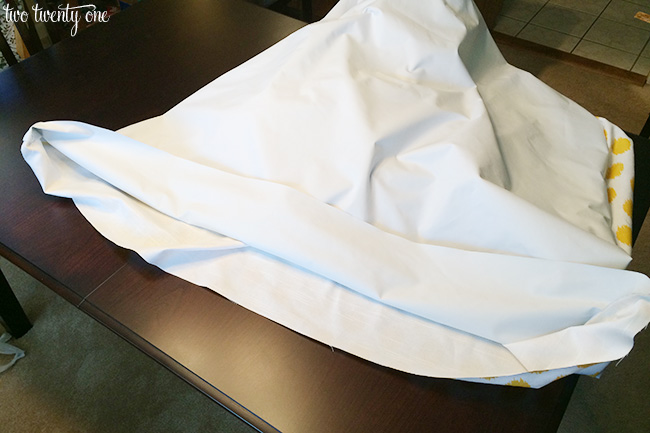
Next, fold the top of the panel down and turned it under by half an inch. Do the same for the bottom.
Pressing the Curtains
Press the panel on all four sides.
The picture below is showing one of the longer sides of the panel.

Sewing On the Tabs
For the tabs, I use grosgrain ribbon cut into 4 inch strips. I like grosgrain ribbon because it’s more reinforced than satin.
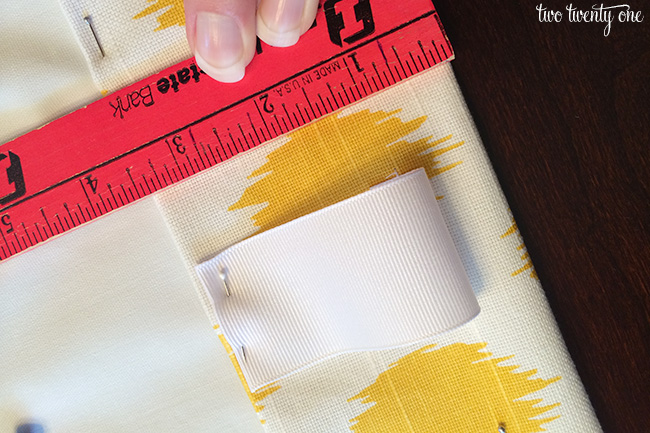
Sew the tabs an inch from the top, with 5 inches in between each tab.
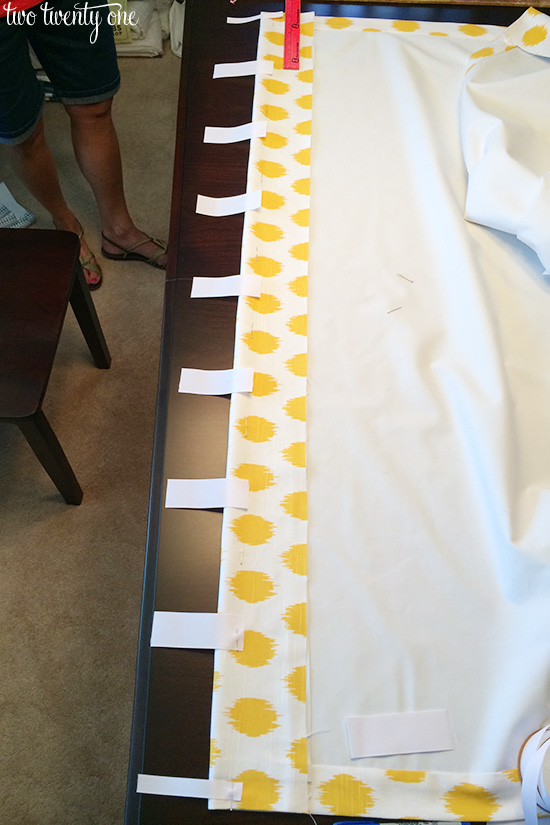
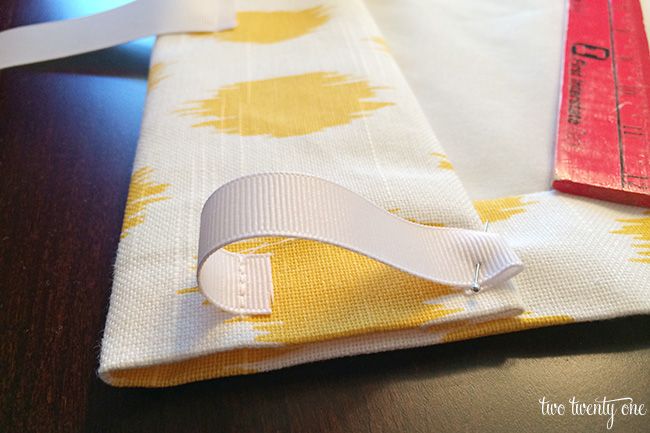
Use thinner grosgrain ribbon on the ends because it looks better hung when done this way.
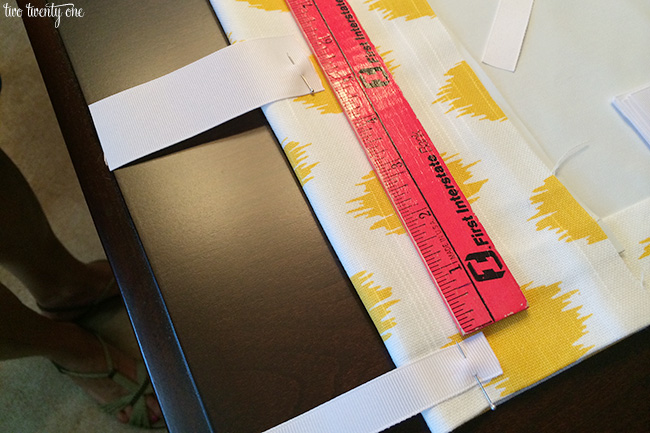
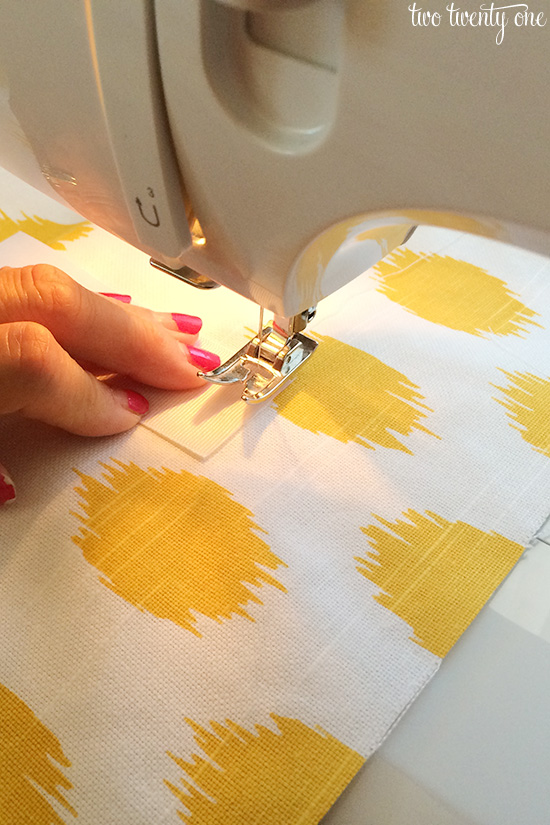
To do the bottom of the tabs, fold the ribbon and raw fabric under 1/2 inch and sew the seam across the panel, over the bottom of the tabs.

Hemming & Hanging the Curtains
Hem the bottom of the curtains. The bottom hem of my curtains ended up being 4 inches with 1/2 inch folded under.
If you want to make sure your blackout curtains are hemmed perfectly, go ahead and hang them before sewing the bottom hem. Then you can measure exactly how long they need to be or pin them to the correct length.
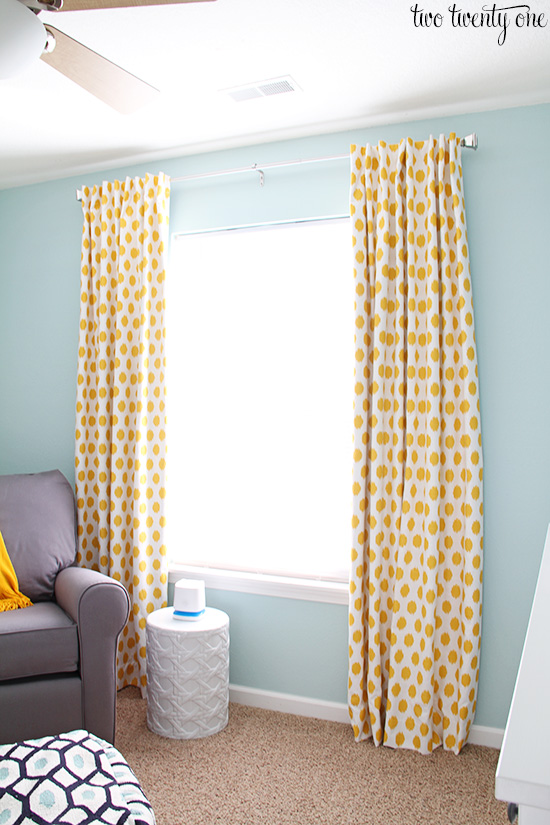
Don’t forget to hang your curtain rod high– closer to the ceiling than the top of the window. This gives the illusion that the room is taller than what it actually is.
And don’t cover the window with the curtain panels, by doing this, you make the window appear to be larger than what it actually is.
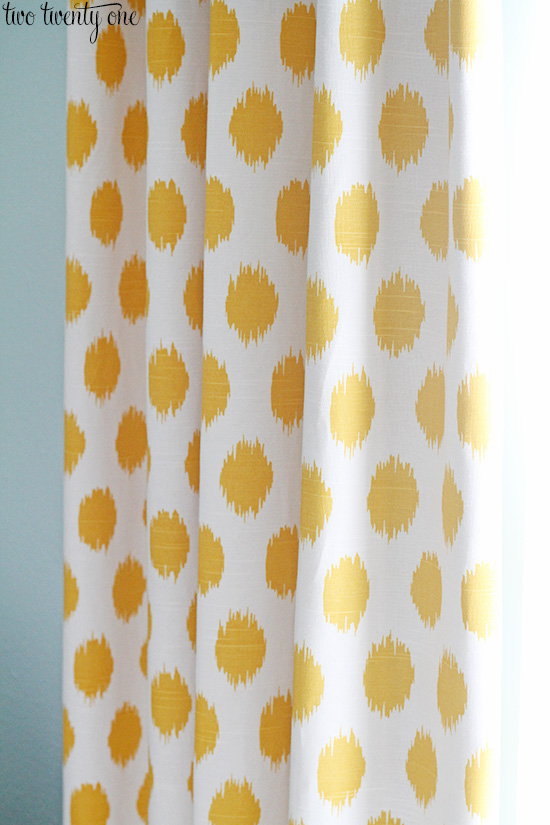
I love how these blackout curtains turned out. The fabric is perfect for Owen’s nursery, and they do a great job blocking light. They’ll also help save energy. And remember, these are great for a master bedroom as well.
PS, all of the step-by-step photos were taken with my iPhone. Check out my post on how to take better photos with your smartphone!


I love those curtains and you make it look so easy to make them! Things like this are why I really want to learn to sew. Thanks for sharing!
LegallySouthern
I’m glad! I was so worried people wouldn’t get it because when you’re dealing with so much fabric it’s really difficult to photograph everything. I thought about drawing pictures but that probably would have confused the heck out of people. Hah!
Love the fabric! These look really great…and your steps don’t seem to difficult 🙂
Thanks! I’m glad it’s easy to understand. I was worried it would be hard to follow because I felt like I needed an airplane hangar to photograph everything.
I love it! I was wanting to buy some for the bedroom and it was going to be quite pricey.
PS – The First Interstate Bank ruler is awesome!! I remember them! My hometown bank turned to Wells Fargo in ’97.
Hah! Too funny! My mom has had that ruler and yard stick for as long as I can remember.
The curtains look amazing! You guys did a great job!
Thank you for sharing. I just bought blackout/insulated curtains for a large window to help block out some of winters harsh temps. Wish I had read your blog first! Very informative and you made it look very approachable for the novice sewer. Happy Thanksgiving…from a southern Indiana girl.
I love the tutorial but I am curious….when you sewed the long side did you leave 5.5″ on the top and 5.5″ on the bottom (making up the 11″ for the top and bottom hems) or did you make it even on the three sides and have 11″ on the top (or bottom). I hope that makes sense. Did you sew a line down the sides to keep things in place or just leave them folded and ironed?
Thanks for any help you can provide!
Beautiful! I’ve got a Craft Gossip post scheduled for this evening that links to your tutorial:
http://sewing.craftgossip.com/tutorial-blackout-curtains/2014/11/29/
–Anne
Great job. I just moved to a new home and need curtains. I priced curtains through Smith & Noble for one large window in my master bedroom and they ranged from $750 – $900 and that didn’t include the rod. I’ve made curtains before but I have so many rooms to do I thought it would be easier to buy.
I appreciate you sharing the cost of your curtains. It was the ah-ha moment I needed to get my sewing machine out and start sewing.
Thanks again!
P.S. I’ll be calling my mom also.
Did she share the cost?? I’ve been looking for that info and can’t find it.here.
Love your idea to use ribbon for the rod attachment. The curtains hang nicely. I am just now repainting a room and need blackout curtains. If I cannot find what I want, I just might make my own.
Thanks for your instructions which were very clear.
I am getting ready to make some curtians for my screened in porch and was wondering if you could suggest what type of material I should be useing? I would like them to be water proof cause I don’t want my television to get wet. Thank you Curlysuec #xcraftsdlitex @yahoo.com
I like how you made the channel at the top. I really don’t like the grommet tops you see so much today…they look too casual and cheap. Yours remind me of real pinch pleat drapes that used to run on a track…classy.
Wow, using the grosgrain ribbon cuts out a lot of steps (of making loops or having to gather the fabric on top). Good call!
Hi, Great sewing! Instead of sewing the gross grain on top at the bottom loop, tack it under the raw edge fabric fold to make it look cleaner. Same amount of layers but end is hidden for added stiffness.
Lisa
Look closely! , Looks to me this is what Chelsea did. Great job and love the fabric.
I thought the same thing! She doesn’t say to do that but it would make it much neater by not having any stitching lines.
What a capable and well-spoken young woman you are. Respect.
Thanks so much for this tutorial! The curtains you made are gorgeous! Question: When you sew the grosgrain tabs on, are you sewing right through all the layers so those stitches can be seen from the front of the curtains? If not, how are you hiding them? Thanks!
For the top of the ribbons you sew them on and then fold the fabric over (see here: https://www.twotwentyone.net/wp-content/uploads/2014/11/black-out-curtains-3.jpg) Then you sew one straight line across the bottoms of the ribbon from end to end.
I might be missing it, but I do not see how much ribbon to buy.
One roll should suffice.
Wonderful job. The colors are exactly what I want to use in our room. Do you happen to know the blue wall color and paint brand. I am going to make my curtains like this. Your detailed tutorial makes it look so easy. Thanks for sharing
I love it! I just got a sewing machine and this is going to be my first project for my baby’s room – I am following your website step by step. One question – how do I know how wide to make the curtains? How much extra fabric do I plan for on the width end, to plan for opening and closing? Thank you!!!!!
Thanks, Kelly! We didn’t cut the width of the yellow fabric, leaving the 55 inches intact.
Thank you for this tutorial, you gave me the courage to attempt these on my own! A couple of questions about your blackout fabric – is it hard/plasticy? Also, the fabric website says dry clean only – have you tried washing it yourself at all? Thanks!
Thanks, Erica. It’s not hard or plasticy, but sturdy. No, I haven’t tried washing them yet. When they do require cleaning I’ll probably get them dry cleaned.
Thanks for the brilliant post! I just bought the materials that I needed and I’m going to try this out tonight. Thanks for the inspirations.
Thanks, Julieane!
These are beautiful! I have the same question as Kelly above – how did you figure out your width? What is the total width of fabric you used vs. width of hung curtains? Thanks!
We didn’t cut the width of the yellow fabric, leaving the 55 inches intact.
Thanks! I guess I was just trying to figure out what your actual curtain rod width was versus the fabric width so that I can match my measurements to get the same amount of gather. Did you give your curtain rod dimensions anywhere in the post? Maybe I missed it…
I don’t think the width of the curtains is that big of a factor unless you’re working with really wide windows. Since the window I was covering is a pretty standard size I kept the fabric in it’s original width. Because when you close the curtains, it’s better to have extra fabric than too little fabric.
do these wash well? wondering about blackout material for frequent washings (kid with allergies)
Chelsea, I love your tutorials and your pictures are very helpful. You have excellent taste in fabrics. I make my own curtains but have never made lined ones. I am inspired by your posts to make the blackout drapes for my daughter’s room. You just can’t find pretty ones in the stores. Thank you! Keep up the great work! Ps: I too have one of those awesome moms who will come visit and help sew!
Thank you for the tutorial! Did you prewash the yellow print fabric before sewing?
Thanks so much for the clear tutorial! I would NEVER have tried to make these, but your directions made it a do-able project! Finishing gorgeous drapes for my grandaughter’s room, and will tackle nursery blackout curtains next. I have a monstrous kitchen bar/counter; makes it a bit easier to deal with ALL the fabric
how are the gros grain ribbon tabs holding up? would you use them again?
I’m working with very wise windows Ana all these great tutorials don’t mention the width bc they are standard sized windows. My windows are 2.2m wide, but most fabric panels are not anywhere near wide enough, I’m going to have to buy numerous panels to cover the window, any suggestions? Can’t find tutorials for that
Hi. Curtains look great in all rooms. I’m also interested in the paint color you have in the nursery with these yellow curtains. If you know, would you mind sharing? Thanks!!
Jo Lyn
When sewing the bottom of the tabs under half an inch, along with the fabric, did you sew along the seem all the way through all fabrics so that the hem is showing on the front of the panel? I assume there has to be a step that sews all pieces together for strength and proper hanging and this seems to be the only one that will work. But since I do not see the seam I can’t be sure. Thank you!!
Hi. Just wondering what you mean at the end about not covering the window with the curtain panels…is that not what they’re for?
When the curtains aren’t covering the window to block out light, you should position them so they aren’t covering the window to make the window appear larger. It’s the high and wide technique. http://www.apartmenttherapy.com/psa-hang-curtains-high-wide-elements-of-style-170163
I just made these yesterday for my Bubs room (after the material has sat folded in his room for 3 months!!) your instructions were so easy to follow and I love that there is minimal sewing involved! Thanks for a great tutorial.
Great tutorial! Thanks for sharing this at Motivation Monday at Mom Home Guide! I love your curtains — I need to add blackout fabric to the curtains in my daughter’s bedroom. Her room faces east, so it’s really sunny in there!
I need these! You make it look easy to make them… but I’m not sure my skill with a sewing machine could hand it. 🙂 Stopping by from the Dream. Create. Inspire linky party. Have a great day!
How did you know that I needed this exact tutorial Chelsea?! *runs off to buy supplies* Thanks for linking up with The DIY Collective, come back and visit us again next week! xo! Cassie
I’ve been putting off making blackout curtains for my son’s nursery because I’m so nervous about working with that much fabric (kind of a silly fear, but it’s true!). 🙂 You make it look so easy. Thank you for sharing how you did it!
I love the fabric you chose. Your blackout curtains look great! I have a few windows that need new window treatments, and your method looks a lot less complicated than some other ones I’ve seen.
I am so excited about this tutorial. I’ve already pinned it for later. The hubby and I desperately need some blackout curtains. Our lives are just so much better with them. But, the only ones I’ve seen in stores are so ugly and not the right size. I don’t think I’ll make any for this home, we’re probably moving soon. Though, I know that I will use this to make some after the move! Also, I appreciate all of the photos and detailed instructions. I get a little lost when it comes to sewing sometimes. Haha!
I totally thought this would be WAY too hard to do, but this tutorial is AMAZING! Thanks for sharing at #merrymonday!
Cute curtains! I’m not a sewing type, but you made it look easy! Thanks for sharing at #HomeMattersParty!
I love your fabric choice, but am looking for a cheaper option. Would a burlap fabric work with this project? Or any suggestions for other fabrics?
So, we need these curtains for a half window – does the fabric need to run all the way to the floor in order to black out the light? Or can it just cover the window or possibly go 4 inches or so longer?
I do pretty much the same method with 1 exceptions. I hang the curtains before hemming and drag the iron board over, after pinning the hem. I then use iron on tape for the hem. So I am not taking the curtain down and then up again.
Oh, one other exception. before sewing the side seams I hem the lining about 2 inches shorter then finished decorator fabric will be.
Thank you so much for tutorial. How much did you fold over the top? And should I make the black out lining shorter by that length so that it isn’t so thick at the top?
Woa! Verry beauty curtains! I love you
This pattern is fantastic. Your instructions were really easy to follow and it’s good to know someone else’s “sewing brain” works the same way as mine ?
I am making my daughter’s black out lined curtains for her nursery long distance. I have never used this lining. How do you tell which is the right side of the lining fabric?
Hey Chelsea,
Thanks for this great tutorial! You give beginner sewers like me confidence =)
My question is this – how do you successfully and *evenly* cut the fabric? I live in a small house and have a hard time finding a large surface to lay it out in order to cut. Any tips? I have a rotary cutter. I made some DIY roman shades and had this problem – tried so hard but couldn’t cut them even. Now I’m scared to try anything else. Thanks!
very nice information shared i love it because this is the work we do here in UAE but we use different ways to do it more professionally i will keep reading your articles thanks for help
sorry to i forget to introduce my self it better you find about me from my business web site if you type http://curtainindubai.ae you will find out i am anwar interior designer in dubai
Love the post and so easy to understand. Thank you!! My question to you is…Do these slide easily when opening. I want to make sure what however I decide to attach to the curtain rod that they will slide easily when I open them without having to struggle… 🙂 Thank you again.
I have to help them over the lip where the two poles meet. But other than that, they work fine!
You might wish to consider purchasing a rod that doesn’t require to be telescopic (which are usually pricey). That said; as most widows and rods are standard in sizing purchase one that ….. extends anywhere from 3″ to 12″ on EACH SIDE beyond your window/frame which doesn’t require you to extend it. By doing so this will a) eliminate the need to telescopic it b) provide what is called stack-back allowance (when the drapes are open you will have more window pane showing) c) make the width of the window appear larger (in width) which in turn will give the window a balanced appearance if hanging your drapes high as Chelsea did d) will help to eliminate light filtering through at the sides when using a decorative rod. (If using a traverse rod and a drape with hooks they are often designed so the side hem(s) of each panel can be wrapped around to meet the wall.) Hope this helps.
oh my god this is some think we do all day really happy to see such information about blackout curtains nice sharing keep it up
I have been following this tutorial and just finished today. I am a novice sewer so I worked extra slow, but after I got the fabric cut it only took about 3 hours to finish all the steps (I was doing 2 panels at once).
I was confused about the four extra inches when attaching the long edges. After reading other tutorials of the same sort of thing it became clear that the printed fabric sags where the blackout is pulled straight when sewing. This was a new concept for me, but such a great technique for efficiently creating a neat hem down the sides. I also pinned the long edges because my workspace was cramped and the fabric was difficult to control. The only other thing I can add is that I bought blackout curtain rods, which I was not aware existed. They have 90 degree angles to the wall so the curtain can wrap around.
It wasn’t until I read other tutorials and then followed all the steps of this demonstration that I was able to appreciate the brilliant simplicity of the technique. These curtains are lovely (for my daughter’s bedroom) but I will also be taking away some technique that I will certainly use for future projects. Thank you!!
very beautifull
What type of fabric is the yellow print? Is it just cotton?
Thanks for sharing this! I’m for sure going to incorporate a few of your ideas!
I love your ideas. I have made curtains for years using a casing for the rod and using the ribbon makes the curtains slide much smoother a they hang beautifully. I made the blackout curtains for my bedroom because I work the night shift and they have made a huge difference in my sleep.
This is exactly the guidance I needed to make heat-blocking curtains for our new home in Central Texas. Thank you! Since we WANT solar gain in the winter, the curtains will come down when it turns cool (we live in the country with no close neighbors, so privacy isn’t an issue). I’m using spring tension curtain rods inside the window jambs to make putting up and taking down the curtains simple and to avoid putting holes in the walls for hardware. Although your grosgrain hanging tabs are very smart, I’m using metal rings with clips. I wanted the curtains to be very quick and easy to push open and shut — like a shower curtain — especially since one curtain hangs in front of a door.
Thanks again for the great tutorial and pictures!
Your tutorial is fantastic! I’m just now understanding curtains, curtain rods, curtain width and length! Do you mind sharing the blue paint color name? I’ve been looking for some time for the perfect shade of blue and when I find “the one” it’s more gray. Thank you!
Glad this type of tips are still here. My moms keeps on pushing me about my rooms curtains today i finally decided to get some real info before purchasing a new one. Thanks about your quaility content.
Inspiring Post!
How much did all this cost? I’m wanting to do this in our bedroom!
chuyên cung cấp bạt che nắng giá rẻ.
thiết kế thi công bạt mái che các loại
Great work and nice method you have been shared. God bless you
Best way to Do It Yourself. Keep sharing your knowledge.
Wow! Nice article. Thanks for sharing the information with us.
roller blinds dubai
Very useful information. Thank you admin for sharing with us.
curtain dubai