How to Solid Stain a Deck
This is a sponsored conversation written by me on behalf of Purdy. The opinions and text are all mine.
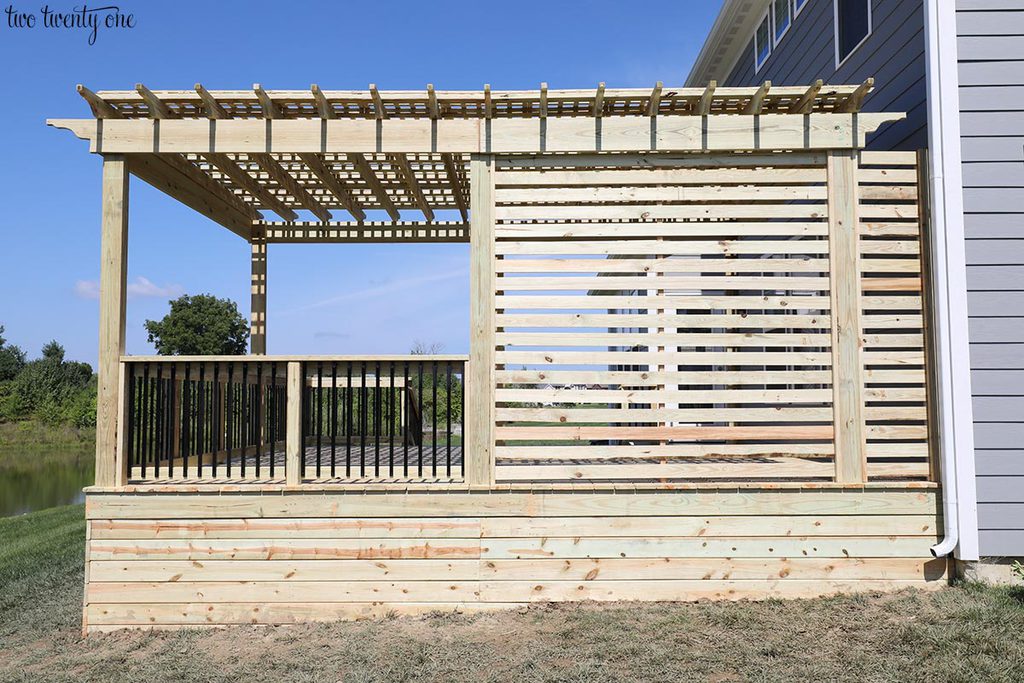
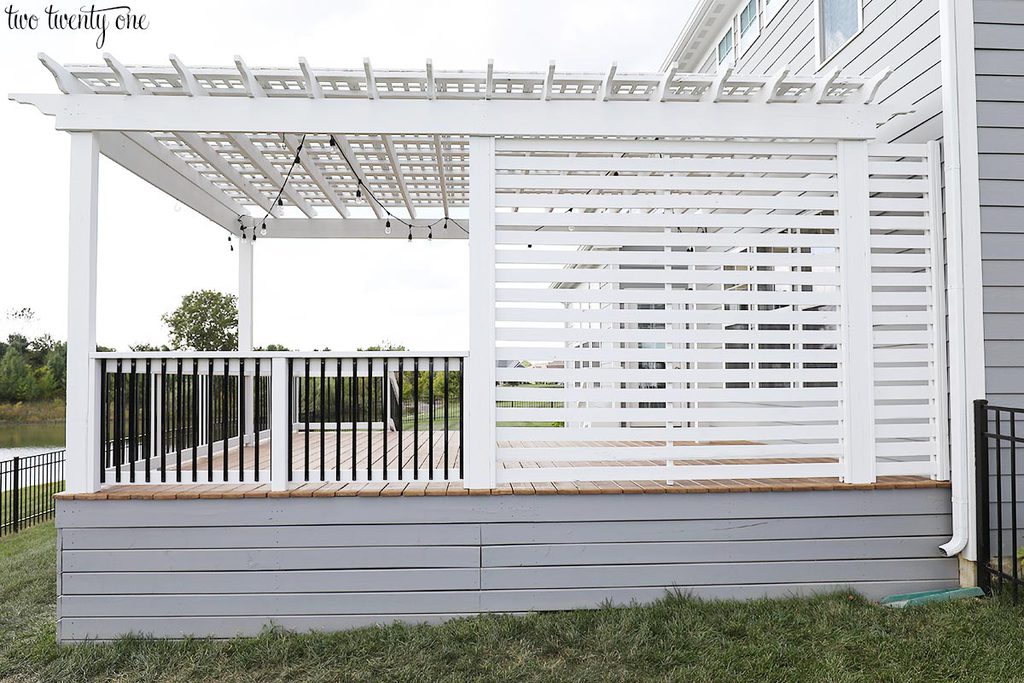
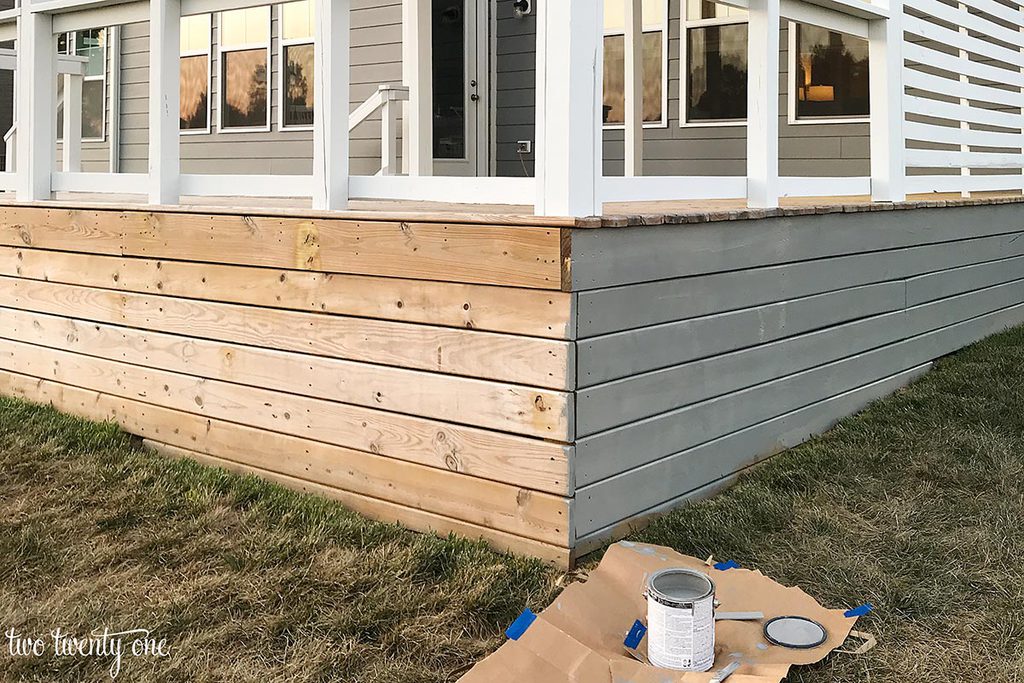
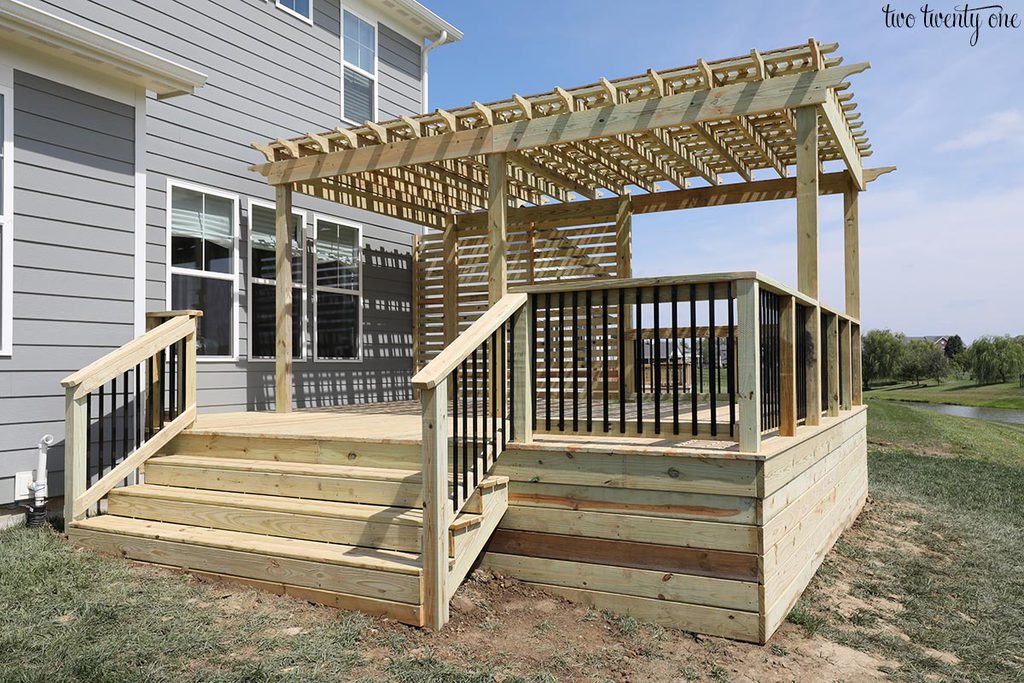
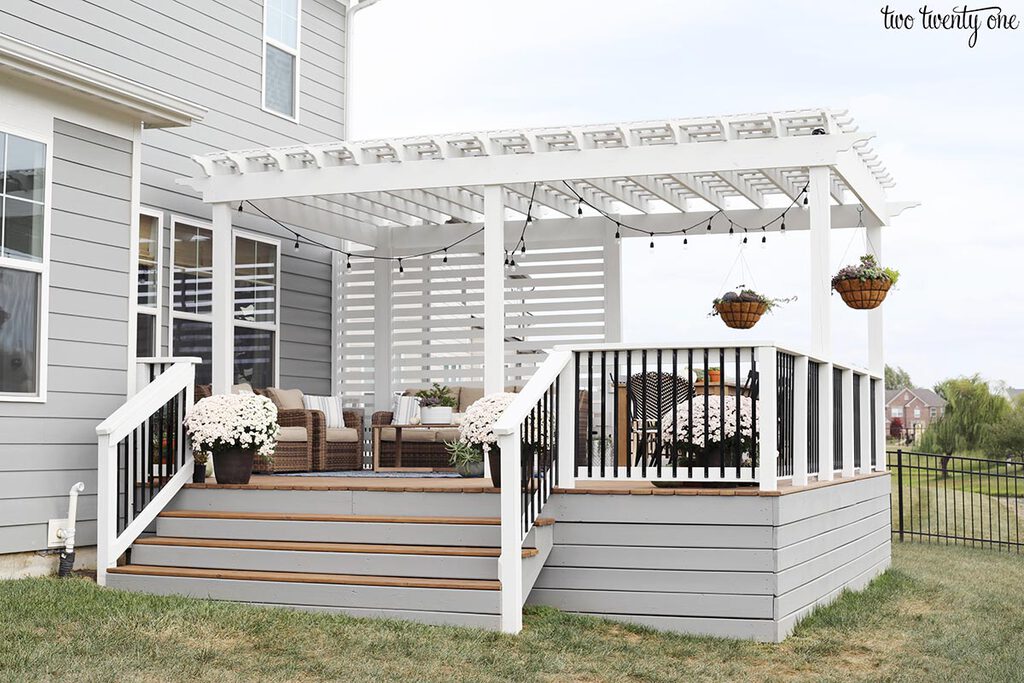
When planning my design for our pressure treated pine deck, I knew I wanted the base to match our house so the deck would flow with house instead of looking like an addition onto the house. The way I was able to accomplish that look was by using solid stain– something I had never worked with in my years of DIY projects. I learned a lot when preparing to tackle this on my own and in the process, so today I’m sharing how to solid stain a deck.
Solid Stain Basics
Solid stain is an opaque stain so you won’t be able to see the wood grain– think of it as paint but for your wood deck. And of all the deck stains and sealers, solid stain lasts the longest– about 3-5 years. Solid stains come in an array of standard colors. You can also get it color matched, which is what I did. Since I wanted the base of our deck to blend with the color of our house, I had the solid stain tinted to match the house.
Preparing a Deck for Staining
You’re going to want to clean your deck before applying stain. Since our deck is new and had never been sealed or sealed, this process was pretty easy. First, I used a broom to clear off any debris. Then, I used a deck cleaner from a home improvement store, deck brush, bucket, and our garden hose to clean the deck. I allowed the wood to dry for 24 hours before I applied the stain. If you have an older deck with pre-existing stain on it, you’ll want to power wash it. And if parts of the old stain are peeling off, you’ll need to sand those down. If you don’t, the new stain will also peel off.
Outdoor Conditions for Staining
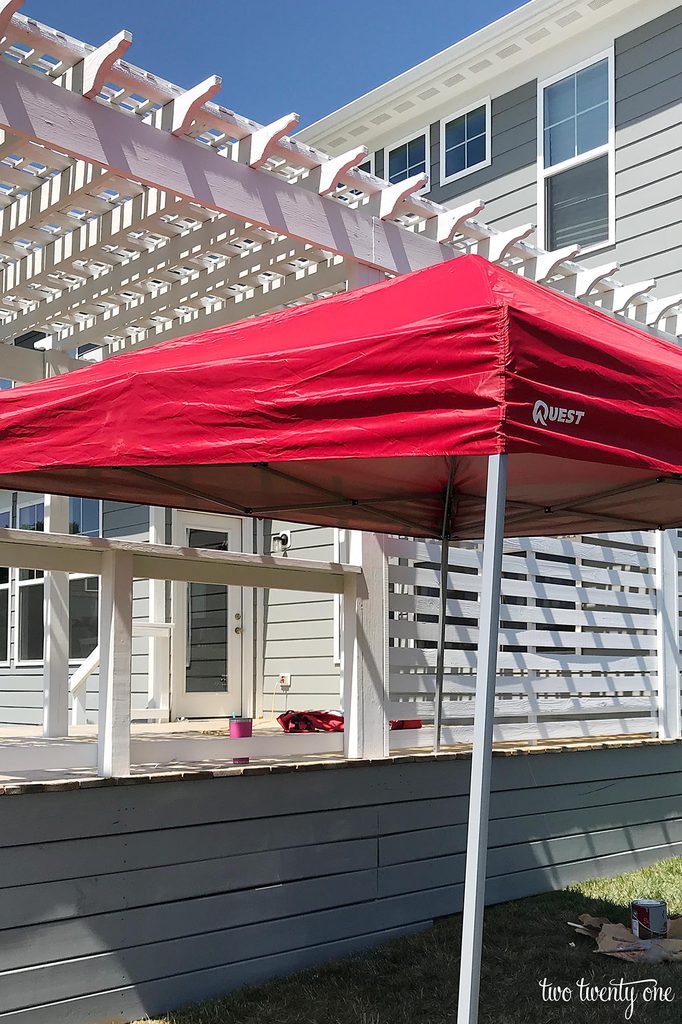
Weather conditions are a big factor when it comes to staining a deck. Your can of stain will tell you the preferred outdoor temperature, but most suggest between 45 and 95 degrees Fahrenheit. Humidity also plays a factor so try to stain when the relative humidity is between 40% and 70%. You also don’t want to apply stain in direct sunlight. Staining in direct sunlight causes the stain to flash dry instead of soaking down into the wood. When I was applying the second coat of stain to the base of the deck, it was a bright and sunny day so I used our pop up canopy to create shade.
Selecting the Right Tools
Make sure you choose quality tools for applying the stain to your deck. Because, trust me, you can tell the difference between well made painting tools and those that aren’t made with good technology. I love using Purdy products because the quality is great. When I use Purdy painting tools, I notice better coverage, ease of application, speed of application, and superb cleanability.
Plus, they’re handmade in Portland, Oregon by skilled craftsmen and women, many of whom have more than 30 years’ of brushmaking experience. Each brush is “hand-signed” by the maker, who applies a special sticker bearing their signature to each brush they make. Pretty, cool, eh? You can see the sticker in a couple of the photos below.
No clue what type of brush you’ll need for a certain project? Purdy has an online tool selector. Just select the surface, the type of paint or the project you’re working on, and the tool will provide a list of Purdy brushes and rollers that will give you the best results.
The Tools Needed to Solid Stain a Deck
Here are the Purdy products you’ll need to solid stain a deck– a 9″ Revolution roller frame with a 1/2-inch nap Marathon roller cover, designed to work perfectly for exterior projects, a 9″ paint tray with a 9″ paint tray liner, and a 2.5″ angular Chinex Elite paint brush, also perfect for exterior projects.
Tip: Put your painting supplies on top of deconstructed paper grocery bags. When I was staining the base of the deck, I would drag it along the grass as I went from section to section.

How to Solid Stain a Deck
Applying solid stain to a deck is very simple. If you can paint a wall, you can solid stain a deck.
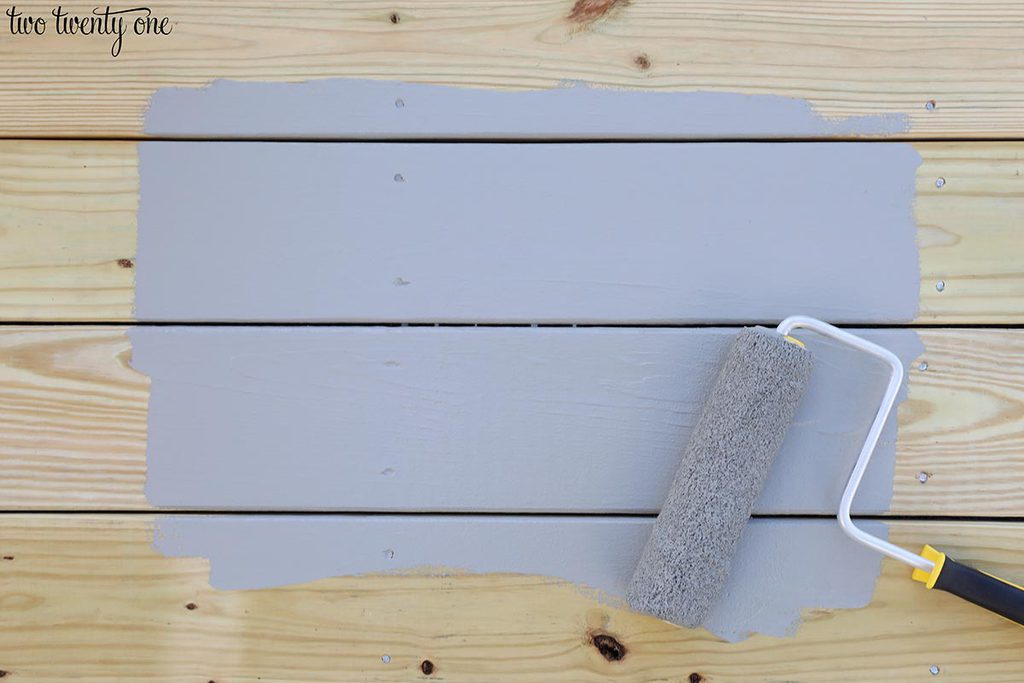
Step One: Roll
Pour the stain into the paint tray and load the roller with stain. Be sure to use the roll off grid to remove any excess stain. Start rolling the stain onto the wood. I suggest doing 3-4 boards at a time in smaller sections.
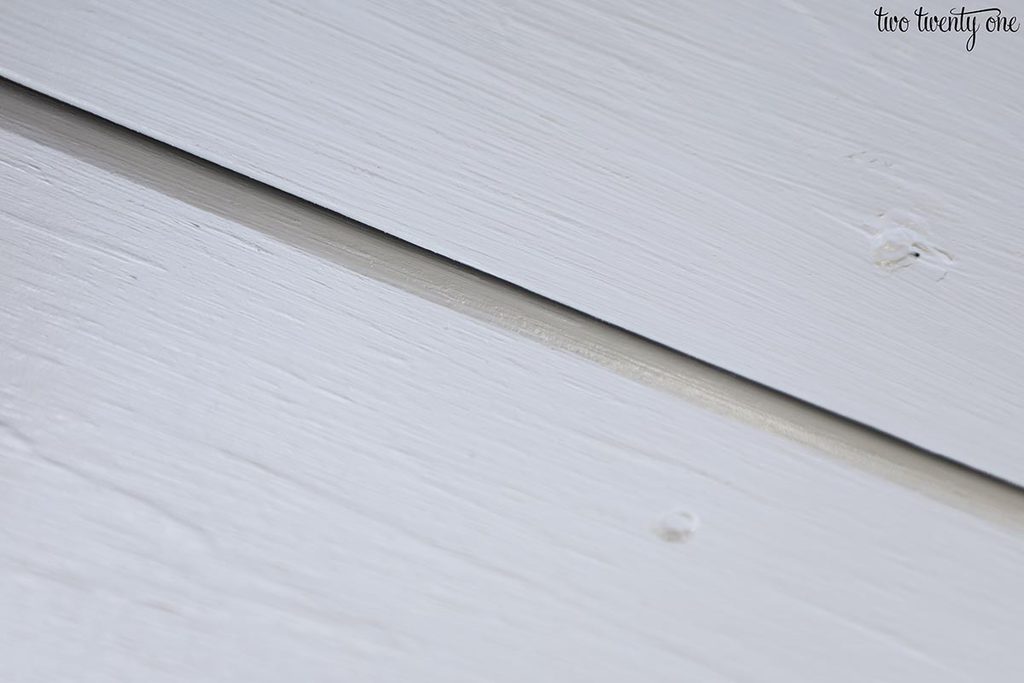
Step Two: Address the Cracks
The roller does a great job with coverage, but sometimes it can’t get into the cracks between boards. And you want as much of the wood protected from the elements as possible.

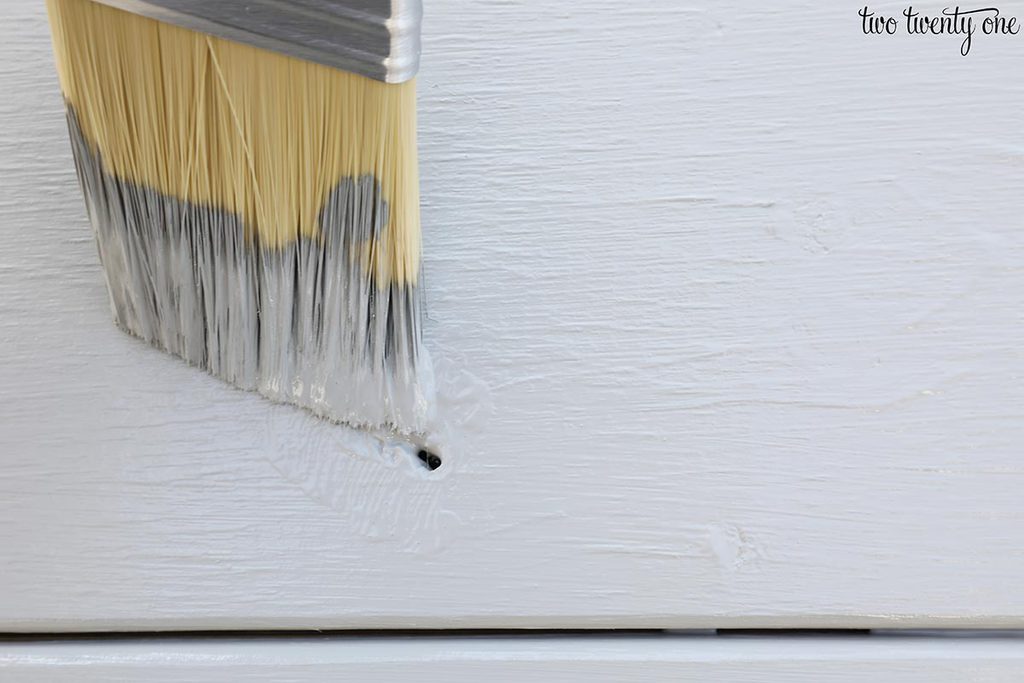
Use an angular paint brush to apply paint inside the cracks.
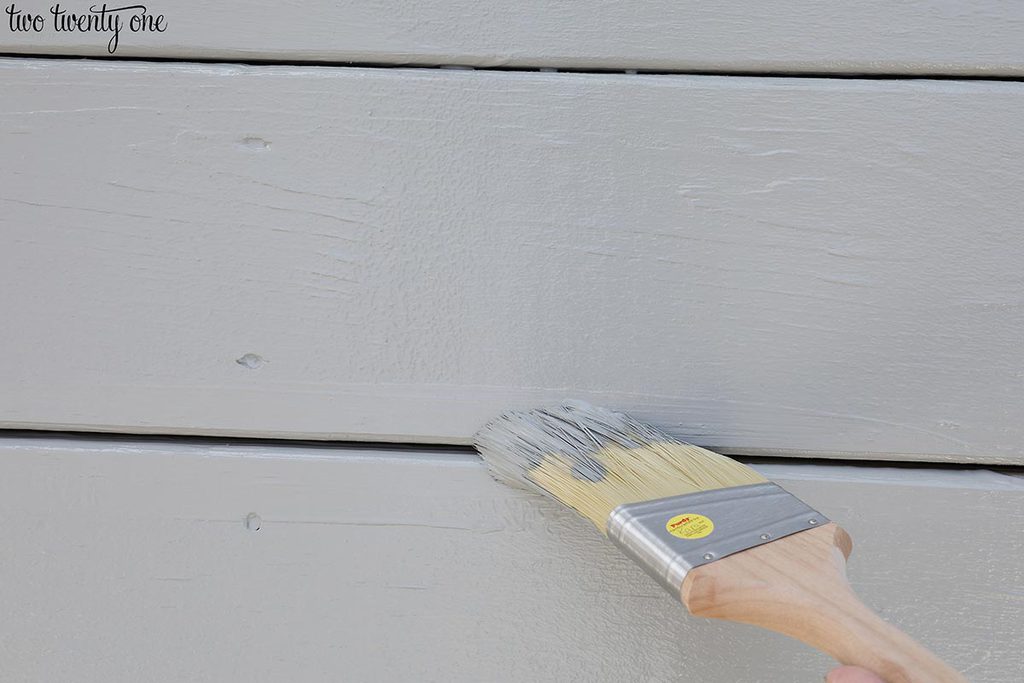
The paint brush can also be used to get into knots in the wood.
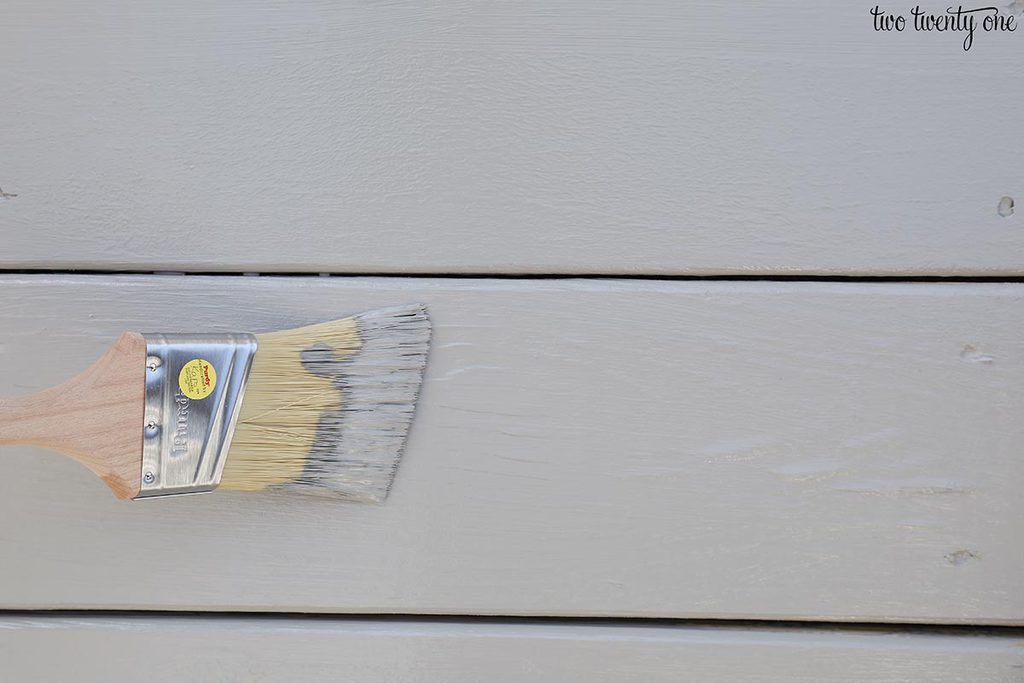
Step Three: Back-Brush
For a smooth finish, before the stain starts to dry, run the paint brush over the wood to level out the paint.
Repeat steps one through three until you’re finished staining the deck.
Keep in mind you can use Steps One through Three when solid staining horizontal deck flooring.
I was able to stain this side of the deck in 45 minutes. Pretty fast, right? Having the right painting tools certainly helped! I didn’t have to go back and remove any roller lint or bristles from the stain that can often occur when purchasing cheaper painting tools.
How about another before and after?
Need more painting and staining help? Here are also some great “how-to” videos that offer helpful tips and tricks for your painting projects, including how to care for your brushes and rollers when the job is done.
This post was sponsored by Purdy Painting Tools. All opinions are my own.


Thank you for this! We need to stain our deck next spring and have considered hiring out the job, but after seeing how easy it is to DIY, I told my husband we should just do it ourselves. Love all the great content you share!