How to Fix Furniture Scratches
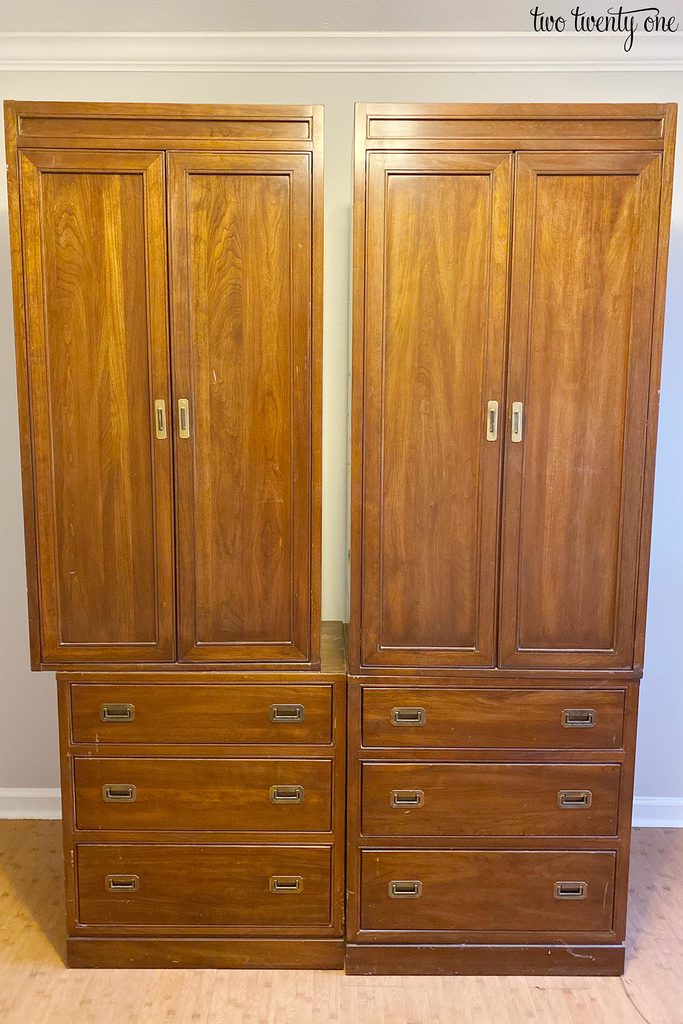
Recently (and by ‘recently’ I mean a year ago), I bought these 1986 Ethan Allen campaign style armoire chest cabinets off of FB Marketplace for $80 total. I was mostly interested in the cabinets because I thought they’d make great nightstands. But as you can see in the photo, they weren’t in the best condition. So today I’m showing you how to fix furniture scratches.
Furniture Scratch Supplies
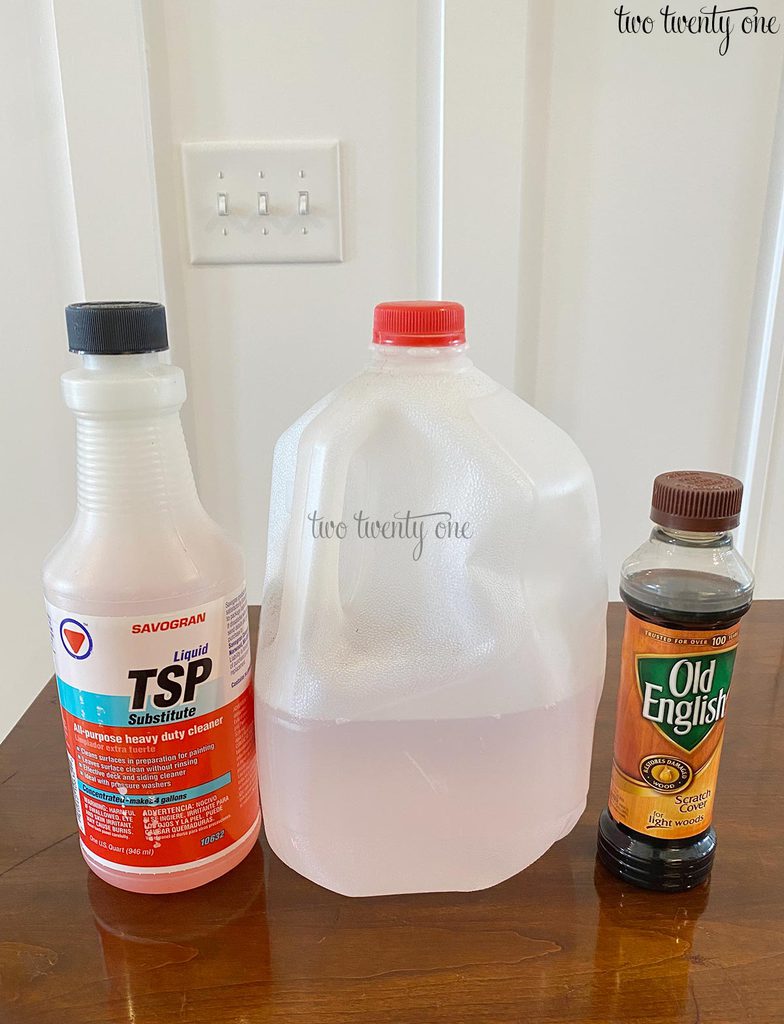
TSP Substitute … This is my go-to for cleaning wooden furniture. I used it to clean my antique buffet. It’s concentrated so I mix it in a gallon jug according to the directions on the bottle.
gloves … You need to wear gloves when working with this cleaner.
Old English Scratch Cover … I used the light wood formula.
clean cloths, towels, or t-shirts
Clean the Furniture
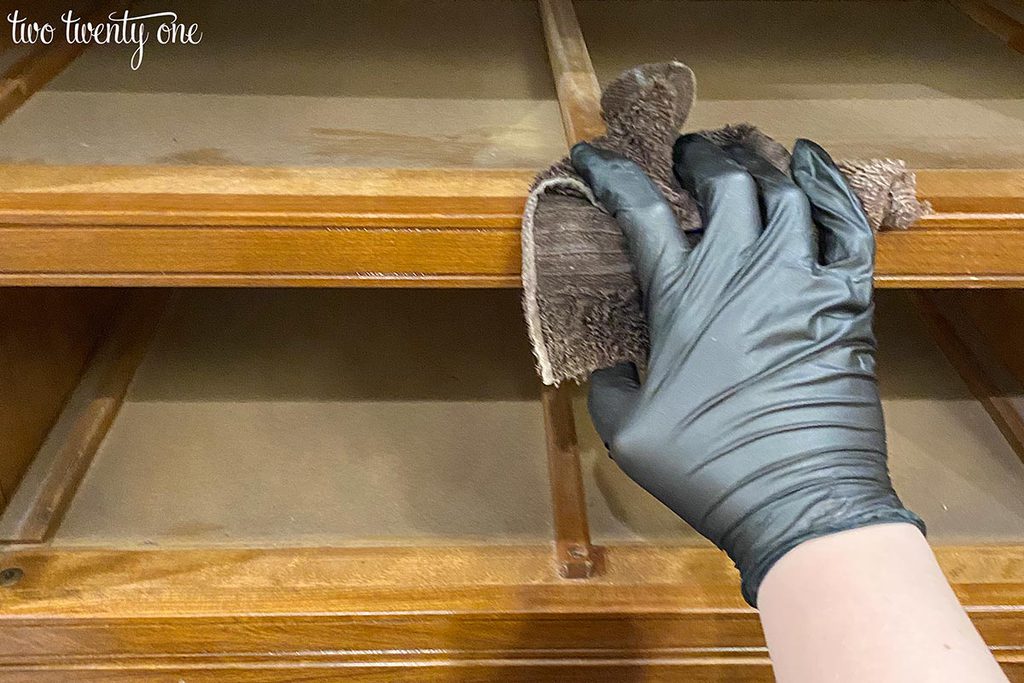
Before you can remove scratches from wood, you have to clean the piece first. I clean every piece of secondhand furniture that comes into our house, and you should too. I recommend using old towels cut into smaller pieces. Pour a little of the cleaner onto the towel and get to work.
Use A Toothbrush
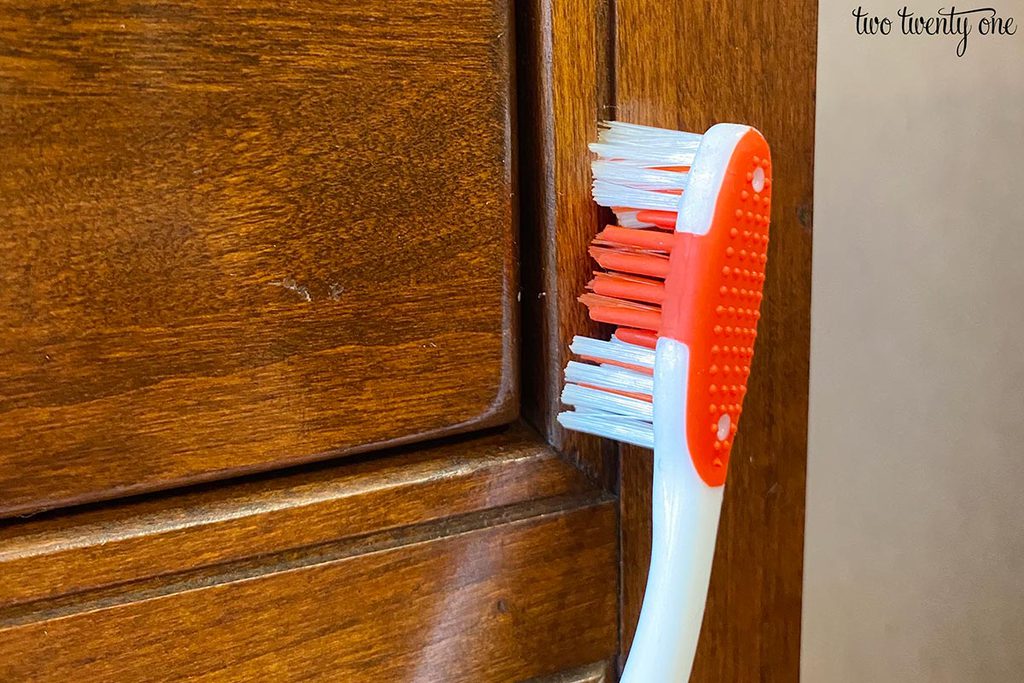
For small spaces, grooves, and corners, I recommend using a cheap toothbrush. You can find them at the dollar store or any big box store. Or, use one of the toothbrushes you get at your bi-annual dental exam.
Apply the Scratch Cover
Once the furniture is dry, grab the Scratch Cover and some clean, dry cloths, towels, or old t-shirts.
To use the Scratch Cover, shake the bottle well. Apply a small amount of the Scratch Cover on a clean cloth. Wipe scratches and nicks with the cloth. Then, spread over the entire surface. Wipe the surface dry with a different clean cloth until the finish becomes lustrous. See the video toward the end of the post to see how I applied the Scratch Cover and what it looks like before and after application.
The Results
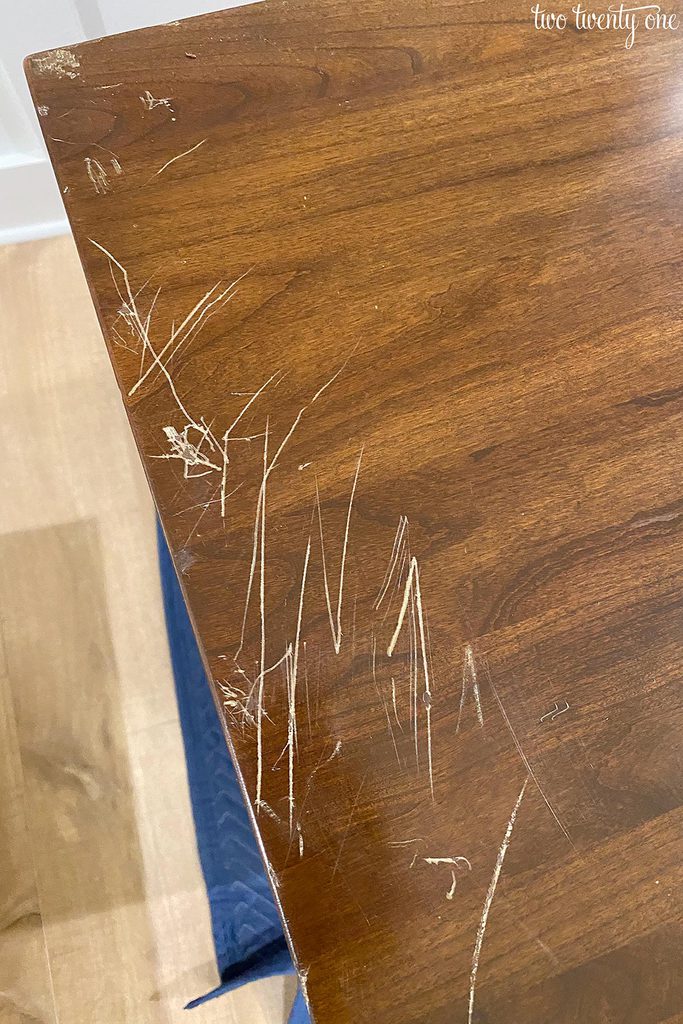
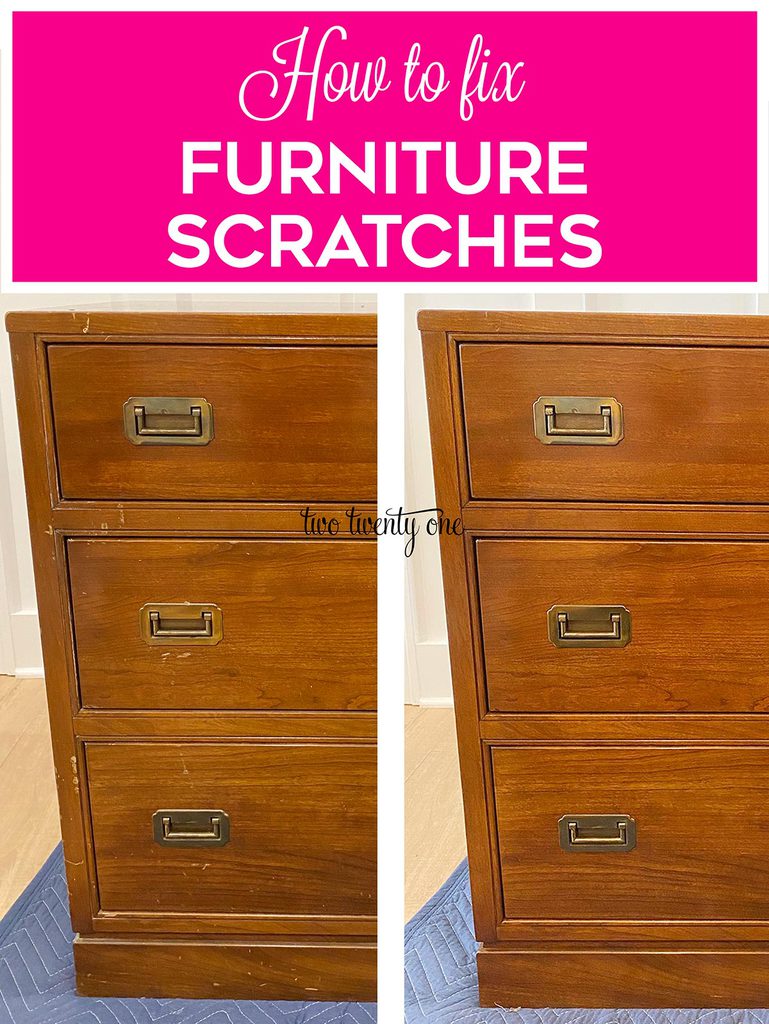
Here’s what the top of one of the nightstands looked like before. It looks like someone was mad and keyed the furniture instead of the offender’s car.
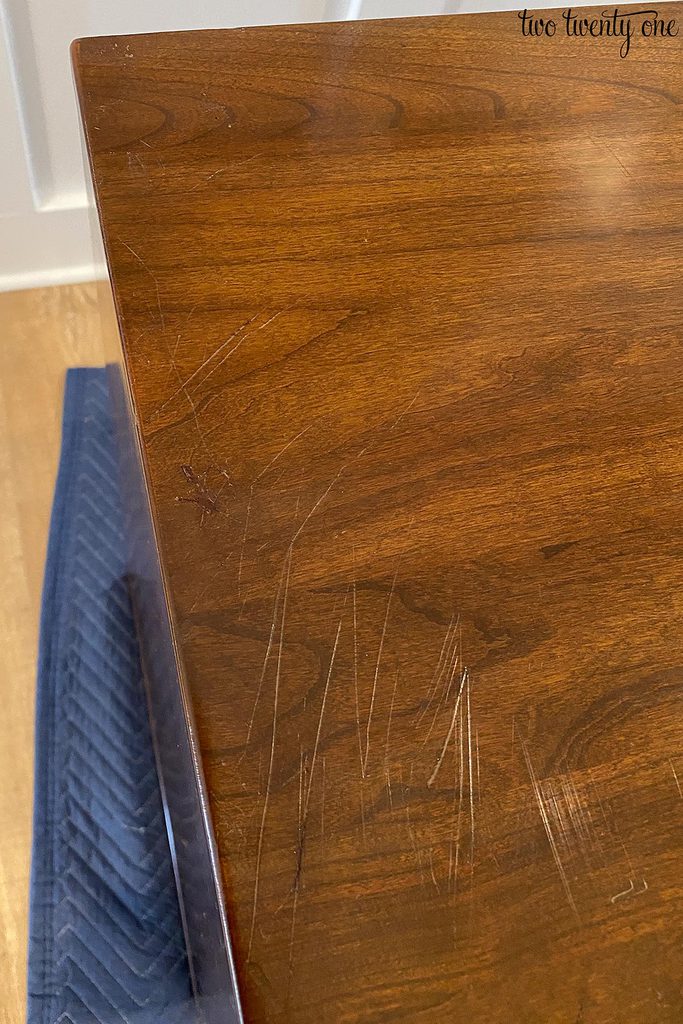
And here’s how it looked after I rubbed on the scratch cover. The deep scratches look a lot better, as do the minor scratches.
The best results I saw were on the sides of the nightstand.
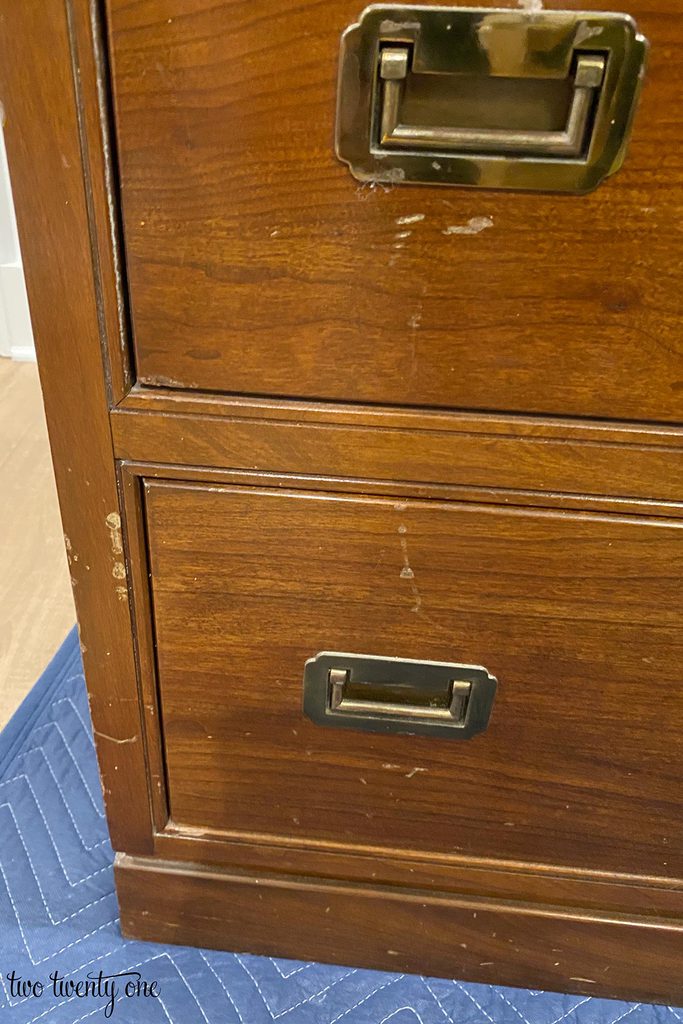
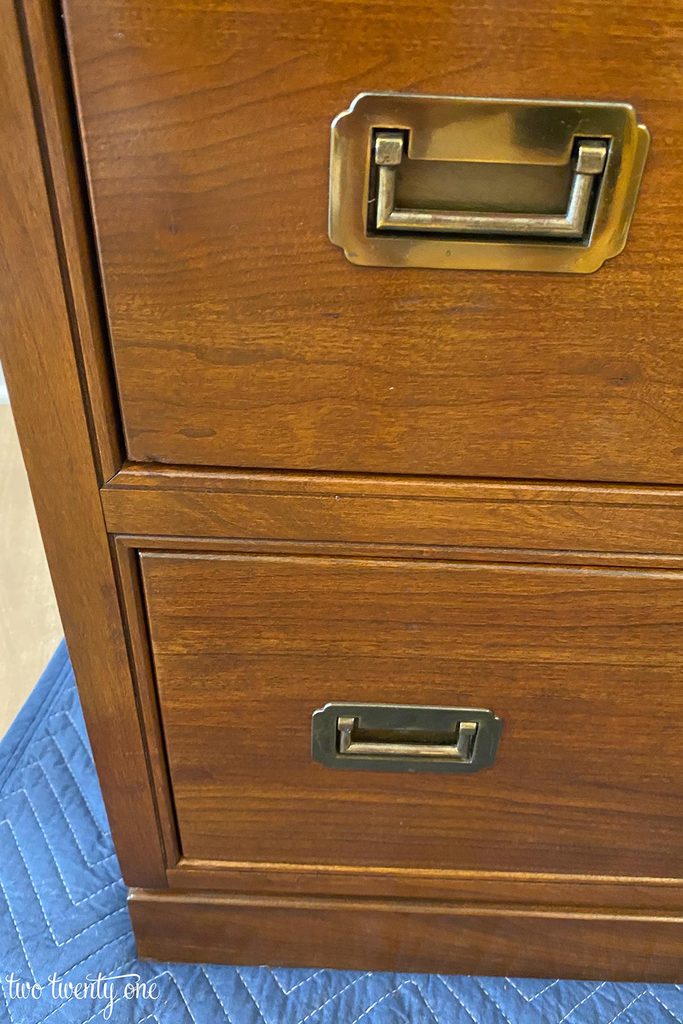
You can see between the pics below how the cleaner even took an adhesive like substance off of the pull.
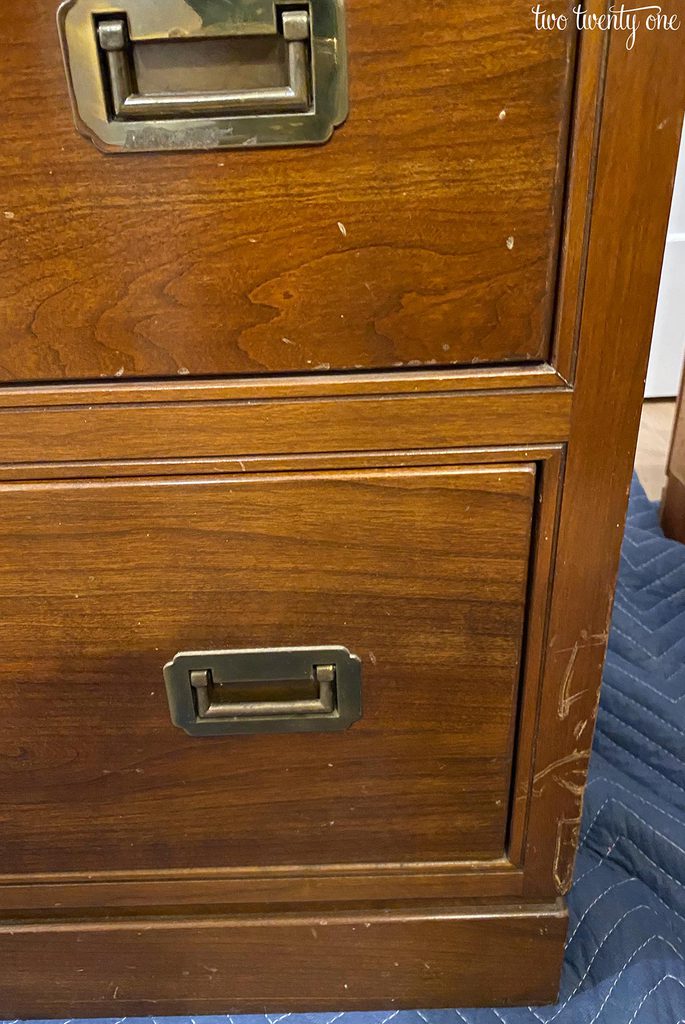
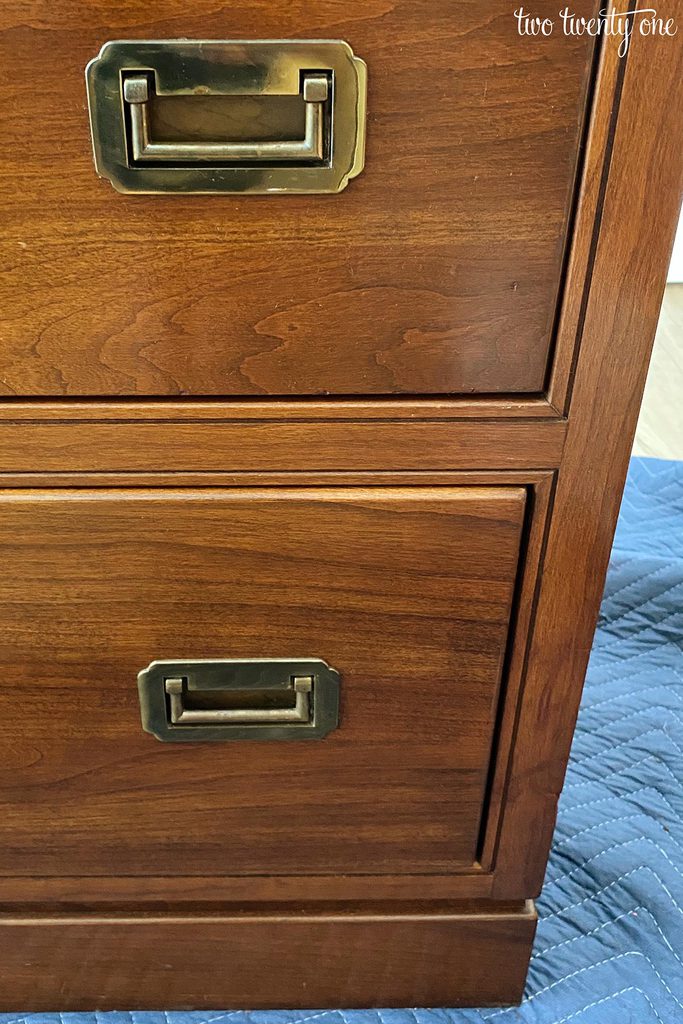
This method is a great way to make pieces more ‘livable’ if you don’t have the time or resources to completely refinish them. So if you’re short on time and/or don’t want to invest money in refinishing tools and materials, I highly recommend this method.
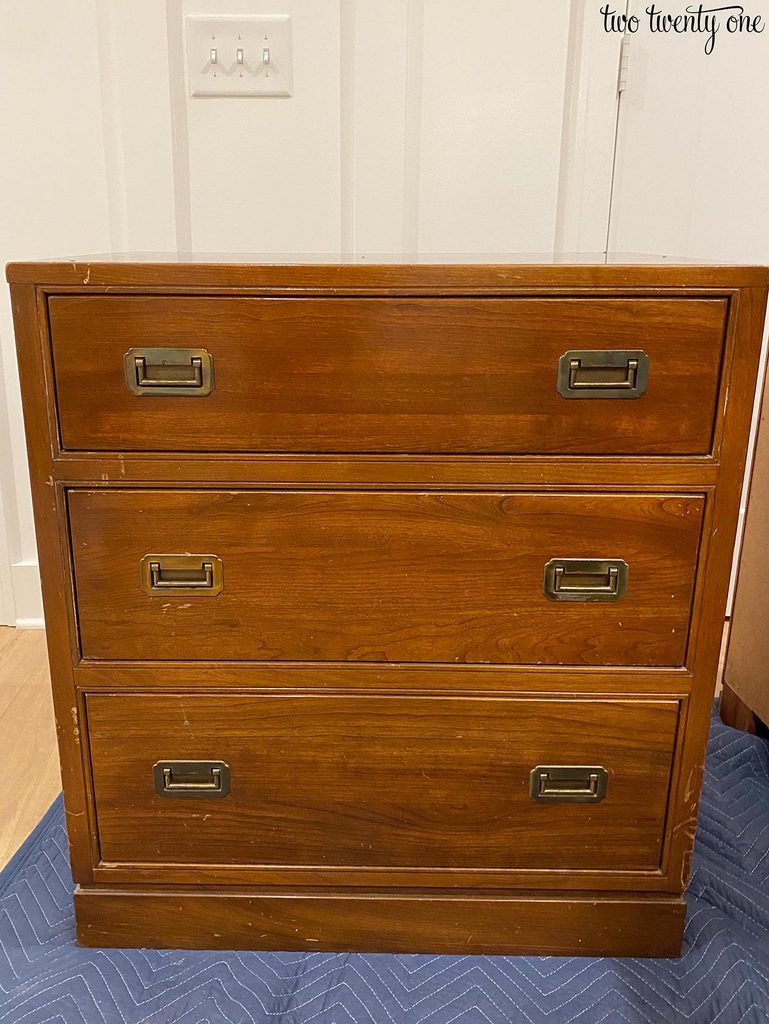
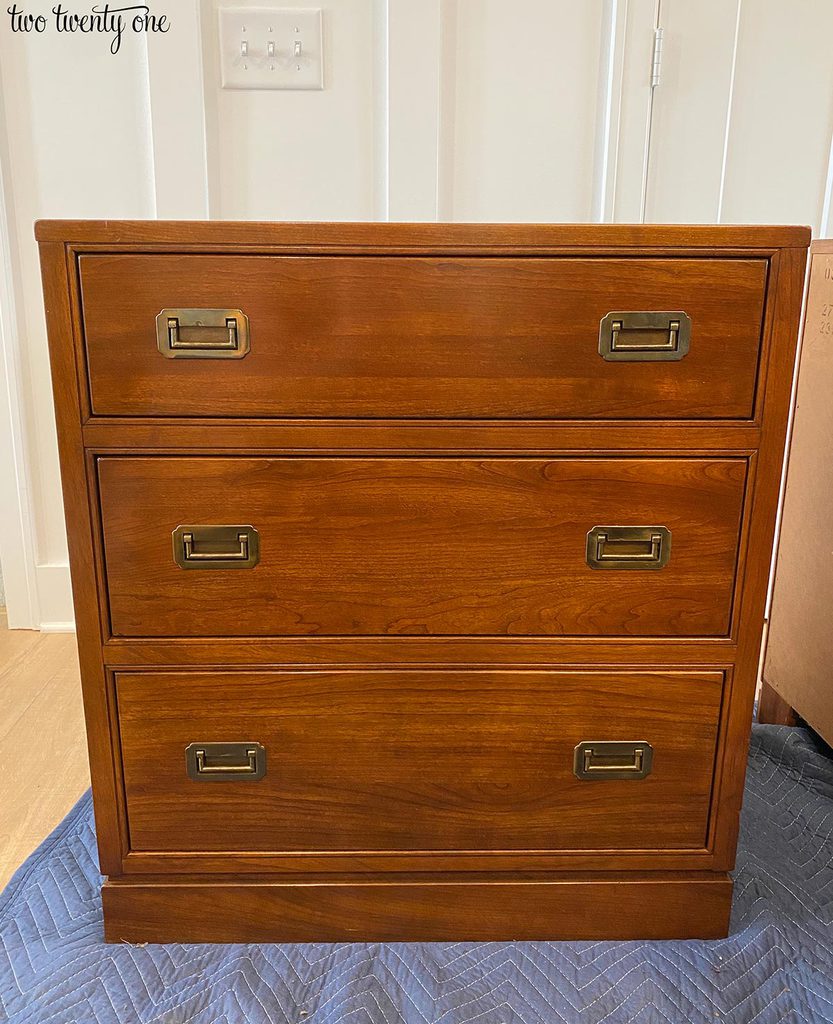
The following two photos show the difference on the front and top. Seriously, what a difference!
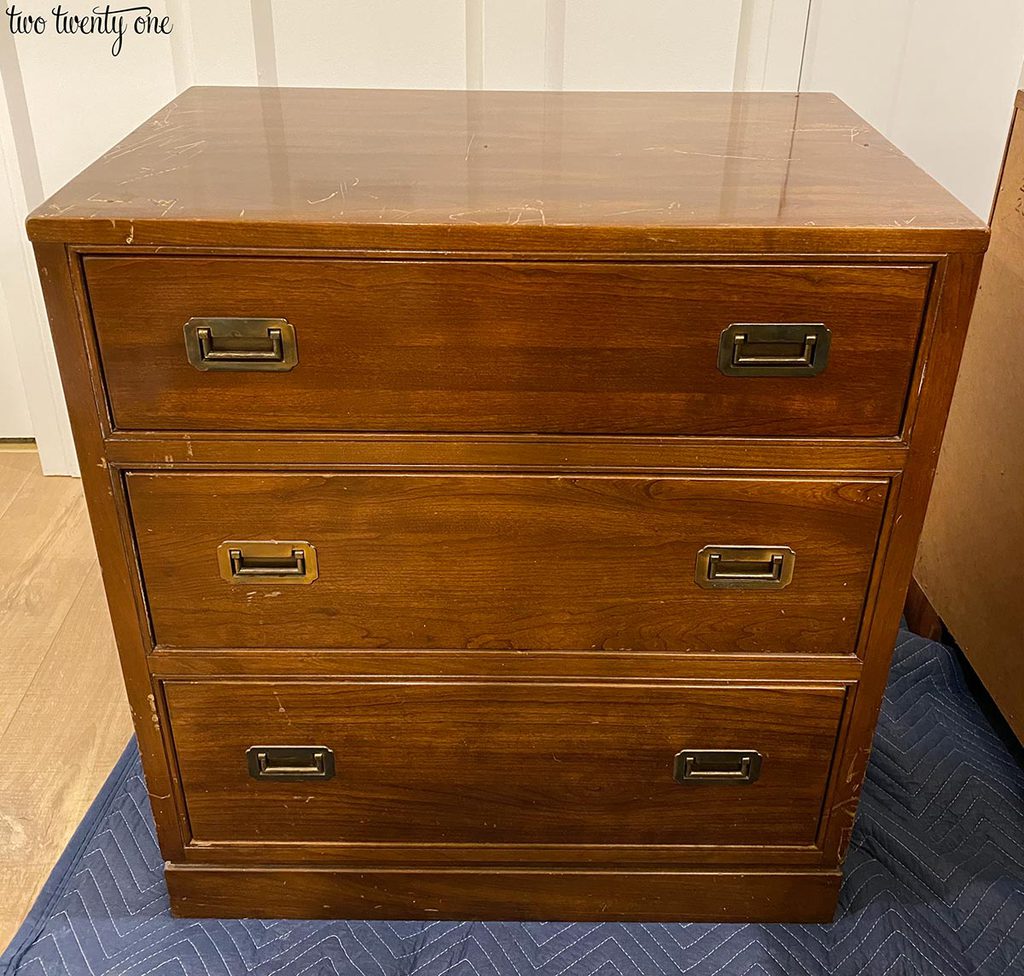
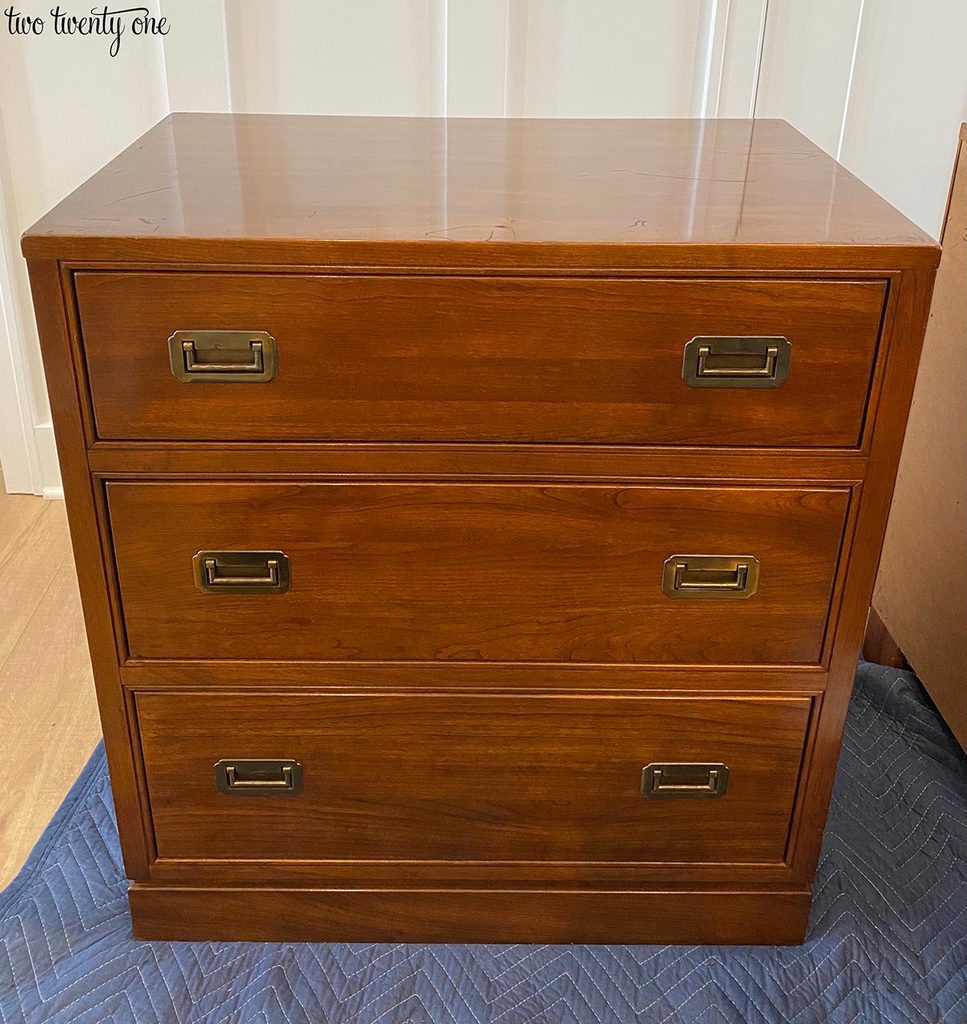
It’s not perfect, but it looks so much better.
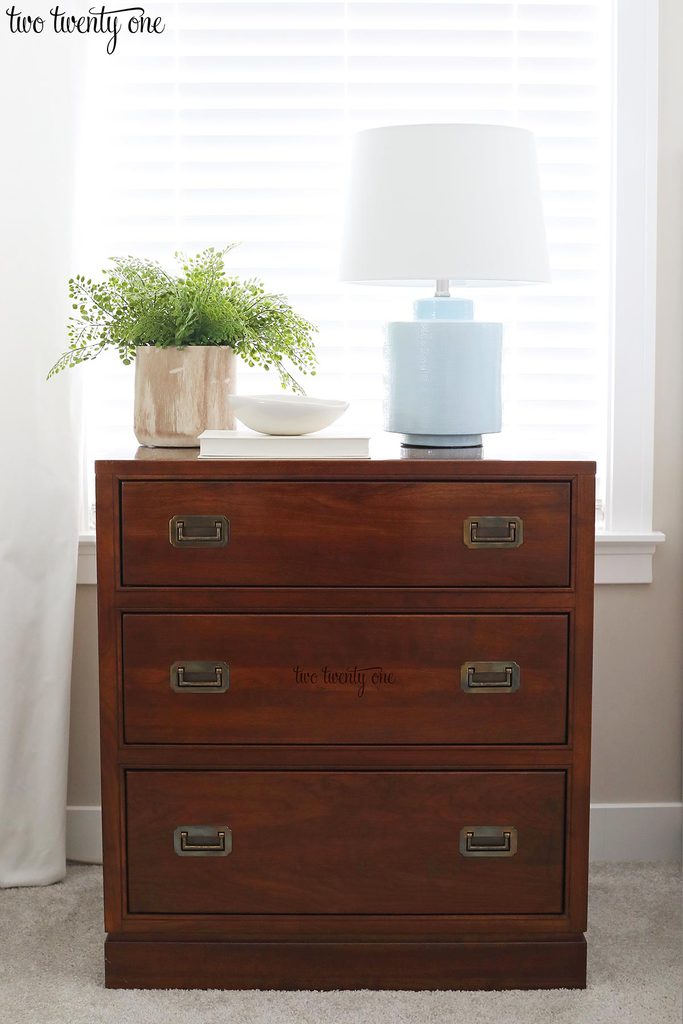
You can definitely see the scratches on top of the nightstand when you get close because of the high gloss finish on top of the piece.
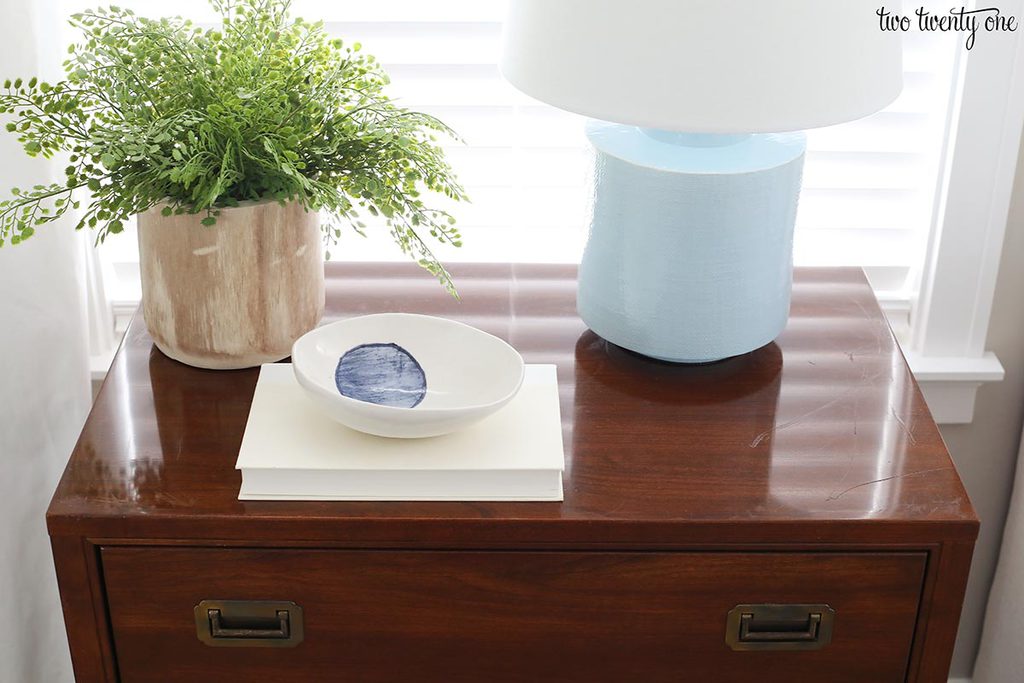
The front of the dresser looks really good. You can barely see any of the surface scratches in the wood furniture.
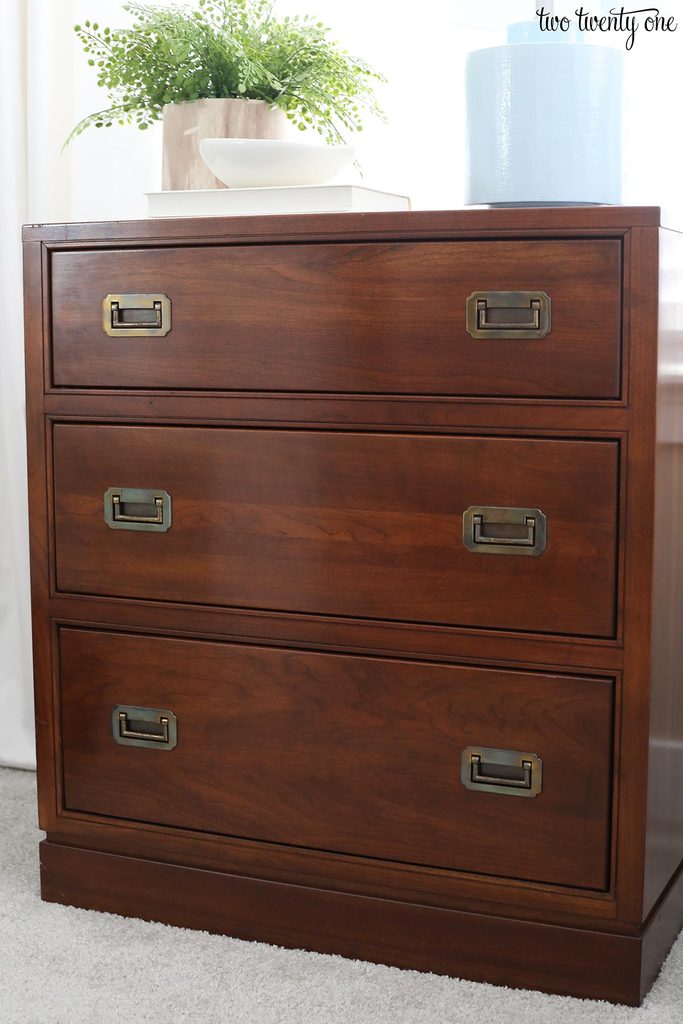
I originally bought the nightstands for our bedroom but they aren’t wide enough. My back-up plan was to put them in Owen’s room but I think they’re too high. Ultimately, they’ll probably end up in our guest bedroom. But if they don’t work in there, I’ll sell them.

Wow! So easy and such a huge difference. Thanks for the tutorial!
Looks great, Chelsea!