Creating A Safe Nursery
I’ve never hid my passion for child safety. Since accidental injury is the number one cause of death in children ages 0-12, I feel the potential for accidents should be at the forefront of our minds as parents.
Today I’m partnering with Nationwide as part of their Make Safe Happen program, which is dedicated to reducing childhood accidental injury, to share basic tips for creating a safe nursery for infants and toddlers. For additional safety tips, you can visit the visit the Make Safe Happen website and app for more safety tips from Nationwide.
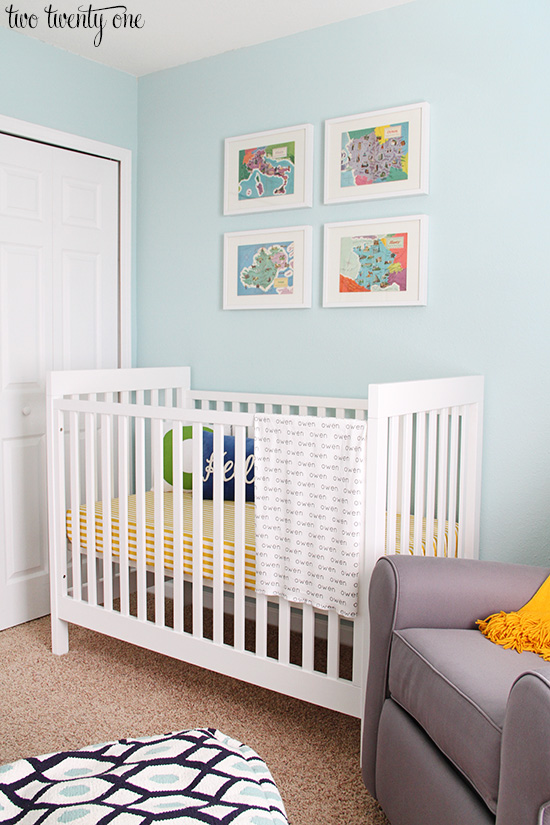
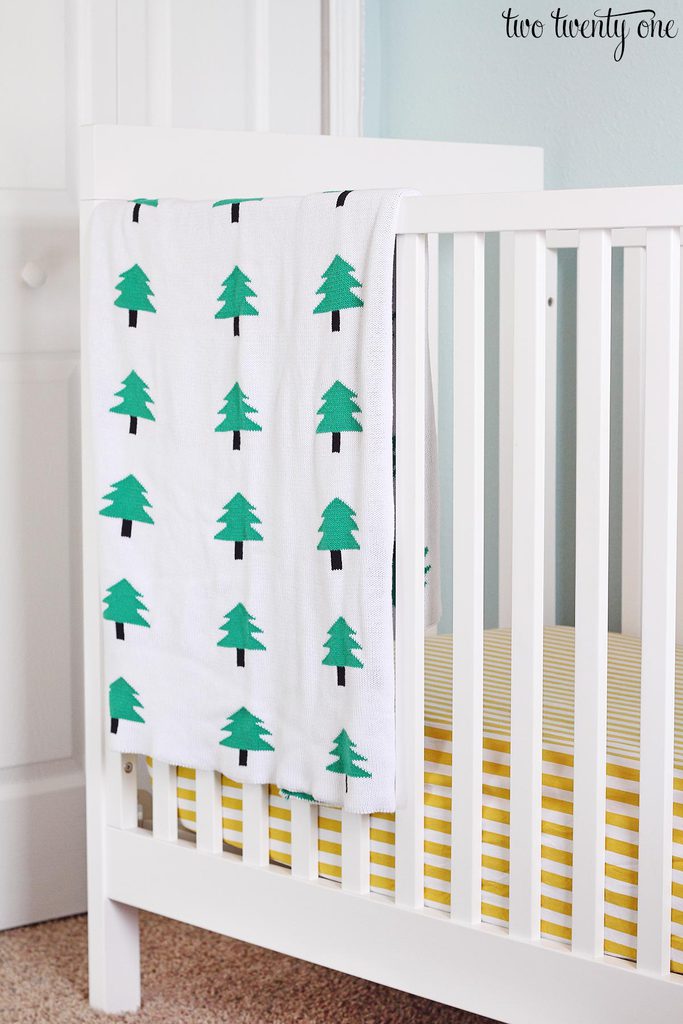
With newborns and infants, a safe sleeping environment is paramount. Keep cribs away from windows and electrical outlets. Nothing should be in the crib with baby– no blankets, pillows, stuffed animals, etc. The pillows and blanket in the photo below were for decorative purposes. Owen would sleep in a wearable sleeping blanket– never with a loose blanket until he was older.
When in doubt, remember the ABCs of infant sleep safety: alone, back, crib.
Experts recommend that babies sleep in the same room as their parents until at least 6 months, and that’s what we did with Owen. He slept in his sleeper next to my side of the bed.
We also adjusted his crib to the lowest height when Owen was a year old so there wasn’t a risk of him falling out. When in doubt, lower the crib.
Furniture
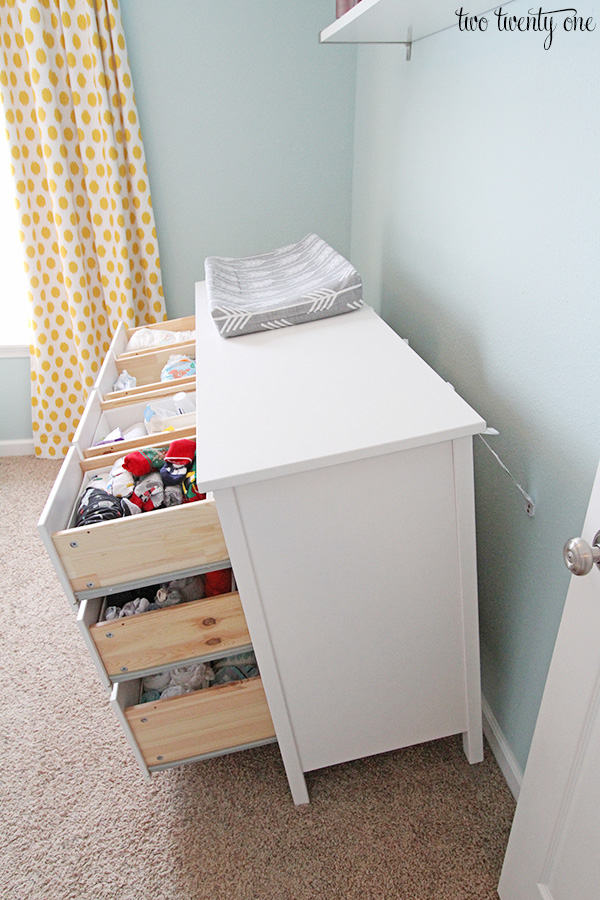
When Owen started showing signs of becoming more mobile, we anchored the furniture and large electronics in our house. I wrote a blog post on how we anchored his nursery dresser to the wall in his room. Doing this gave us peace of mind, knowing that if he were to pull all of the drawers out of his dresser or climb on the dresser it wouldn’t topple over onto him.
I took this photo to demonstrate how the dresser tips with all of the drawers open before tightening the anchor straps.
Changing Area
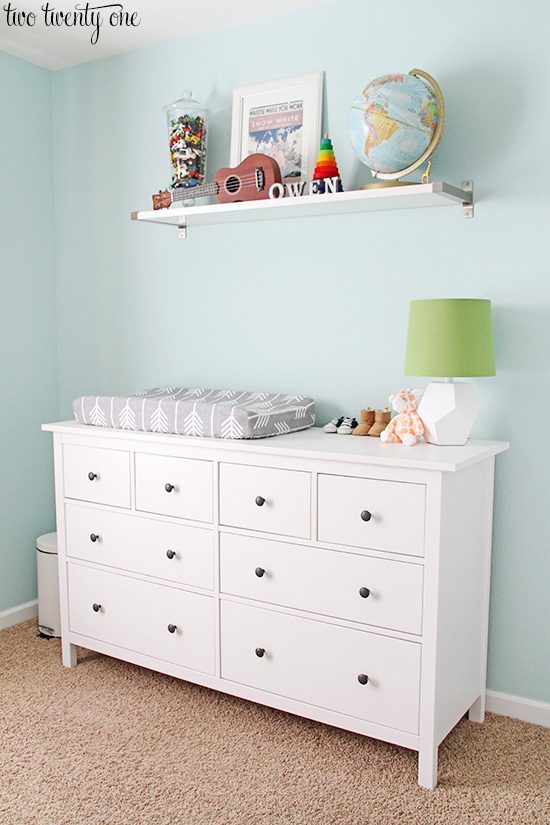
To save on space, we utilized the top of Owen’s dresser as his diaper change area. When we were setting up his nursery, we secured his changing pad to the back of his dresser with a screw so the pad wouldn’t slip off of the dresser during a diaper change. But we still always, and still do, keep a hand on him during diaper changes.
We also make sure to keep ointments out of reach.
Electrical Outlets And Electrical Cords
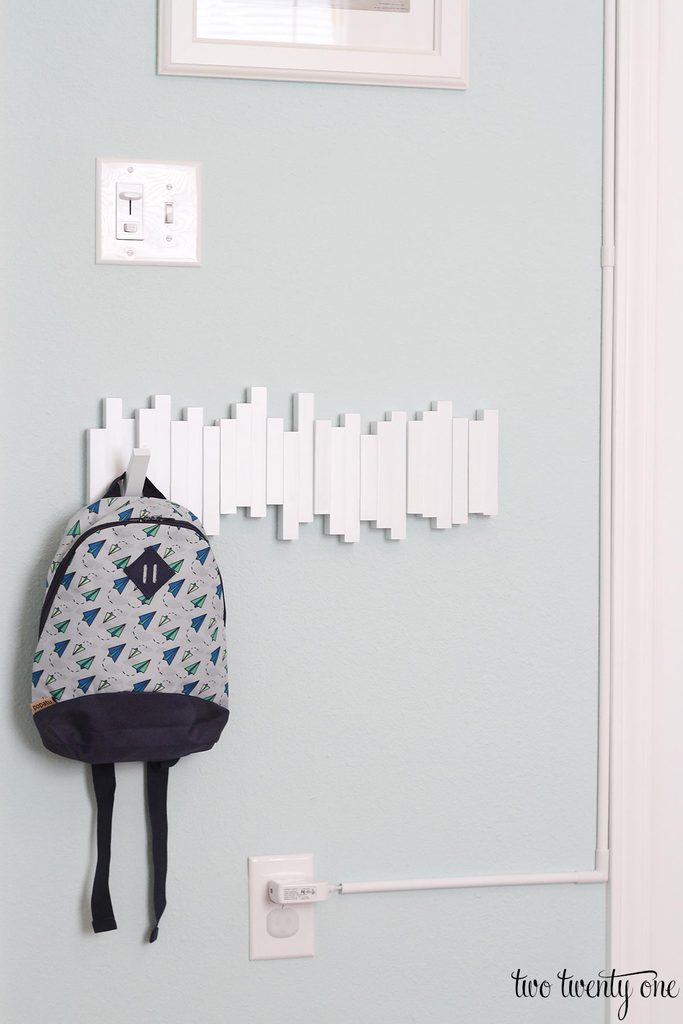
We didn’t really have to worry about all this until Owen was crawling. But once he was on the move, we started securing electrical outlets and cords.
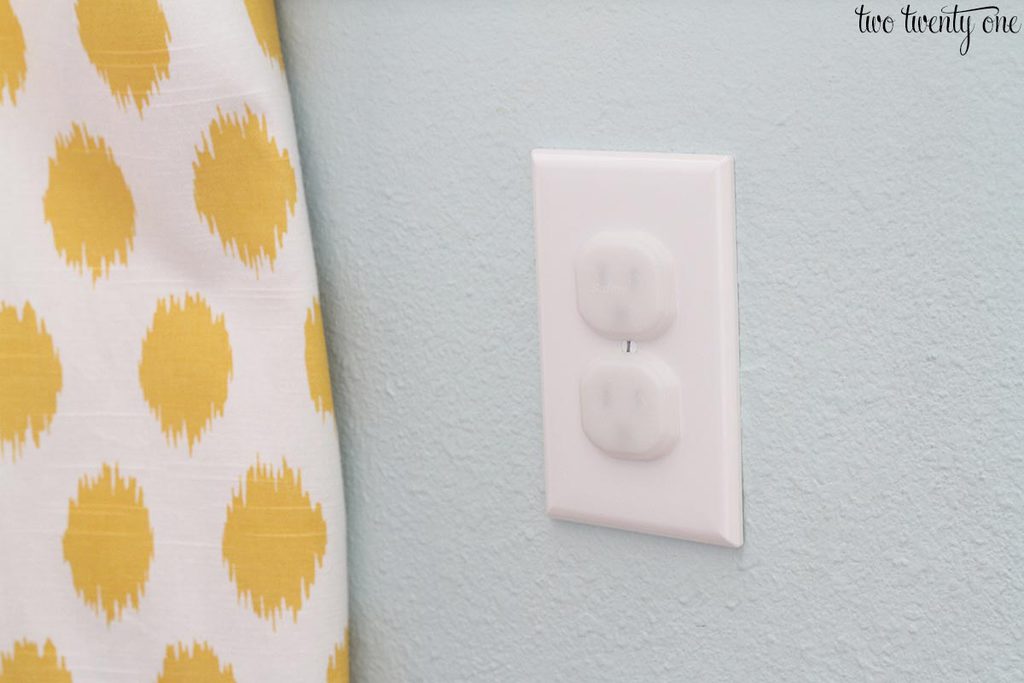
We place protective covers over the outlets, which is very inexpensive and easy to do.
Now that Owen is of the age that he could possibly climb out of his crib in the middle of the night if he wanted to, I went through the room and secured things a toddler could get into.
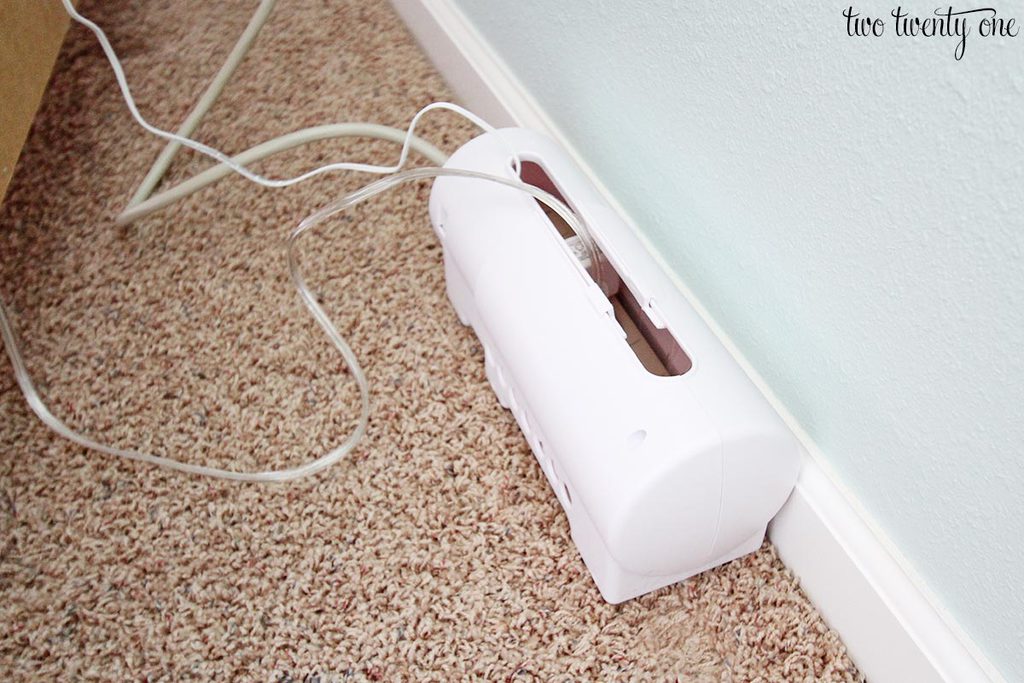
I keep all of the electronics (sound machine, lamp, humidifier) in his room on top of his dresser. The cords feed down the back of his dresser and plug into a surge protector. It’s out of sight, tucked under his dresser. But to be safe, I got this surge protector cover so he can’t play with the plugs should he ever locate the surge protector. I also pushed all of the cords against the wall so he can’t reach them.
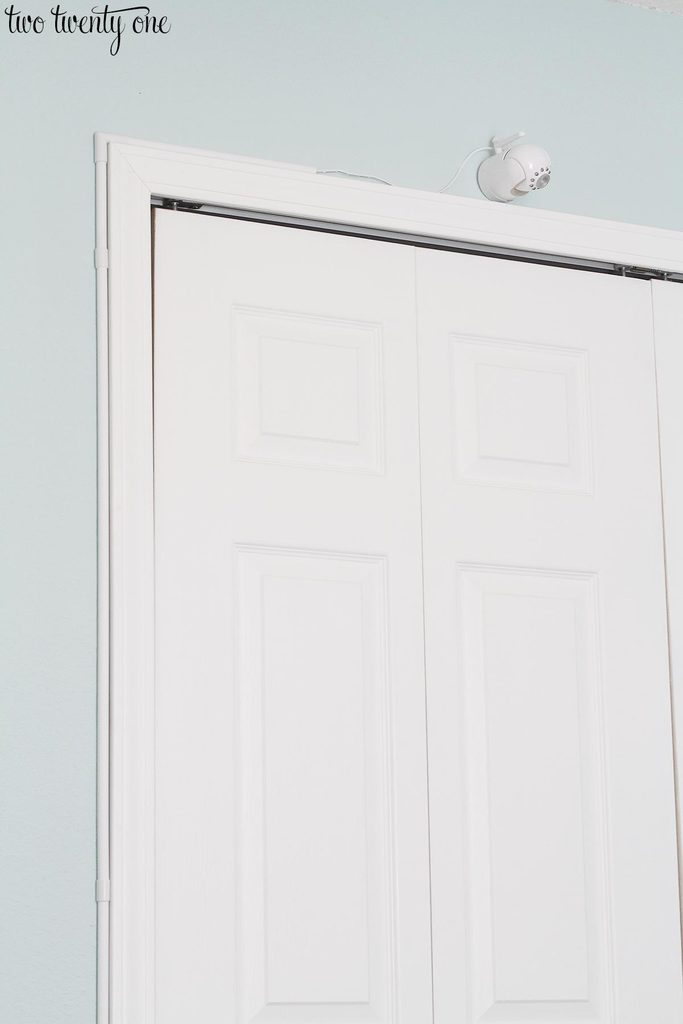
I secured his baby monitor cord, which is a strangulation hazard, to the wall with a cord organizer. This process took all of 10 minutes.
Windows And Blind Cords
When we aren’t in the room Owen’s window is always closed and locked. Even with living in a one-story house, we don’t want to take the chance of him pushing the window screen out and falling, because it’s still a 3-4 foot drop to the ground outside.
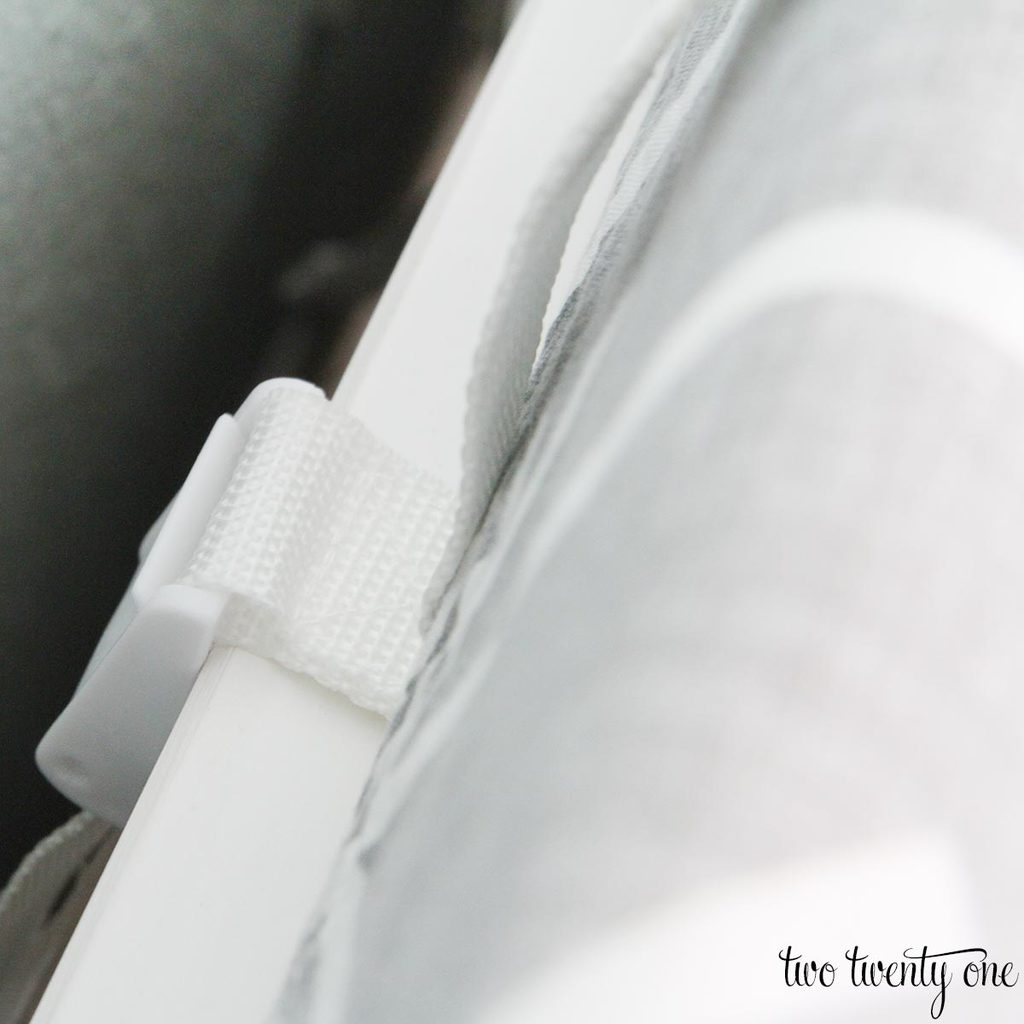
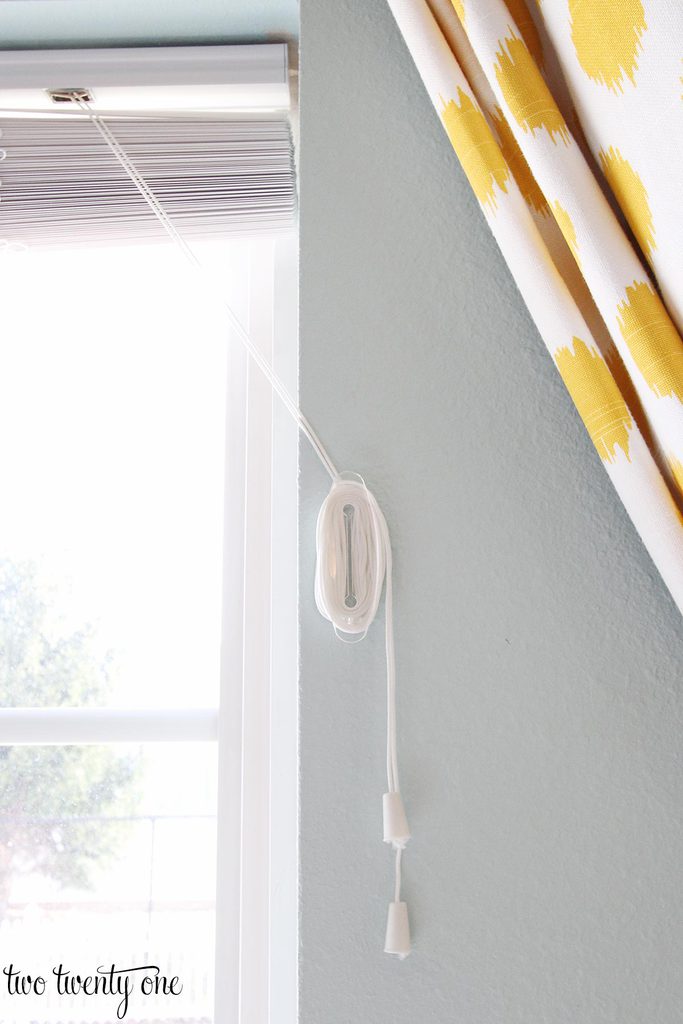
If we open the blinds, we wind the cord around a cord safety wrap that’s easily disguised by the curtains. As another precaution, snip the loop on the cords or install a cord shortener. If your budget allows, I highly recommend using cordless blinds.
I hope you’ve found these tips to be helpful and will take some time to look for possible dangers in your home.
See the particular baby proofing products I used here.




I bought straps after seeing your last post about them. My daughter didn’t even have all of her drawers open, but she was pulling on a higher drawer to see into it, and it tipped. Stuff fell off and broke, but nothing fell on her thank goodness. So scary!!
How scary! I’m so glad nothing happened to her. Were you able to easily install the anti-tip straps?
We replaced all of our outlets with tamper resistant outlets in our home since we needed to replace a couple anyways. Makes me feel better because it’s so easy to forget to replace an outlet cover if you use it. I love that cord organizer you have for his monitor!
Yeah, those are definitely handy! We would’ve done that had we not gone through the entire house and replaced all the outlets. Thankfully, Owen has never been intrigued by outlets.
I love the cord organizer too! It was super easy to install and inexpensive (~$15).
I love all these ideas!! I hadn’t thought about a few of those. So simple and life changing!! It’s worth at least the peace mind if not your child’s life!!! Thank you for the tips!!
Yes! It’s always best to err on the side of caution.
These tips are so wonderful to have. Don’t be surprised if I ask you a million questions when we have kids 🙂
Hah! I’m here to help.
Can you tell me where the cord organizer came from? I looked on amazon and I didn’t see one that looks like this. I wanna do the same thing with our baby monitors. Thanks girl!
I got it on Amazon (http://amzn.to/2mOUy3t)! I linked to everything in this post: https://www.twotwentyone.net/baby-proofing-products/
Thank you for posting this information! The cord organizer is a great idea. I just ordered some from your link! 🙂
Thanks, Kate! I really appreciate it! 🙂
How did you mount the baby monitor on the wall? I’ve read mixed reviews on a few for falling down and breaking the camera. How has yours worked for you? Thanks for this post – it’s so helpful! We are due with our first any day now and have been baby proofing like crazy around here 🙂
Hey, Leah! We secured a nail in the wall (slightly pointed up) and hooked the camera onto the nail.
Thank you! We’ll have to try this!