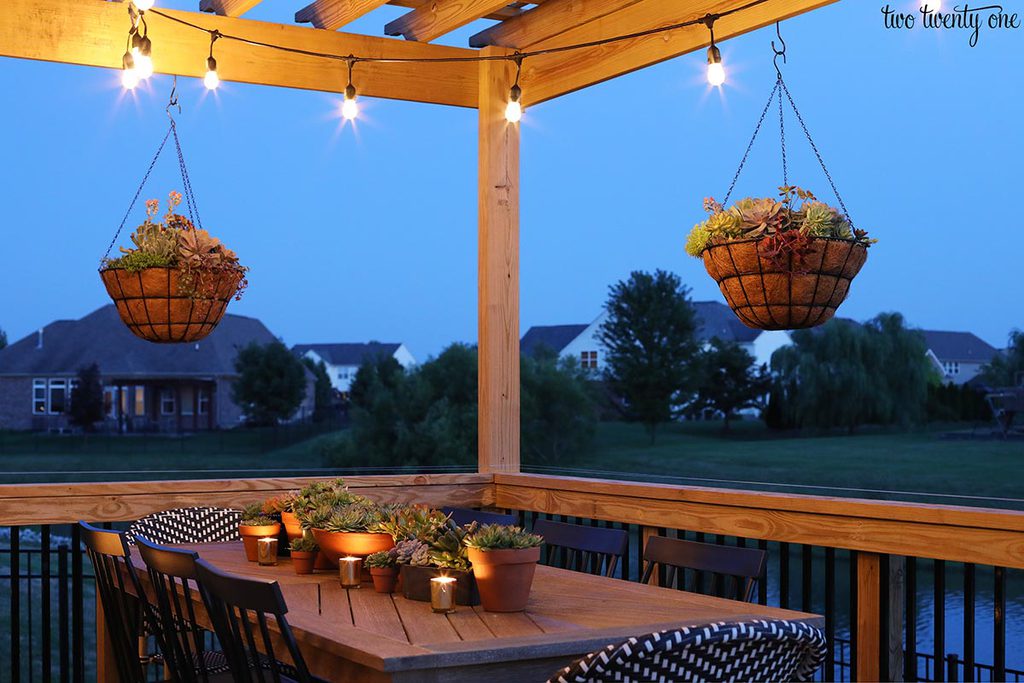
New Back Patio Light
After making over our back patio, we knew we needed to tackle the world’s ugliest and most rusted out outdoor lighting fixture.
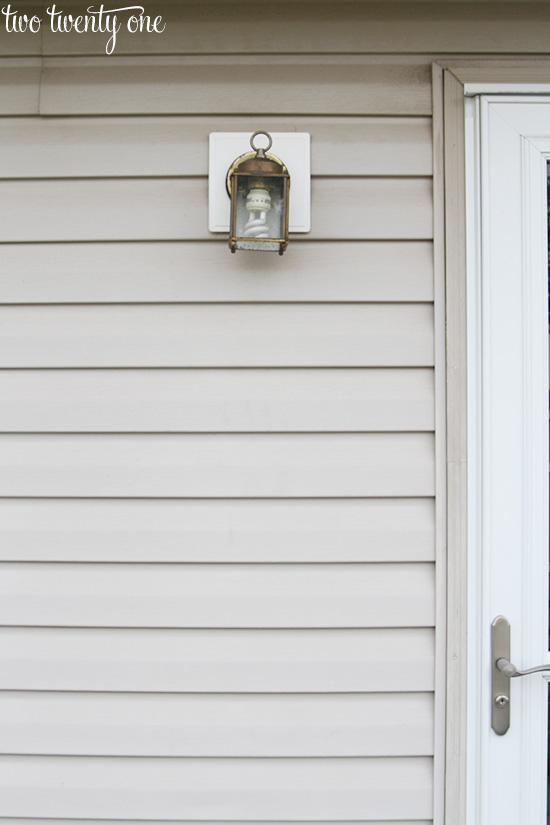
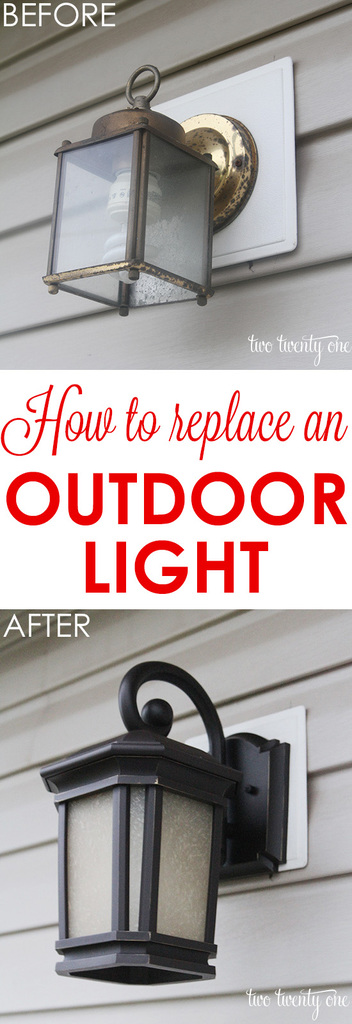
Let it be known that our house is only 12 years and this is how the light fixture looked. Let’s just say it didn’t age gracefully.
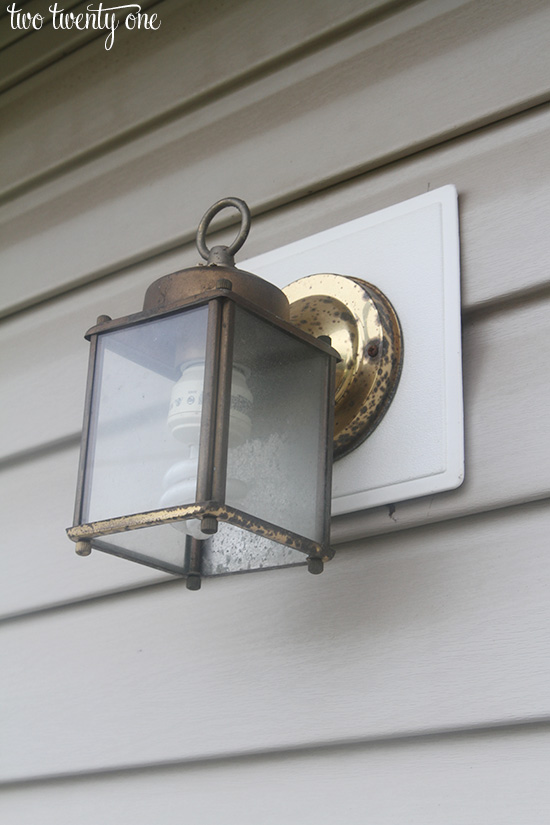
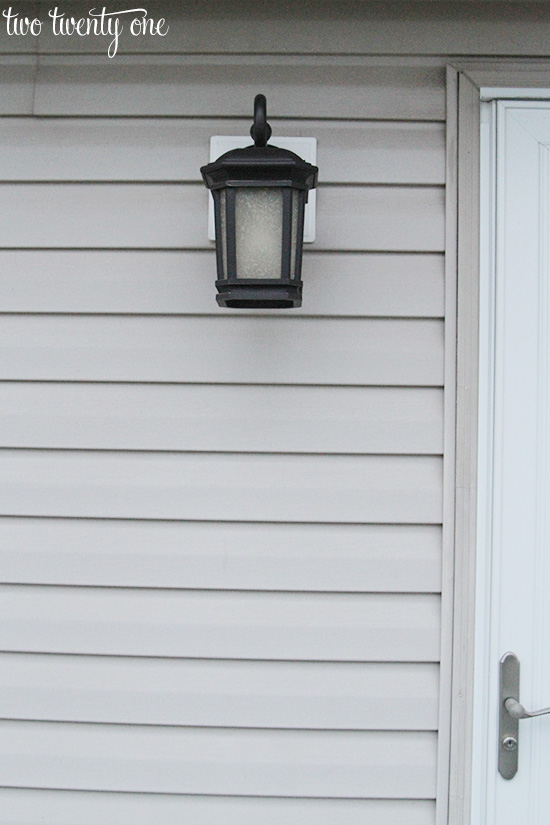
We wanted a new light fixture that was rust and fade resistant and larger in size. The old fixture looked too small.
On a recent trip to Lowe’s, Brad and I picked up a $50 outdoor light.
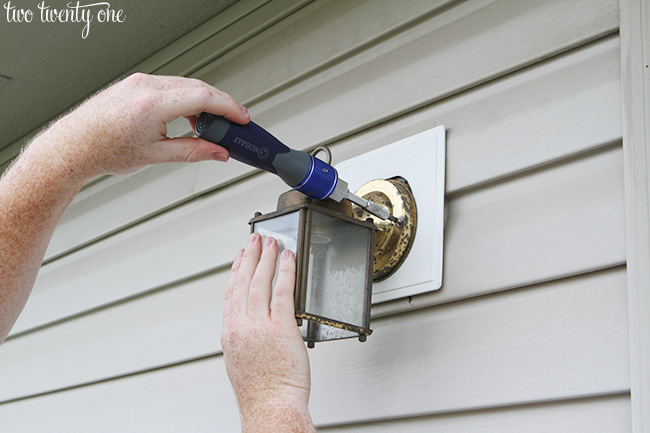
Then came the fun part of removing the old fixture and installing the new one.
Before we started removing the old fixture, we TURNED OFF THE ELECTRICITY to the fixture on our main breaker. This is kind of an important step if you don’t want to, you know, electrocute yourself.
When we knew the electricity was off (we flipped the light switch on and the light didn’t come on), we began removing the screws.
Soooo when you’re removing an old outdoor lighting fixture you may encounter wasp nests inside the fixture.
Thankfully, the wasps had either vacated or were dead inside the light, but to be extra careful, we sprayed it with wasp killer in case any little suckers were hiding.
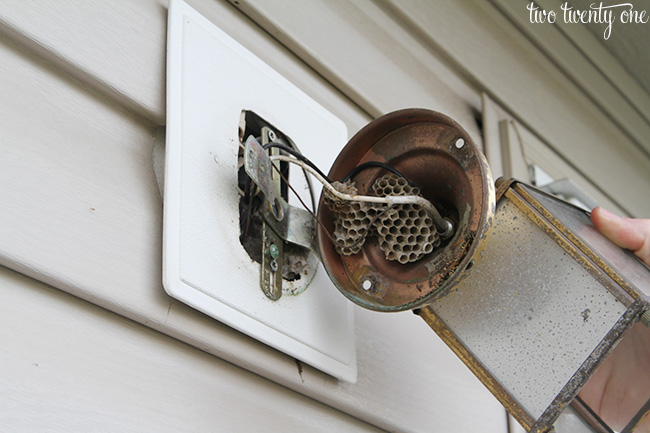
Then we removed the inside bracket that held the old fixture in place.
When the screws and inside bracket (and nests) were removed the old fixture was left dangling.
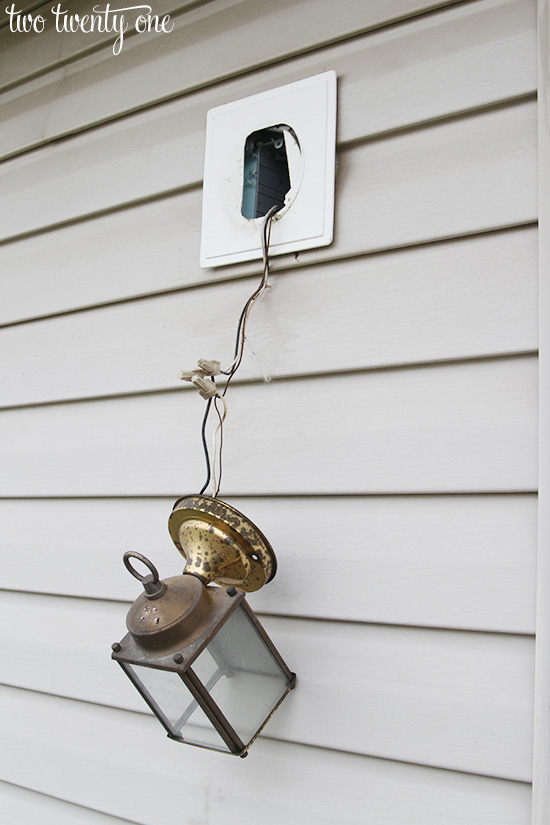
We disconnected the wires that connected the old light to the wires coming out of the house.
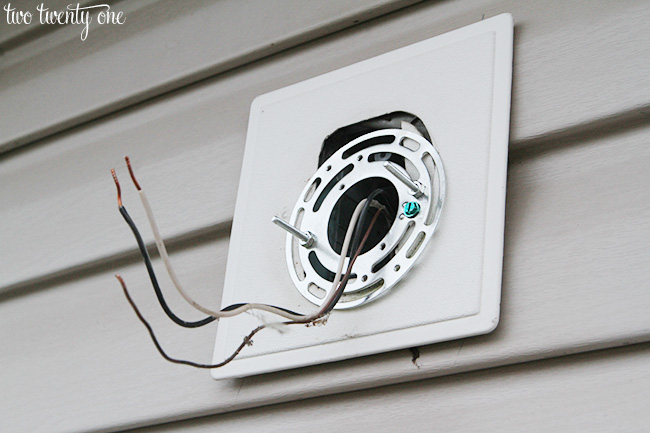
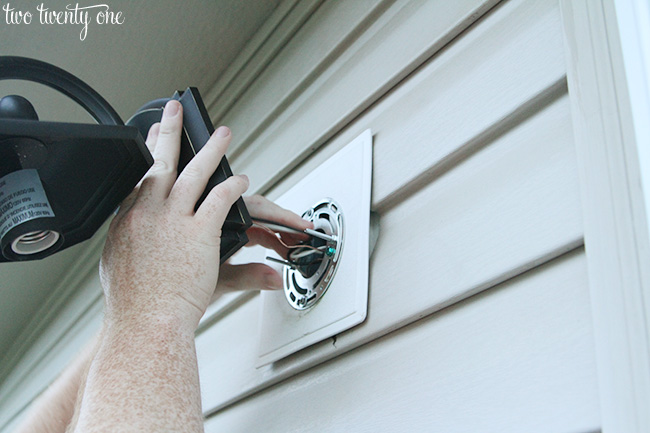
Then, we installed the new bracket that came with the new light.
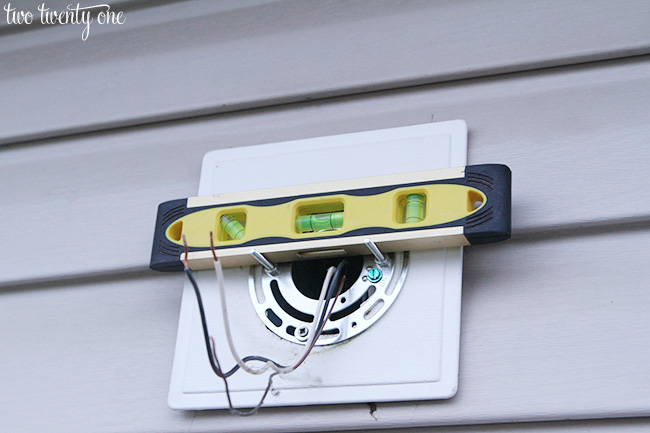
The level was used to make sure it was level. Obviously.
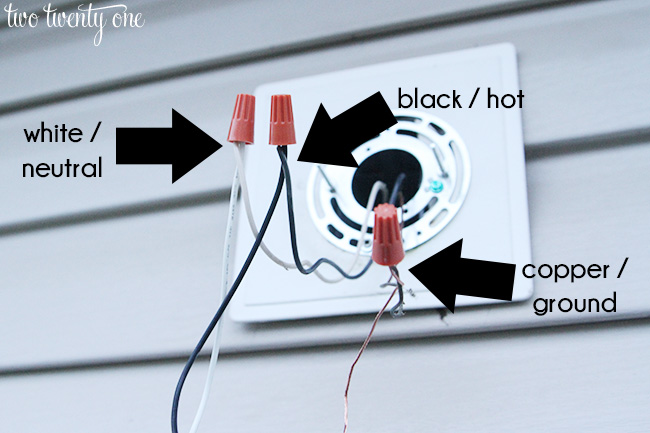
Then it was time to connect the wires on the new light to the wires coming from the house.
We twisted the like colored wires with the other like colored wires and screwed the connectors on.
Note: if you don’t have a copper/ground wire coming from your house, you would connect it to the green screw on the bracket.
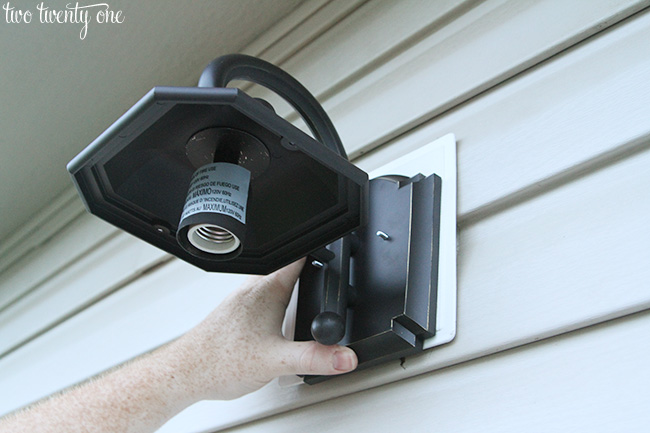
The wires were then shoved back into the hole.
We secured the new fixture to the house.
And then screwed the bottom part of the light fixture onto the top part.
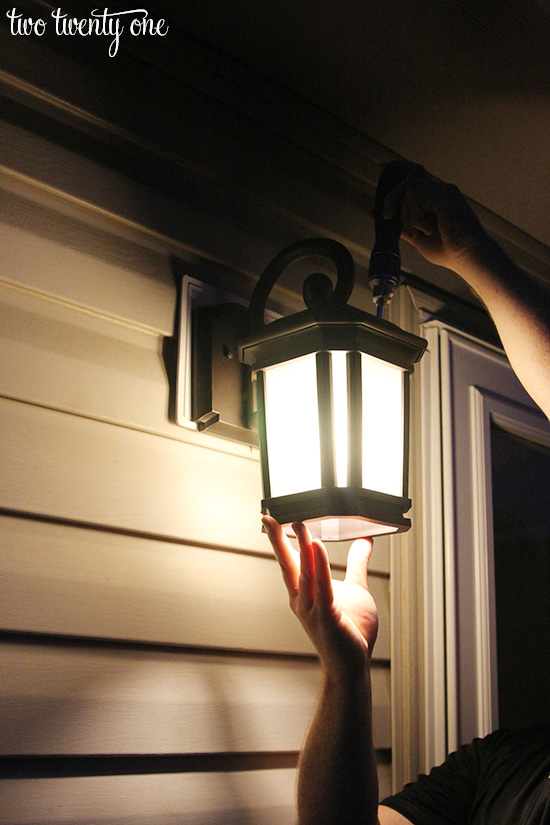
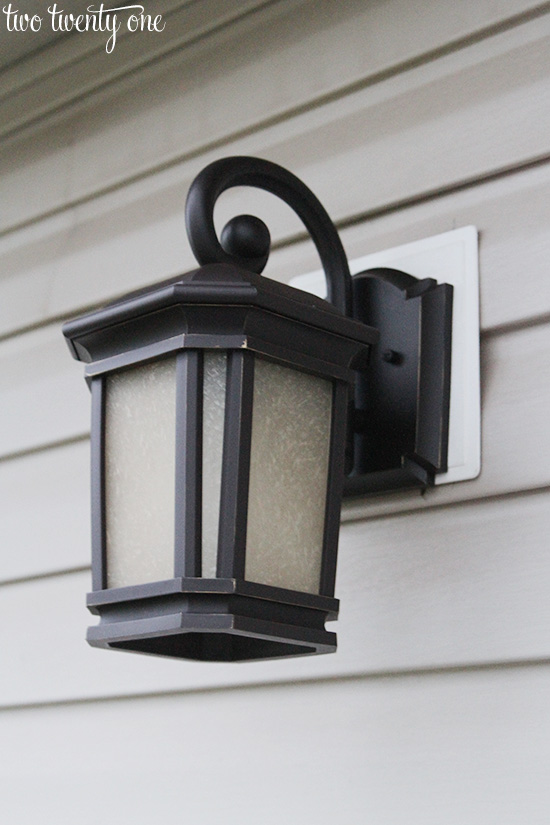
Doesn’t it look so much better?
A nice upgrade for only $50 and done in less than an hour.
Think this is something you could tackle at your house?
Disclaimer: Complete this DIY project at your own risk. I won’t be held responsible if you don’t read this tutorial carefully or have wonky electric in your house and electrocute yourself or burn your house down.
You can find more DIY ideas from the other amazing Lowe’s Creators & Influencers!
Follow Lowe’s on Instagram, Pinterest, and sign up for the Creative Ideas magazine and app!

As a Lowe’s Creative Ideas Creator, I was provided a gift card to cover the cost of materials for my project. All opinions are 100% my own.


50$ la instalación o incluye también el farolillo?gracias. bsos
La luz era de $50, la instalación fue gratis, porque nos haya instalado.
Hablas español, Chelsea? Necesito a alguien para practicar!
Love the light! The size is much, much better!
Hablo poco Español.
I work with Spanish-speaking families and kiddos with my DT job. I can get by with toddlers. 🙂
Ooooo, very nice replacement! Adds so much charm!
Thanks, Judy! Definitely an upgrade from what we were working with. Have a great 4th of July weekend!
What a nice improvement! You’re lucky Brad is so handy and willing to help.
Thanks, mom! You’re going to give Brad a big head. 🙂
Nice job! I love the comment about not being held responsible for “wonky” electrical or burning your house down. LOL
Love this update! I would love to add a new outdoor light for our back patio too.
Really like the new light. I had similar old ones like your old ones. Horrible. I replaced 3 on the front of my house. I felt very accomplished, lol. Have to warn you about the wasps…aren’t they the worst? I had some that built their mud house on the underside of an outdoor cushion (kept on a chair on a covered deck) over the winter. This spring when I sat on the cushion out they came!!! Fortunately no stings, but they had eaten a hole the size of a half dollar in the cushion! I despise them and despite spray and traps in the yard they continue to be a menace.
I love your new outdoor light. Thanks for that useful tutorial. Great job!
Carpet cleaning Clapham
So much better! The new light looks great!
Hi there i just love your awesome site very helpful content thanks a lot.
The new light makes such a big difference, it looks so great! Thanks for this tutorial, this very same project is on our list and I just haven’t taken the time to look into it yet. Glad to see it shouldn’t be super hard.
Girl power great job. My husband is a Contractor and just love at night when we are watching T.V. and I get to show him women like you not to dumb us down more like see we really don’t have to cont. to say when are going to give the light a make over? He always says soon Pinterest and you Women are going to put me out of business. Great Job!
Girl power.. I really love it when my husband who’s a Contractor and I are in bed watching T.V. and I am on Pinterest and I say look at this, he smiles and say,” Soon I am going to be out of business” You go with your I just do it myself thank you.
Very easy upgrade! Looks great. I am sharing this on Pinterest.
I’m currently using these bulbs and cant remember the last time I changed them. The only down fall is they take a few minutes to warm up which isn’t an issue until I need instant light in the hall way. Other than that they are great!blue light filter