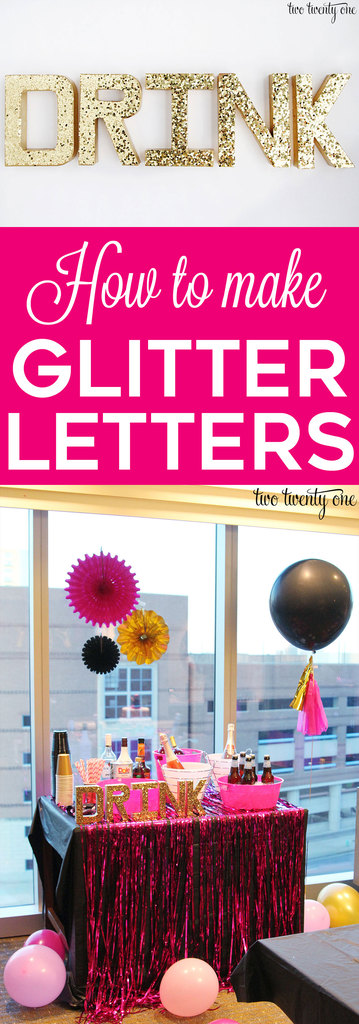
How to Make Glitter Letters
Let’s learn how to make glitter letters today! Because everything is better with glitter.
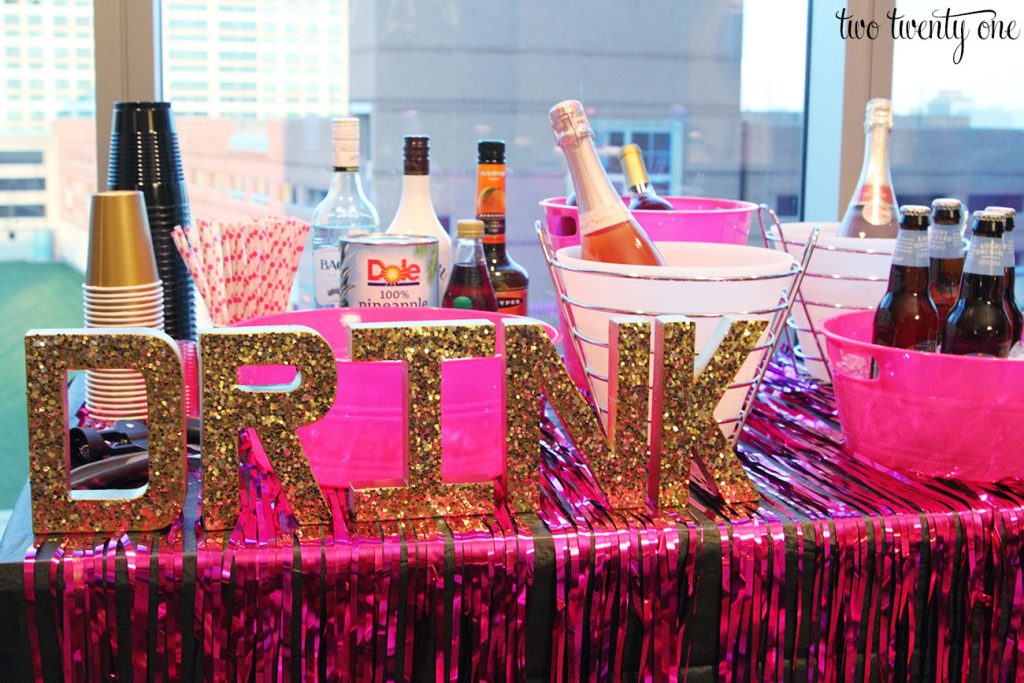
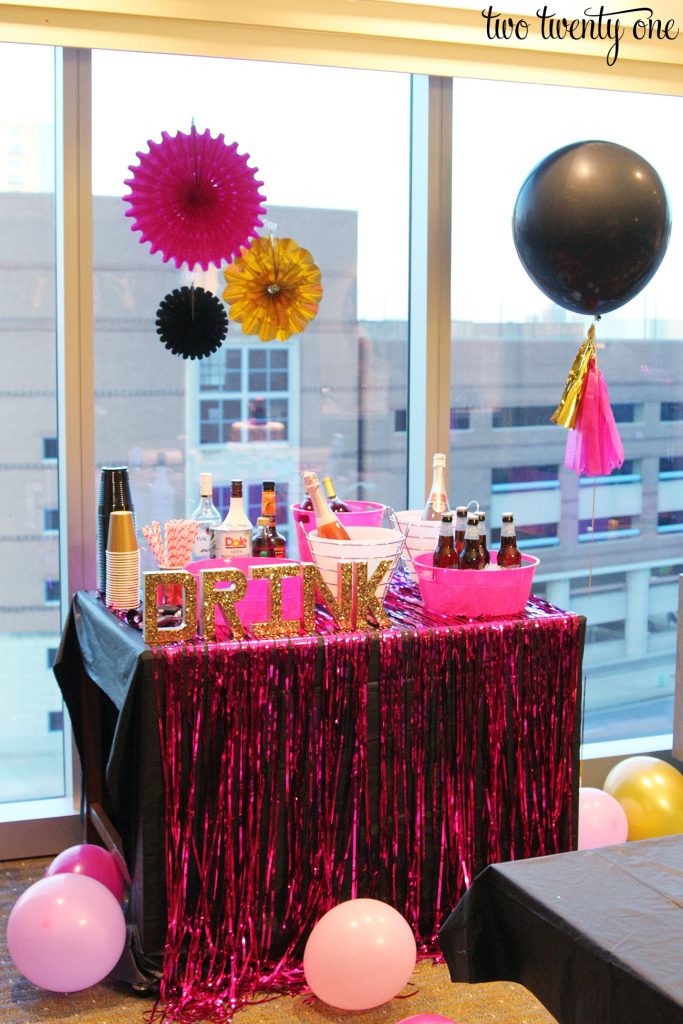
Now, you can spell out any word you’d like– it doesn’t have to be DRINK like I did for the bachelorette party mini bar.
You could go with TACOS, WINE, or NAPS. And you don’t have to go with gold. Any color of the rainbow is acceptable. The glitter letter decoration world is your oyster, my friend.

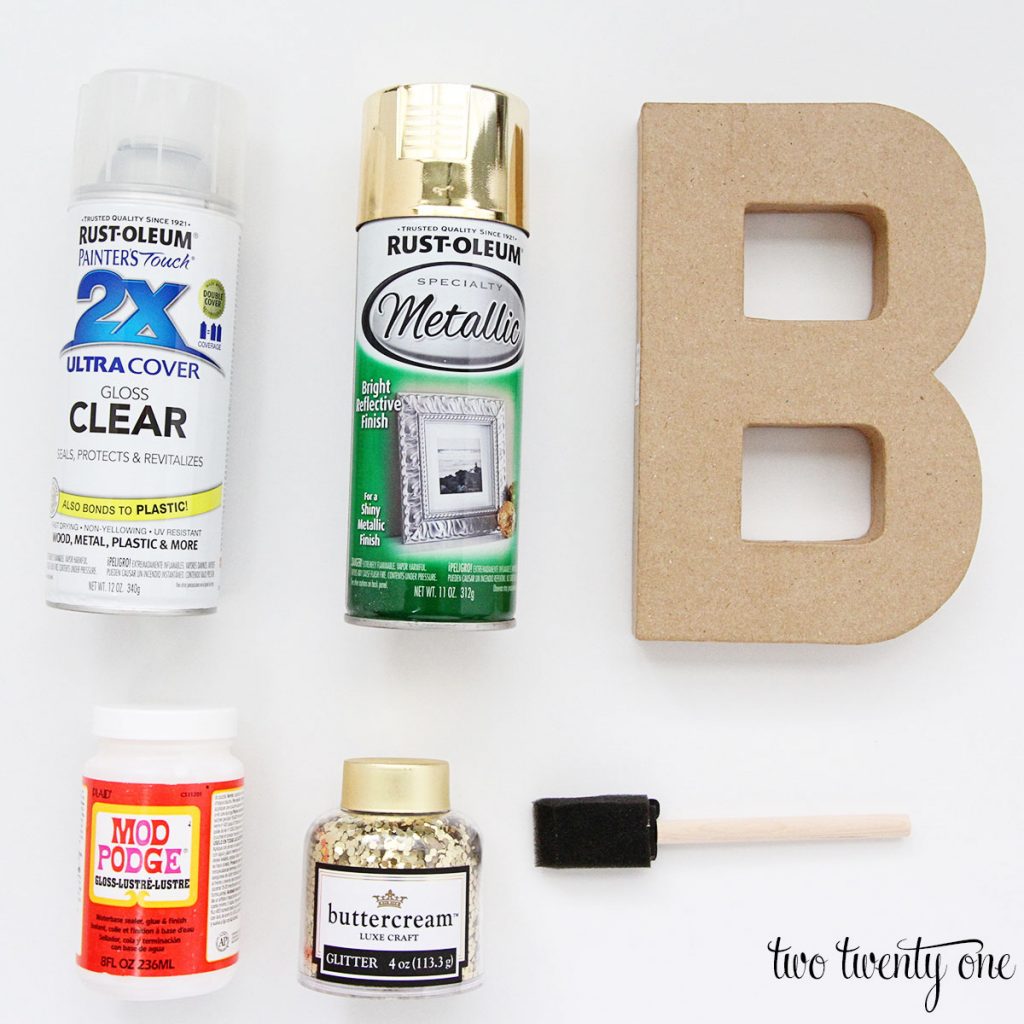
Supplies
8″ paper mache letters … purchased here
Rustoleum Metallic gold spray paint … purchased here
Mod Podge (gloss) … purchased here
glitter … JoAnn Fabric
foam brush … purchased here
Rustoleum Clear Gloss spray paint (optional) … purchased here
I’m obviously aware ‘B’ isn’t in ‘DRINK’ but I had already spray painted my letters before I thought to take a craft materials photo.
How to Make Glitter Letters
The method I used for these glitter letters is basically the same one I used to make Halloween glitter letters a few years ago.
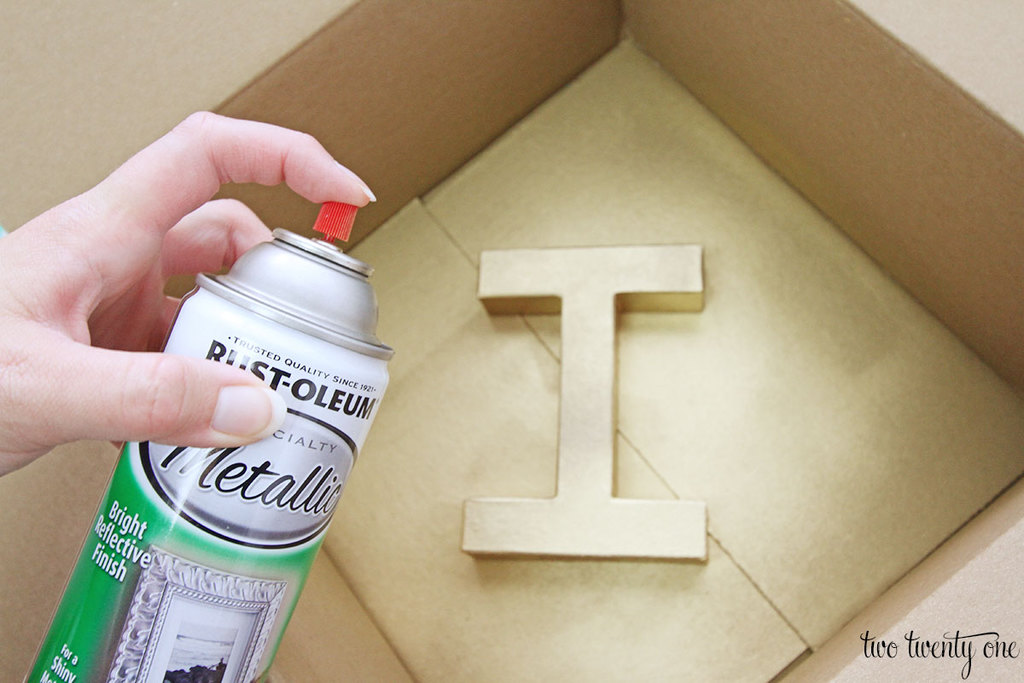
Start by spray painting your paper mache letters. I like to spray paint them in a box– usually from Amazon.
Don’t go too heavy because you don’t want the paint to run. I usually spray as many sides as possible, allow the paint to dry, and then get the other sides.
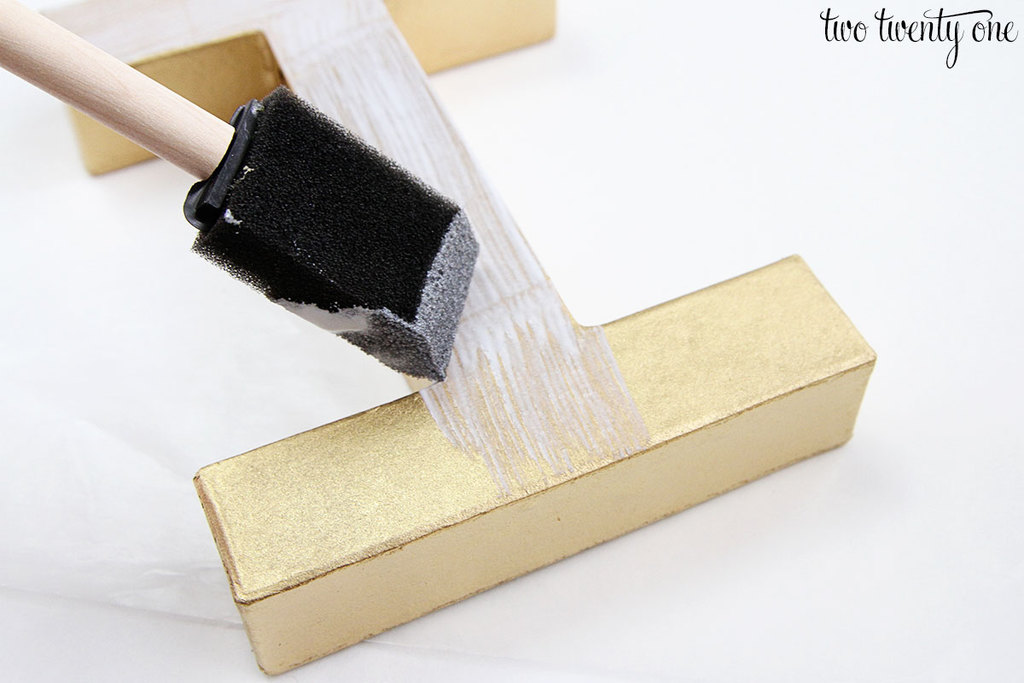
Once your letter has been spray painted, apply the Mod Podge with a foam brush. Work quickly.
You can go a little heavier on the Mod Podge than I did in the photo below.
Put the letter in a container and cover it in glitter.
I like using a container because, you guessed it, it contains the glitter and makes clean up easier.
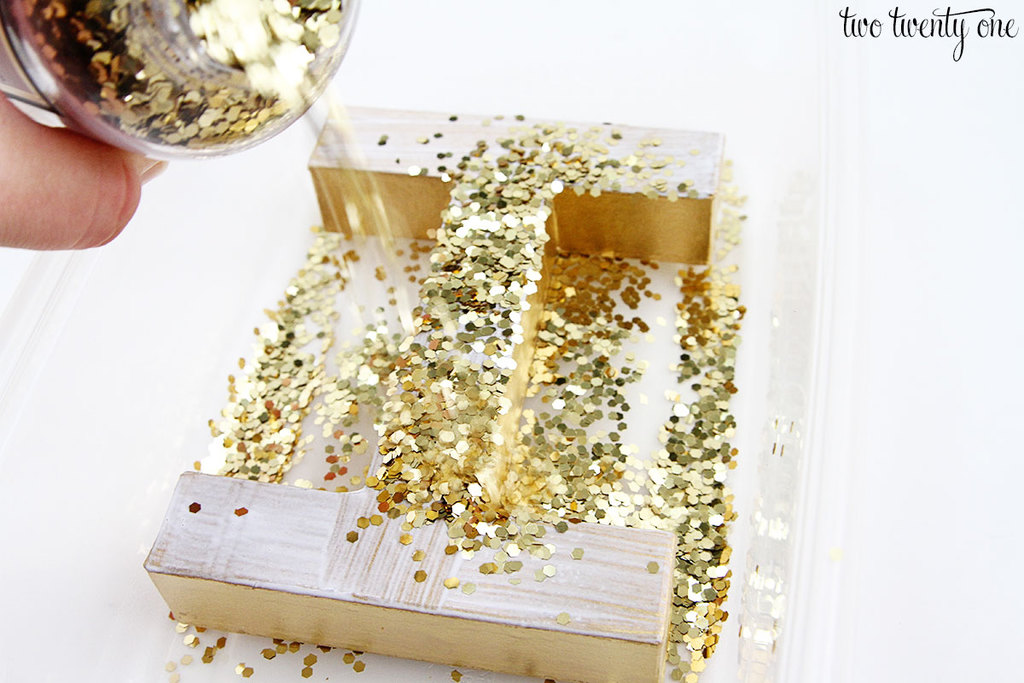
Since I used glitter on the chunkier side, I gently pressed the glitter into the Mod Podge.
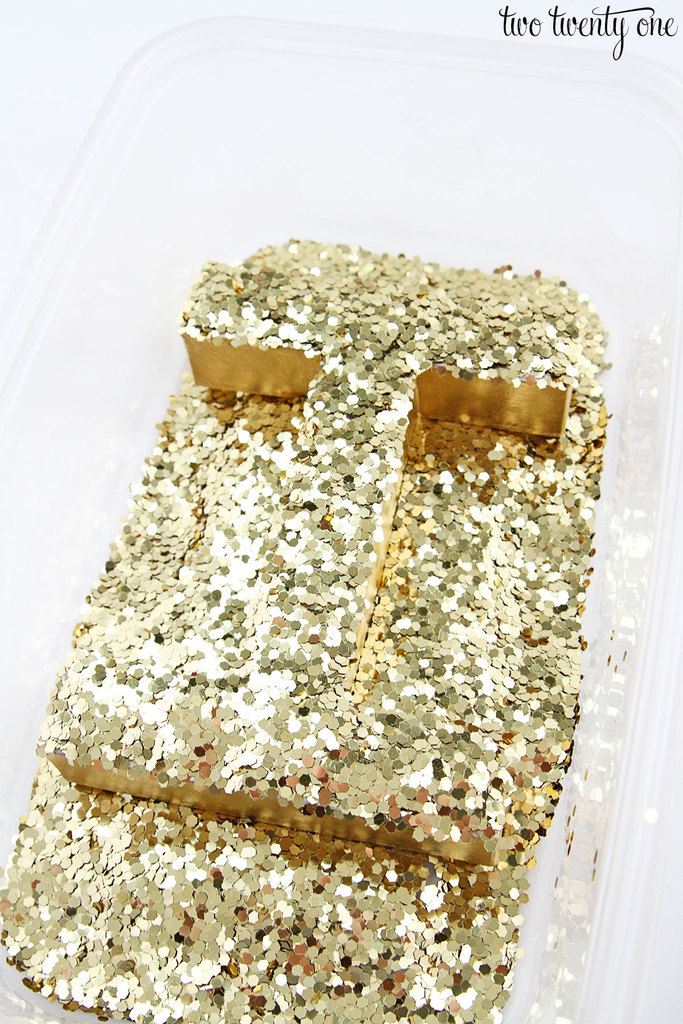
Let the letter sit for a couple minutes with the mound of glitter on top, and then dump off the excessive glitter.
I’m not a fan of the glitter dangling off the sides, so I remove those big pieces by running my finger down the edge.
If you use smaller craft glitter, you won’t need to take this step.
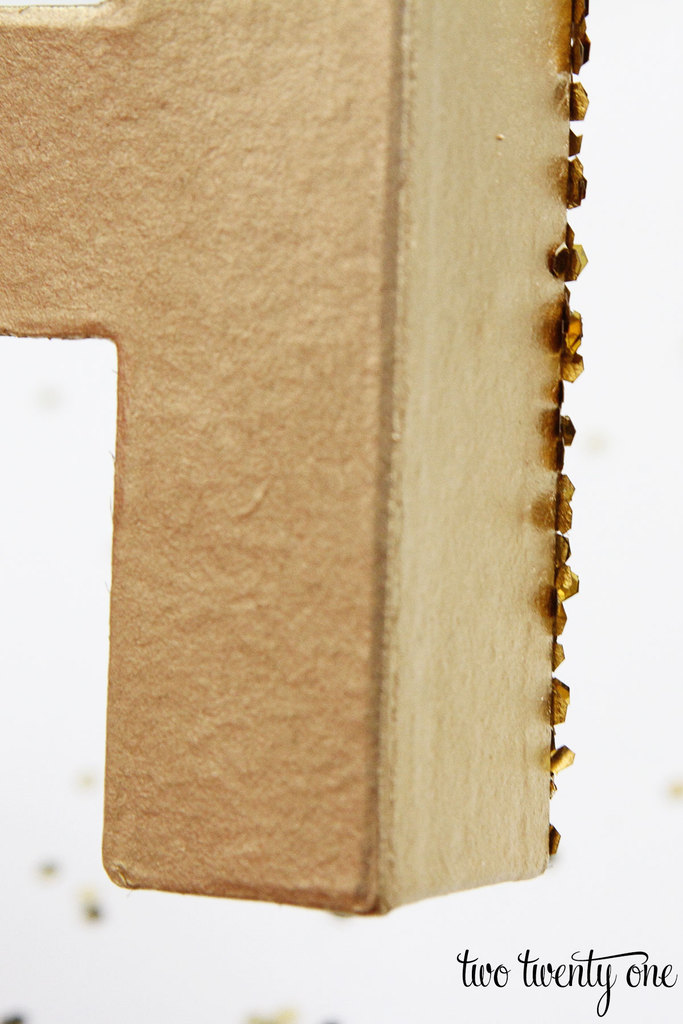
So it looks like this.
If you need to patch some areas where the glitter didn’t take. Grab the foam brush, dab it in Mod Podge and tap it into the spot. Add glitter on top of the Mod Podge.

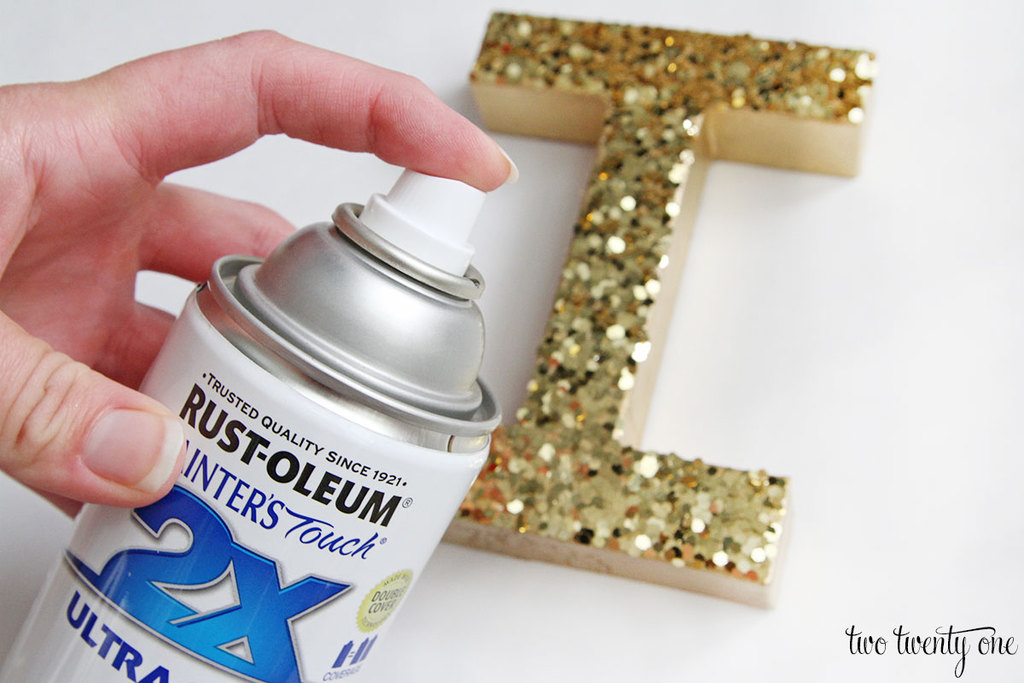
To help seal the glitter, you can use Rustoleum Clear Gloss spray paint, and let it dry overnight.
This photo is staged because I actually didn’t use the clear gloss on my letters because my spray was old. Because I didn’t spray it, I had a lot more glitter flake off than if I had used it.
And here’s the final result.

Long live glitter covered letters!
Now, go forth and glitterize all the paper mache letters you can get your paws on.

Love your blog! Check out my blog! inspiredbya3.wordpress.com
What a great set up! I love the letters and they look pretty easy to put together. Thanks for sharing at #HomeMattersParty Hope to see you back!