Wedding Program Box
Some of you may not know this, but I got my start in blogging with my wedding blog, Chelsea Gets Married. I started the blog to share my wedding DIY projects and things I was doing for our wedding. Once the wedding planning was over, I obviously ran out of topics to blog about so I started Two Twenty One and share my home DIY projects because I loved blogging and didn’t want to party to end.
Chelsea Gets Married still exists on the Interwebs but I don’t promote it at all. So I decided to share some of my old wedding DIY projects here in hopes of reaching more people.
I’m a huge proponent of wedding DIY. By DIYing so many things for our wedding, I was able to save money and put my mark on our special day.
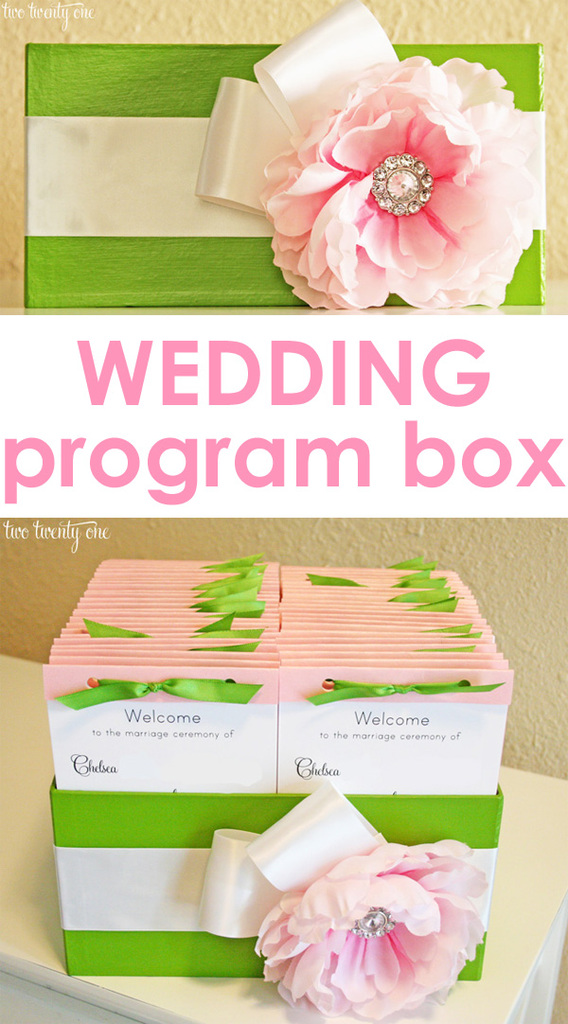
Today I’m sharing how I made my wedding program box. I had a table set up when you entered our ceremony area with our guestbook and the program box. Guests signed the guest book, took a wedding ceremony program, and were escorted to their seats.
This is a mind-numbingly easy thing to make and took less than an hour to assemble. Is a program box absolutely necessary? No, you can use a basket or some other sort of vessel, but like I said, these little projects allow you to personalize your big day.
Supplies:
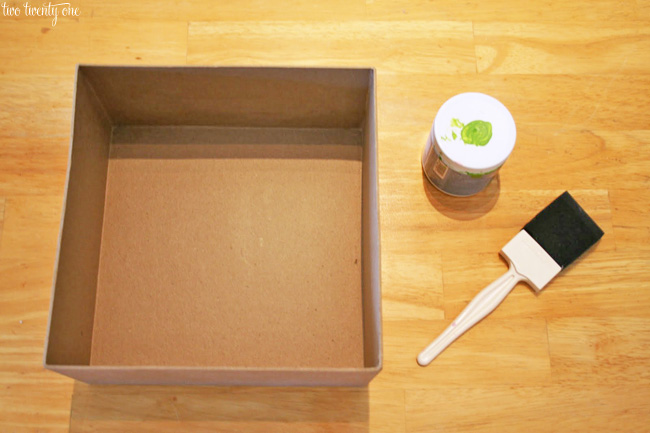
10″ paper mache box (JoAnn Fabric)
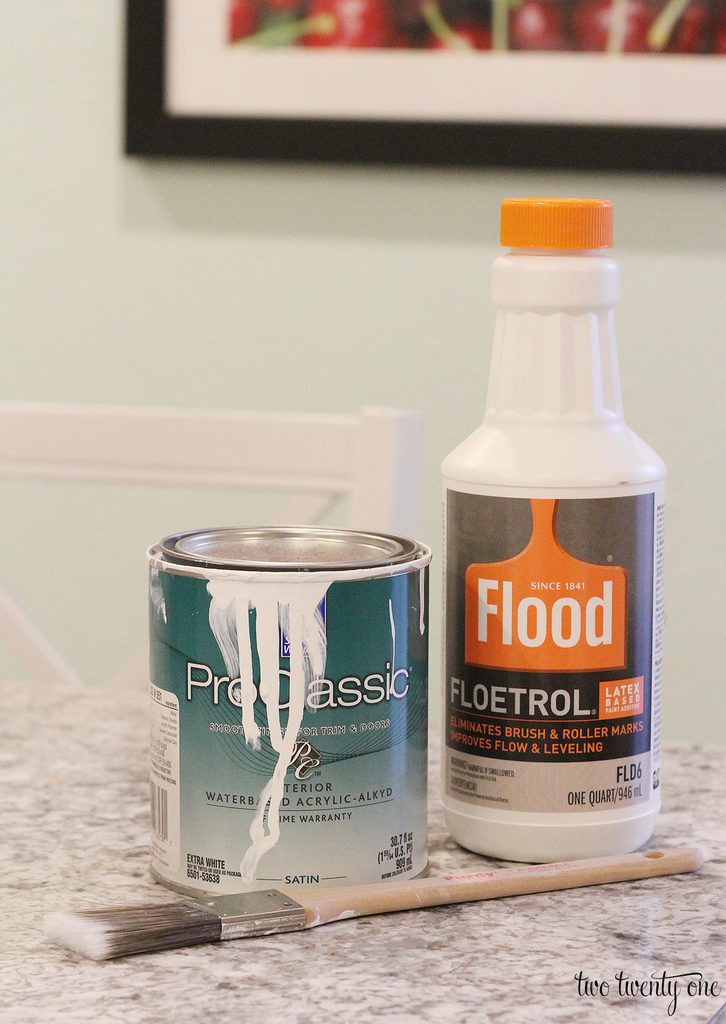
Paint (Lowe’s)
Sponge brush (Lowe’s)
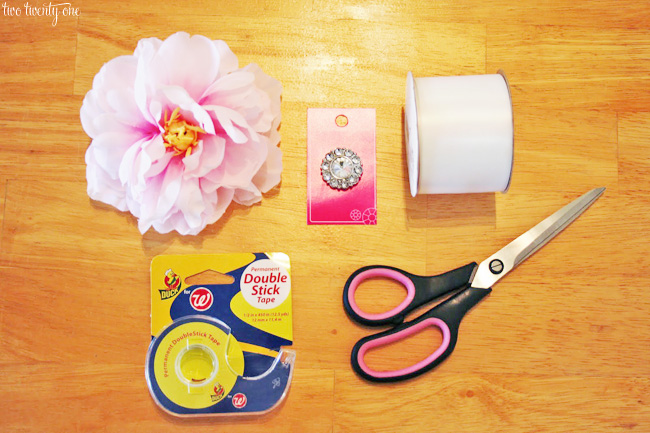
Silk peony (JoAnn Fabric)
Ribbon (JoAnn Fabric)
Rhinestone button (JoAnn Fabric)
Double-sided tape
Glue gun & glue
Scissors
(Please keep in mind that I took these photos 3+ years ago so they aren’t the greatest.)
Instructions:
1. Paint the inside and outside of the paper mache box. 2-3 coats is best. Allow for ample drying time in between coats.
2. To get the flower to lay more flat, carefully cut out the first layer of clear pieces inside the flower that lift the petals. If needed, apply double-sided tape in between some petals and adhere petals to one another in order for them to lay flat.
3. Cut the yellow center off of the flower.
4. Cut the button part off the back of the rhinestone button.
5. Apply glue to the center of the peony.
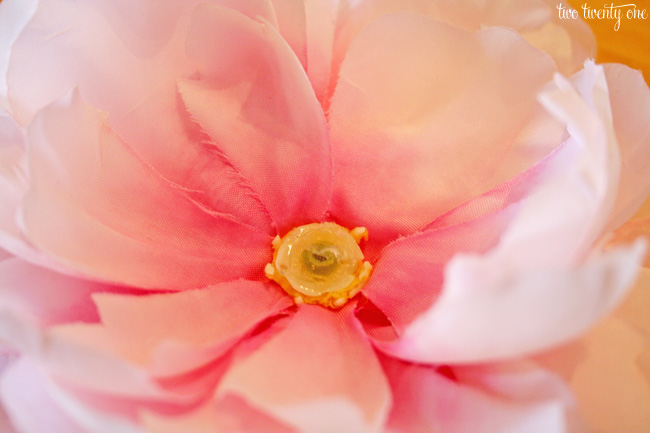
6. Stick the rhinestone button onto the glue and hold in place while it dries.
7. When paint is dry on box, begin applying ribbon, securing with double-sided tape.
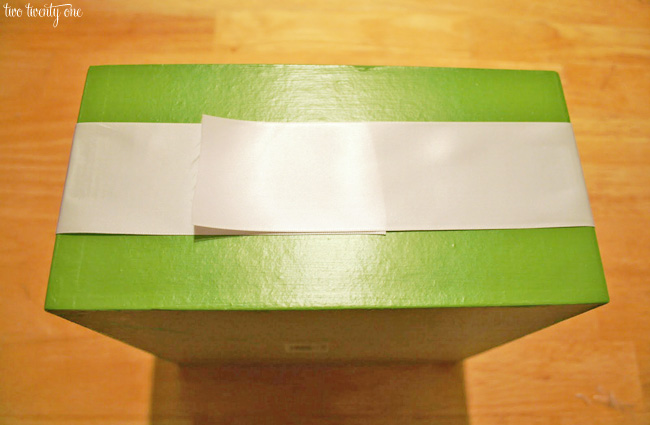
8. Make bow by cutting approximately 20 inches of ribbon. Make two big loops with the ribbon. Secure the loops with small bead lines of glue at each lower fold and/or where the two pieces of ribbon meet.
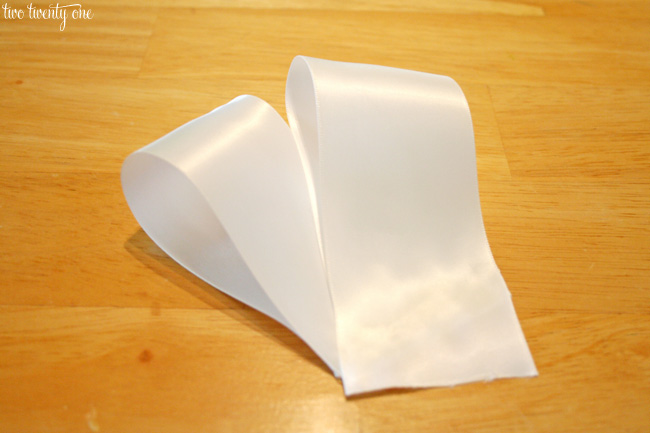
10. Glue the peony to the bow.
11. Glue the bow/peony to the box on top of the ribbon.
And you’re done!
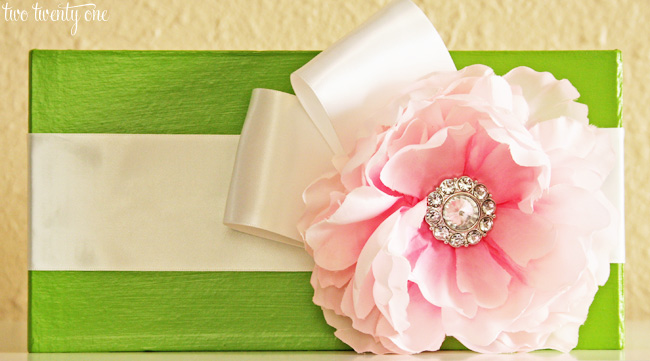
You can use a box like this for other things– toiletries in wedding guest restrooms, to hold bubbles/bird seed packets, etc.
Did you DIY a lot of stuff for your wedding?
In case you’re curious, you can read about our wedding and see the photos here:
Before the Ceremony
Ceremony
Reception
The Details
Stalk away!


So beautiful! I wish i could have been at your wedding. Have a do-over for all your readers to enjoy?
Thanks! I wish you could’ve been too. I bet you cut a mean rug. And wonderful idea– I added links to everything wedding to the post.
We completely DIYed our wedding as well (I even catered it myself… for 300 guests). We saved so much money that way!
Your program box is lovely!
Yeah, you guys were bad mamma jammas when it came to DIYing your wedding! I would have lost my marbles if I DIYed everything for our wedding.
What a great idea! I never thought about making a wedding program box. I made our wedding card box, but it would have so much cuter if I would have made a program box to match!
Yay for making your own wedding card box! I made ours, and I still have it (and love it)!
That is so cute! Wish I would have thought of something like that back in the day!
Thanks! I blame my crazy DIY bride self for all the crazy things I thought up for our wedding. Hah!
So cool–I had no idea you had a wedding blog! We did lots of DIY for our wedding too but that was way back before we ever thought about taking step-by-step pictures! lol. Love this program box!
Hello would you mind letting me know which hosting company you’re utilizing?
I’ve loaded your blog in 3 completely different browsers and I must say this
blog loads a lot quicker then most. Can you
recommend a good internet hosting provider at a honest price?
Kudos, I appreciate it!
あなたは本当にこのページの発言を緩和すべきです。それは長い、実際には私にとって非常に有用でした。それを感謝しています。
グレート共有!これは本当に私の問題に答え、ありがとうございました!偉大な読み取りのための
The application is simply a treatment for making an application for registration of license in addition to renewal of
patent or specification.
はるか 非常に良い 詳細ここでは、:投稿私は彼らが思っていたとしてD.
私はする必要がありますする必要がありますと思います。これは私が通常ものではありませんか!私が作るポスト読書を楽しむ 感じる。また、可能への感謝のコメントを私に!こんにちは
非常に 良い後、I 間違いなくこの素晴らしい愛 サイトここでは完全にこの|、私はこの中に表示されるべきである、それは以上にわたって行くために困難な仕事であろうことで
私は定期的に| コンテンツ素材コンテンツブログに一般と私は純粋にあなたに感謝します。このコンテンツ素材は本当に私の興味をピークました。私は意志ブックマークあなたのウェブ ウェブサイトと維持達成可能な詳細を確認します。 いいポストおやおや
私は常にウェブログを行うためにお楽しみください!長時間のポストyouveはそれを持って、どのようなこと!|ブログに手段を示すとにかく、あなたがしている 間違いなく言いたいことを持っている人、その男性と女性 持っている必要があります聞くためにください。素晴らしいまでの仕事を。感激に| 維持してください!
かなり尋常ではない、と私は本当にあなたが表現し、あなたのブログやポイントを読んで楽しみました。私は純粋に?-keep書き込みを共有するためのsubject.Thanks内部に大きな、より多くのを投稿し、共通の基盤の上に戻って見えるのが好き!
オープンする予定が非常に遅いです。私はいつも、私はこの問題についての私の国で同様のブログを持っているので、これは私に多くのことができますので、これについて何か新しいことを聞きたいです。私は、この問題に関する調査を行なったし、..、挨拶、あなたのブログでそんなにを共有するためのthis.Thanksような良いブログの数が、何を発見したDarijan