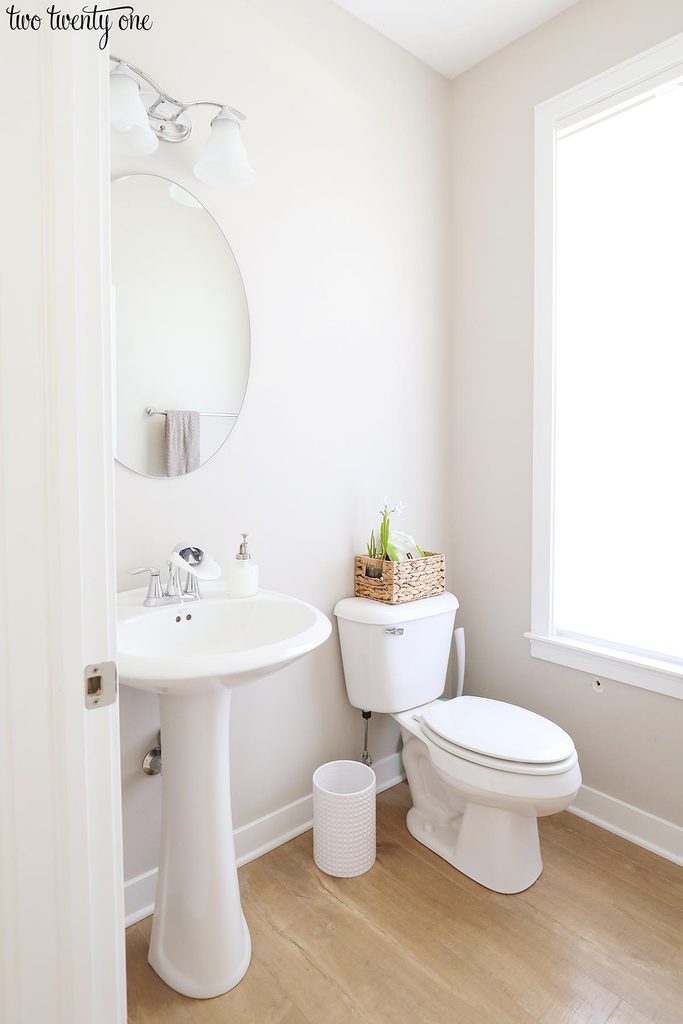
Powder Room Demo & Progress – Spring 2021 One Room Challenge – Week Five
I didn’t post last week because, well, there wasn’t anything new to share and I was spending all my free time cleaning in preparation for my mom’s and brother’s visit. But wow-wee we made a decent amount of progress over the weekend.
Week 1 – The Before Pics // Week 2 – The Design Plan // Week 3 – The Progress
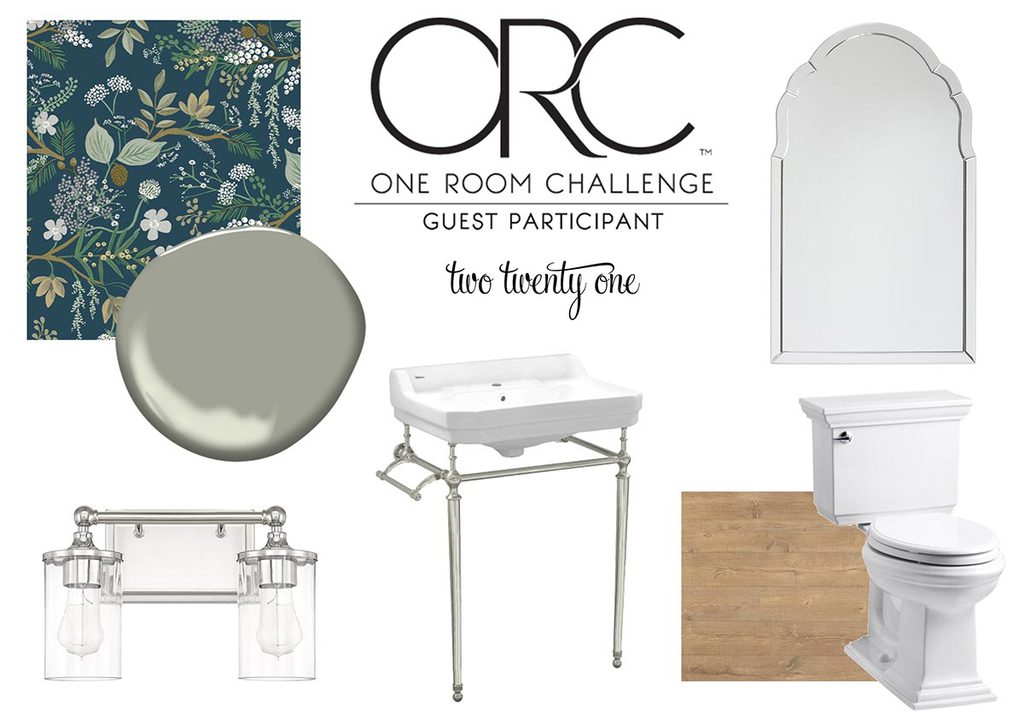
A Change in Plans
My original wall treatment plan was board and batten. But then I started thinking about what I was supposed to do with/around the sink and toilet. Like do I skip over them? Cut the vertical board above the sink and connect below? It started to hurt my brain. So I had the genius idea to do beadboard. I mean how hard could it be? Heh.
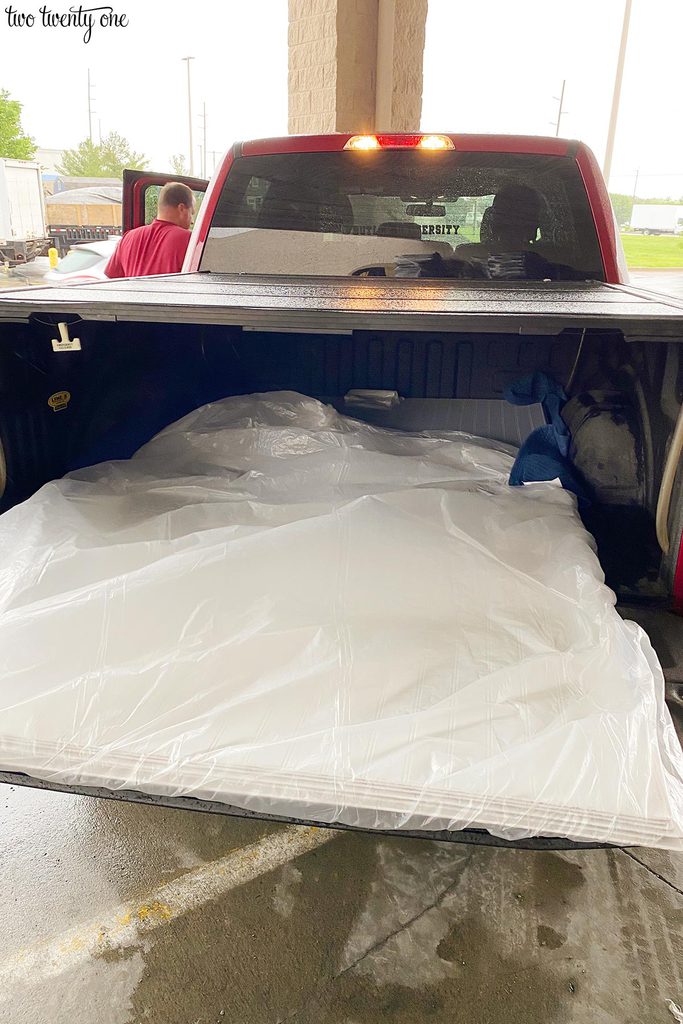
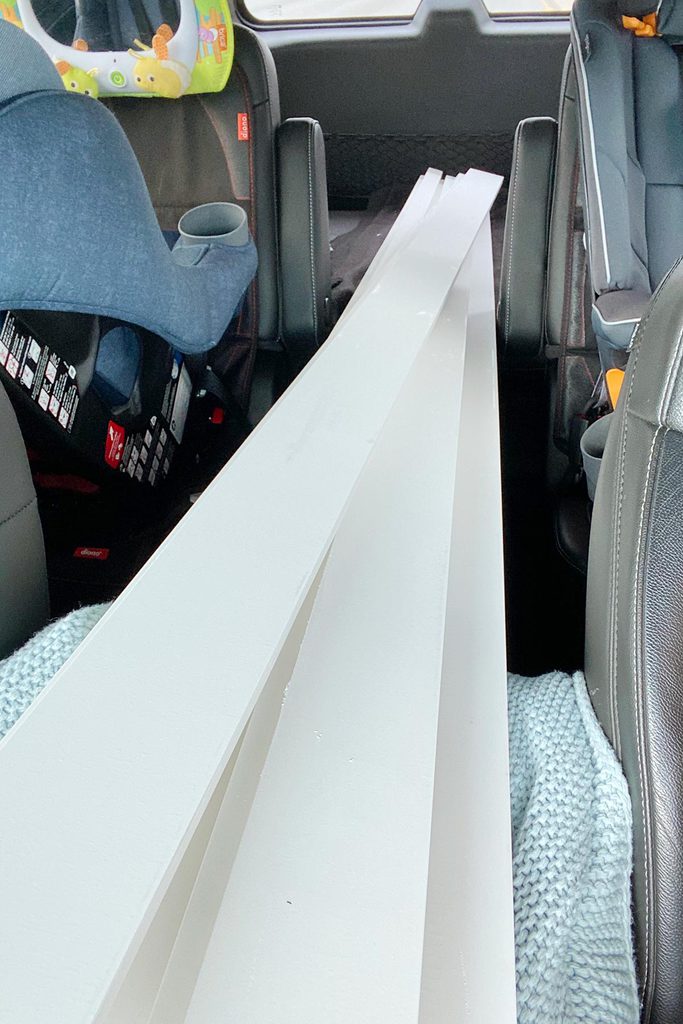
On Friday we borrowed Bon’s (that’s my mom) truck and drove to Lowe’s to retrieve the beadboard. But the truck bed was too short. And it was raining. So I ran inside and bought one of my staples– a plastic dropcloth. We wrapped the beadboard in the drop cloth and we were good to go.

Demo Day
Brad woke up Saturday and was all “well let’s get started” and began dismantling the powder room with the help of Owen. It probably wasn’t the wisest decision for us to leave our houseguests without a main floor toilet but they’re family so…
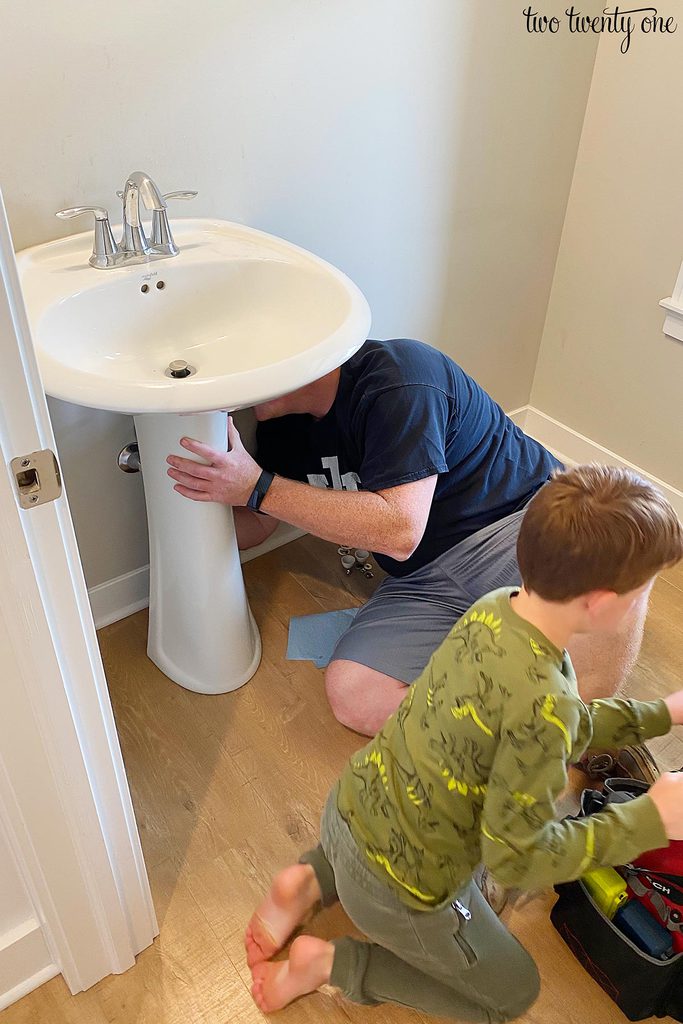
The toilet and sink removal was pretty easy and painless. We also removed the shades from the window and the door to the powder room. It was just easier to work in the room without the door in the way.
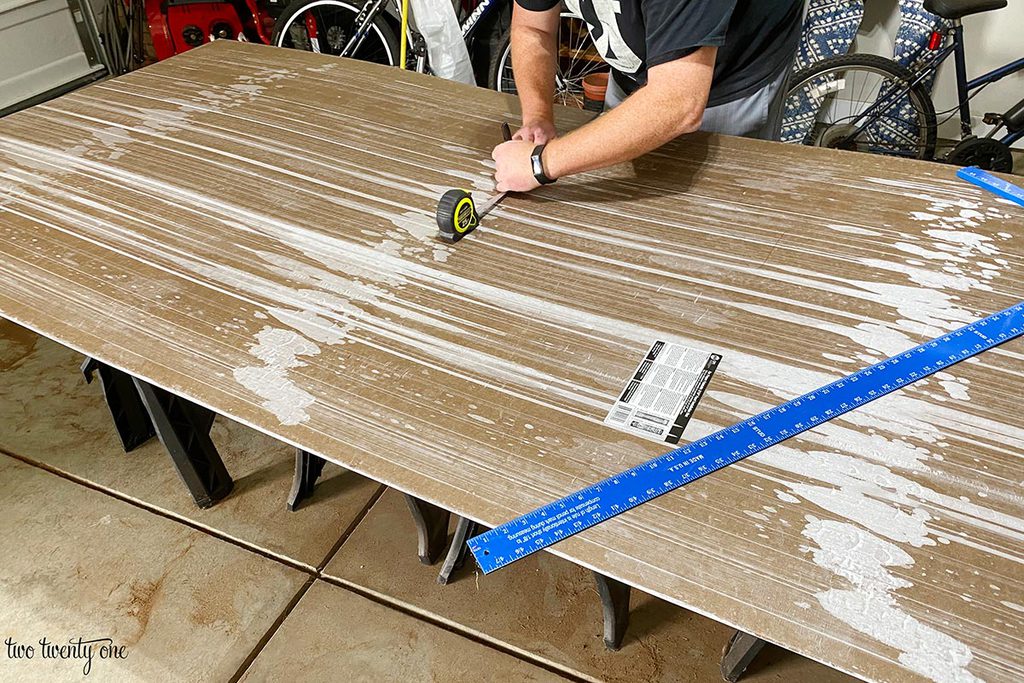
Cutting the Beadboard
We also tackled the big beadboard cuts on Saturday. It took some mental work. I had to think about where the seams would go — behind the door and behind the toilet. And making sure the seams would line up because we wanted to match the pre-made edges, not the cut edges. A lot of measuring and math was also required.
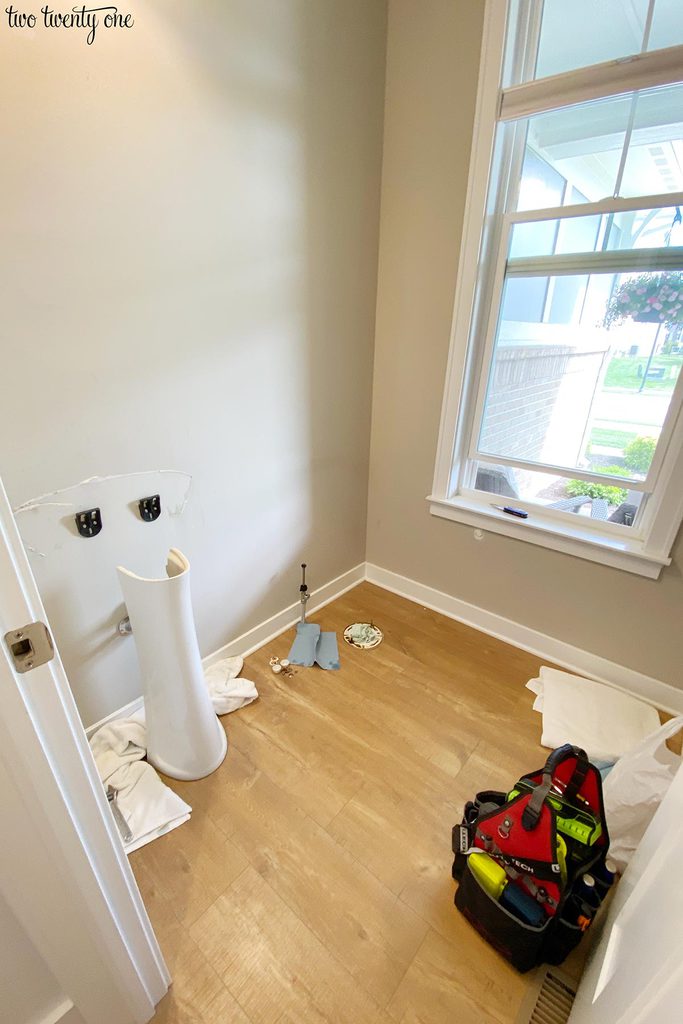
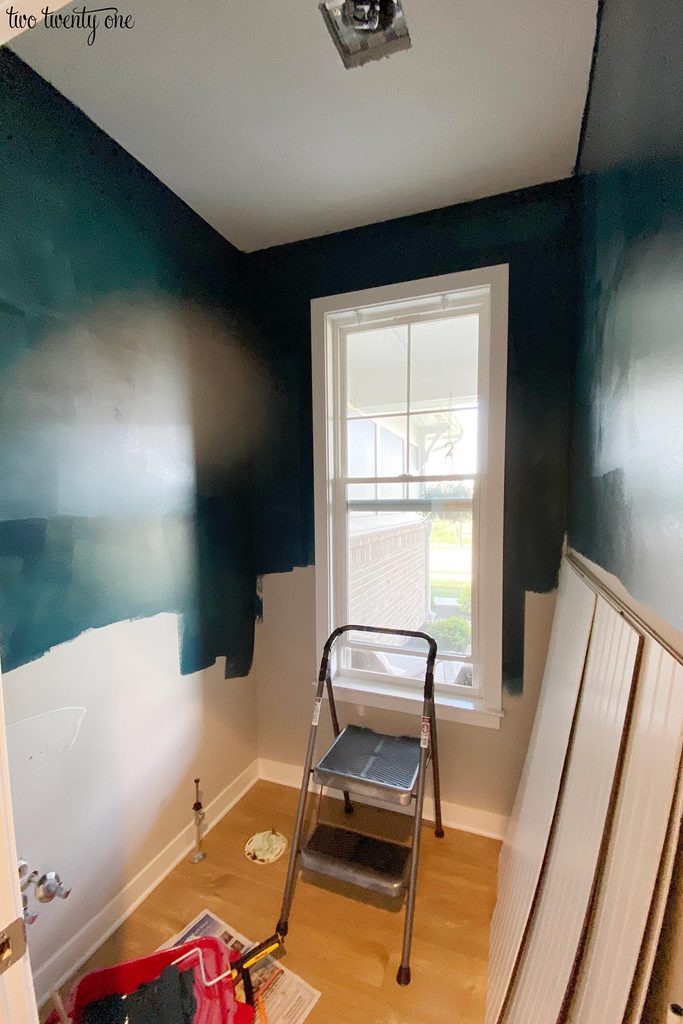
Grab a Roller & Brush, It’s Time to Paint
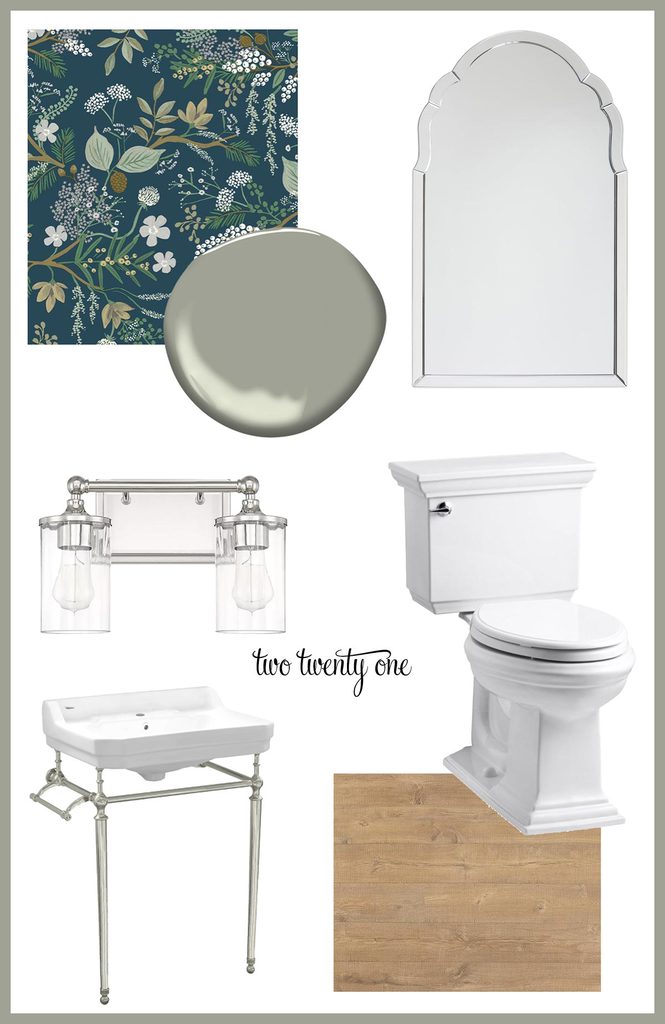
I also got started painting the room on Saturday. I started by painting the top portions of the wall the same color as the background on the wallpaper. This was for two reasons.
1. We have builder-grade flat paint on the walls. And if you know anything about that paint, you know it’s trash. I’m using peel-and-stick wallpaper so if I were to put that on the builder-grade trash paint, when I wanted to remove the wallpaper, I would surely tear off the drywall paper (the first layer of the drywall). So I painted it with a satin finish, quality paint.
2. By painting the walls the background color of the wallpaper, it won’t be as noticeable if there are any gaps in the wallpaper seams or near the ceiling. The paint will help any of those imperfections blend in vs if the wall remained Worldly Gray, a much lighter color.
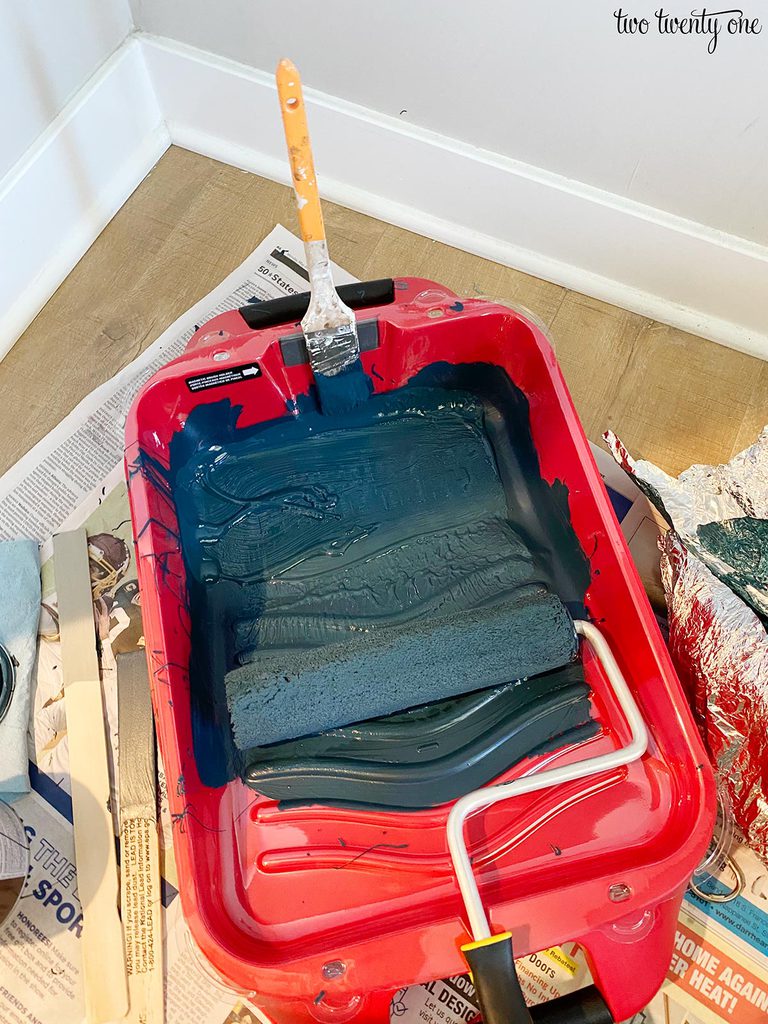
Shout out to HANDy Paint Pail for sending me some of their products to use in the powder room. Let me just say that the magnet built into the paint roller tray is a game changer. Hurray! No more paintbrushes slipping into the paint tray. The paint tray liners are also a game changer. You can check out all of the HANDy Paint Pail products here!
Over the course of Saturday and Sunday, I was able to get two coats of paint on the window and door trim and the baseboards. So those are pretty much done.
To Do List
finish installing beadboard
install wallpaper
install trim on upper part of beadboard
caulk and paint the beadboard
paint the inside of the door
buy a toilet seat
install the toilet
install the console sink
install the faucet
install the mirror
purchase and install the vanity light
purchase a toilet paper holder and install it
convert light switch to a dimmer switch
purchase and install new light switch and outlet covers

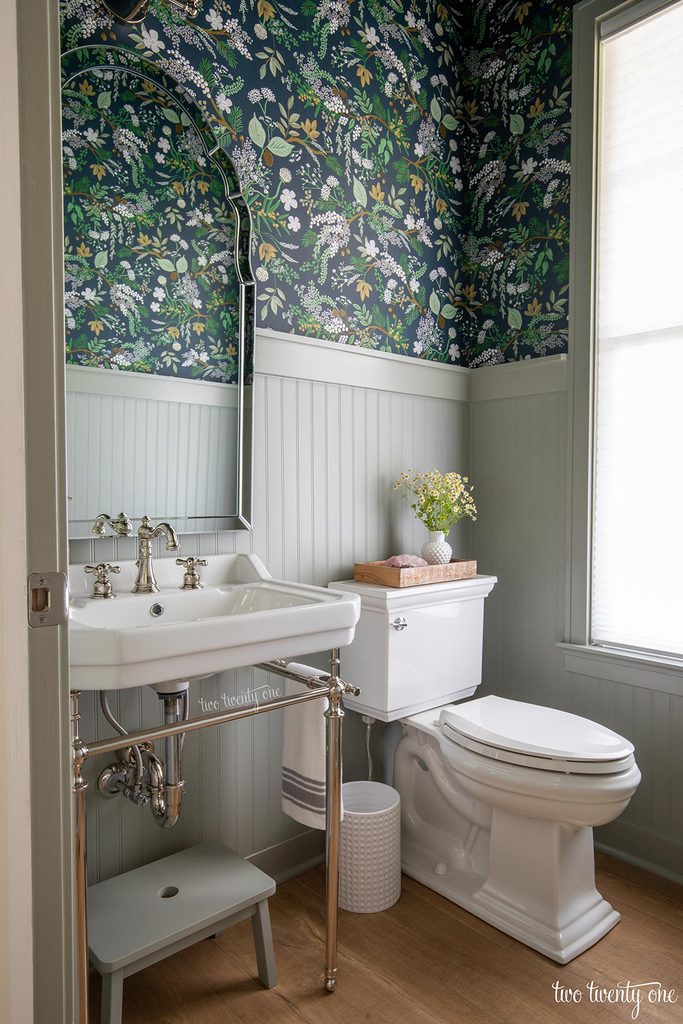

Looking good! Can’t wait to see that wallpaper go up!