How to Make a Window Box
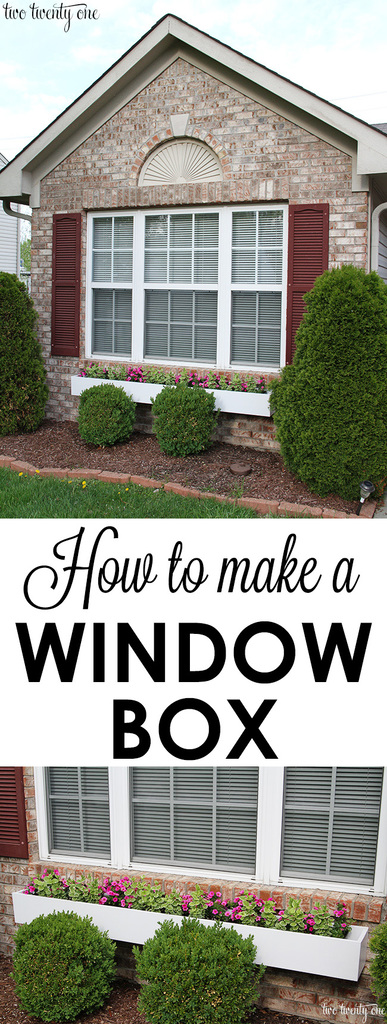
On Monday I shared the window box Brad and I recently built to add curb appeal to our house. Today I’m sharing how to make a window box so you can hopefully build one (or more) for your home.
Before I get into the tutorial, I have an exciting announcement. I’m super pumped to be joining the Lowe’s Creative Ideas creator and influencers network! This means I’ll participate in monthly DIY challenges and post them here on the blog. I’m really excited about this opportunity to work with a great company and other talented DIY bloggers!
Alright, let’s get started with the supplies you’ll need. Now, your supplies may very slightly from mine, especially if you won’t be securing your window box(es) to a brick facade. Below are the supplies we used to complete this project.
Supplies:
wood– 3 long pieces, 2 square pieces (see below for the exact measurements of ours)
wood clamps
saw horses
nails
nail gun
wood filler
sand paper
caulk
drill
drill bits
primer
outdoor paint
hammer drill
masonry drill bit
L brackets
masonry screws
stainless steel nuts
stainless steel bolts
stainless steel washers
Since our front window is roughly 86 inches wide, we decided to make things easy and go with an 80 inch wide window box.
So we headed to Lowe’s to pick out the wood and have it cut to size. We had the wood cut into three pieces (80 in. x 7 1/4 in. x 3/4 inch). For the two ends we had them cut pieces that were 7 1/4 in. by 7 1/4 in. by 3/4 in.
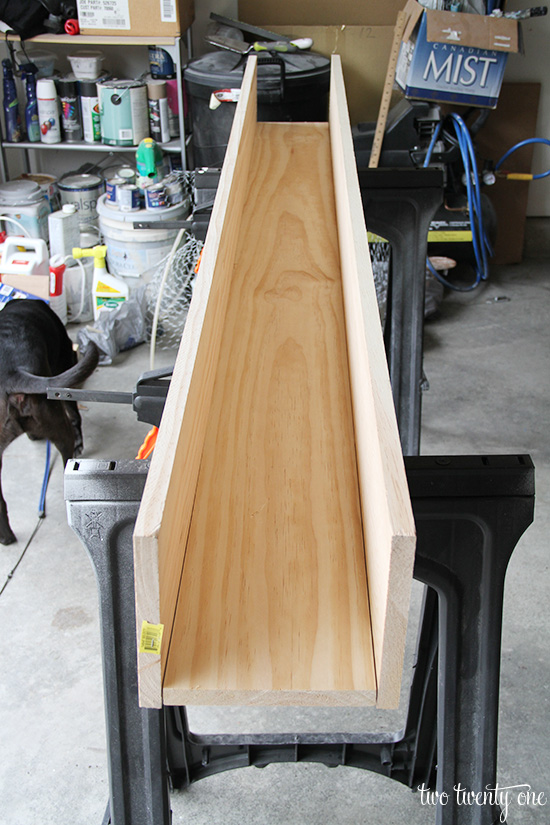
We used wood clamps to position the pieces on our saw horses.
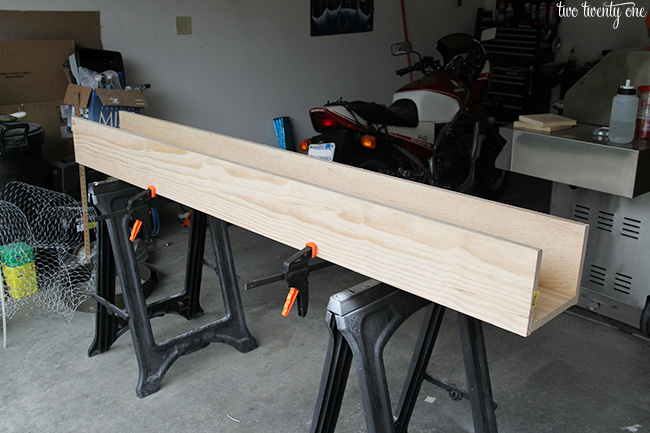
Then we grabbed the nail gun and got to work. Putting a nail in about every 8-10 inches.
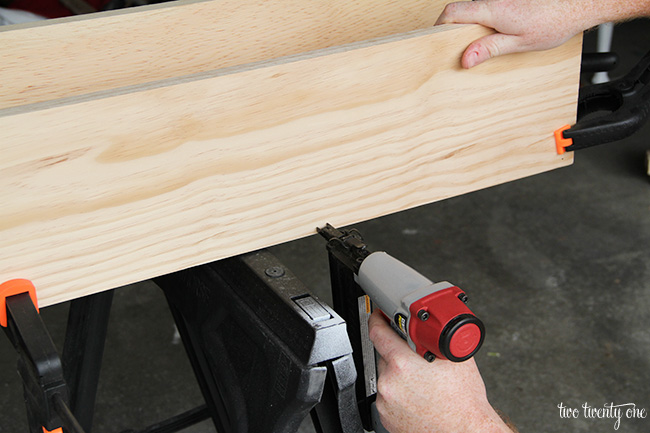
Once we were done nailing the two sides we moved onto the ends. We repositioned the wood clamps to secure the end pieces.
(Brad purposely wore this shirt for this project. He wanted to make sure everyone saw him.)
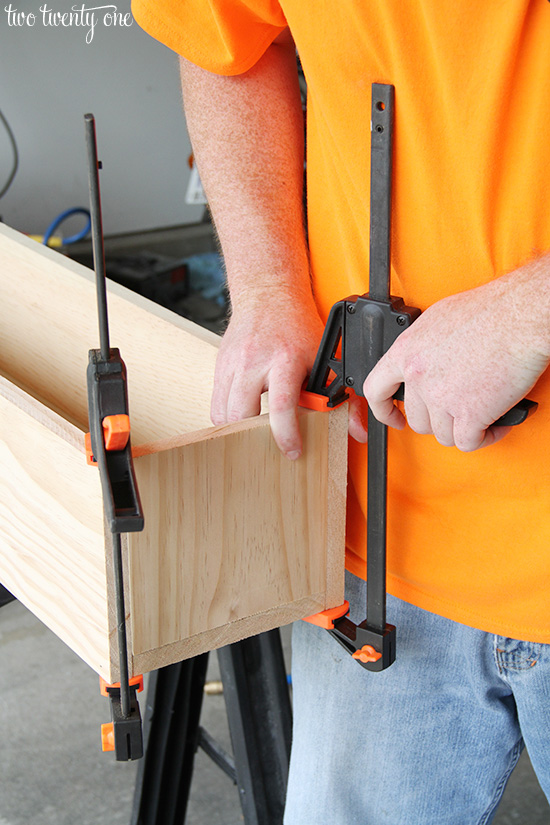
Jack was present to supervise this project. He also thought it was funny to wrap his leash around my feet while I took photos.

After using the nail gun on the sides, we flipped the window box over.
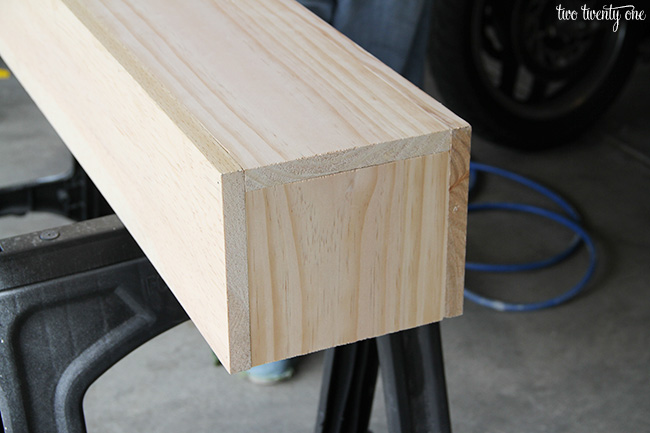
Then we put nails in the bottom of the ends.
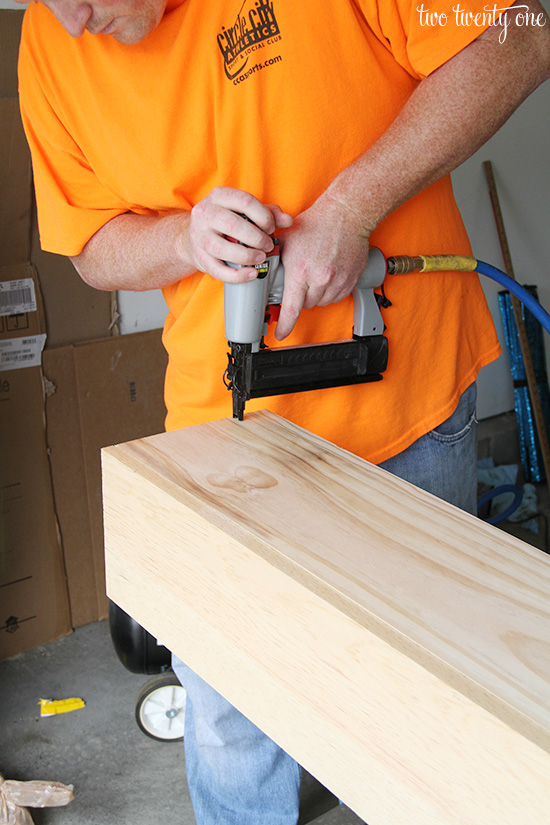
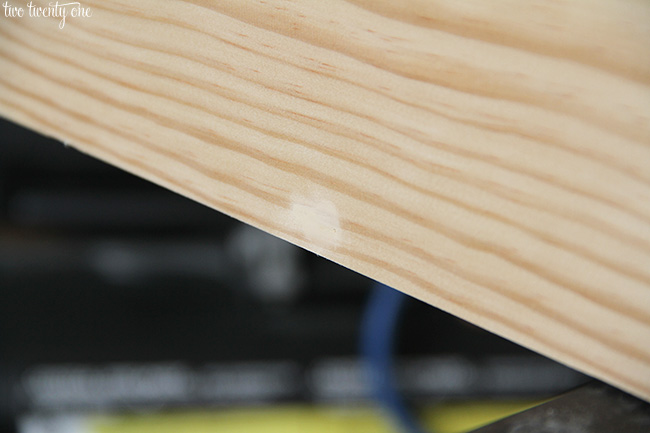
After the nailing part was over, I filled the nail holes with nail filler, followed with light sanding to smooth things out.
Next came the caulking. Since this window box is going to be outside in the rain, and essentially collecting rain, we wanted to make the inside of the box as airtight as possible so water wouldn’t settle in the cracks and rot the wood faster.
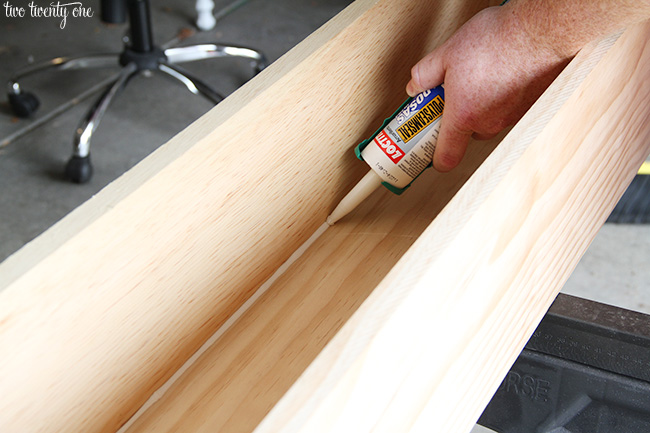
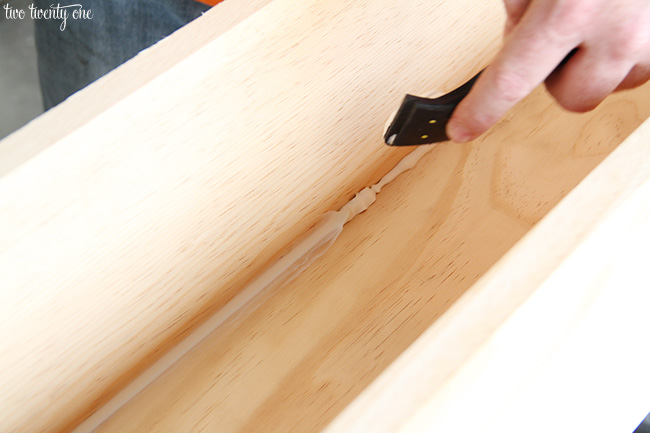
We caulked all of the corners inside the window box, and let it dry overnight.
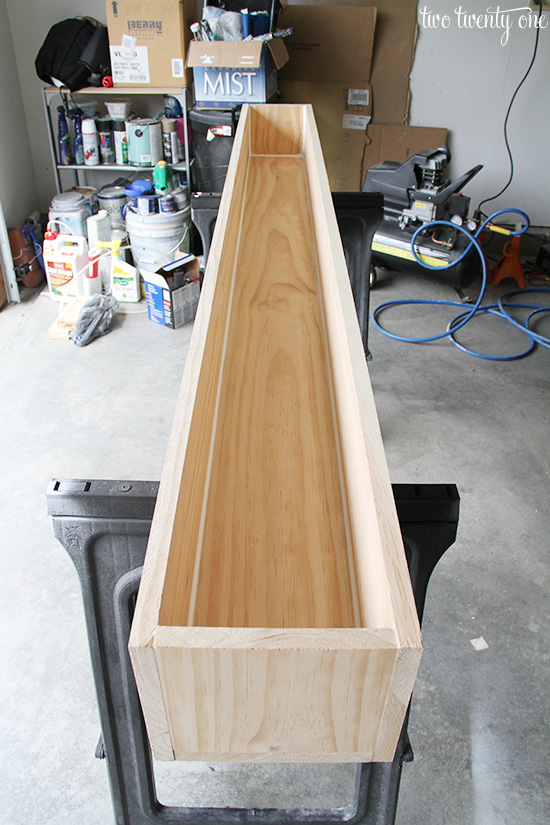
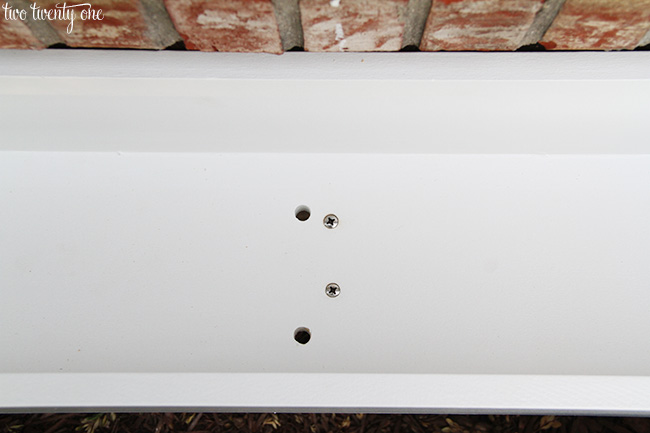
Then came the drainage holes.
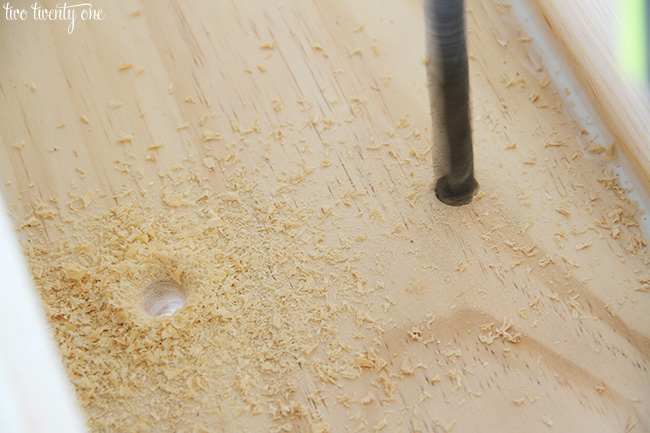
We put in 8 drainage holes. You can see 6 of the holes in the photo below.
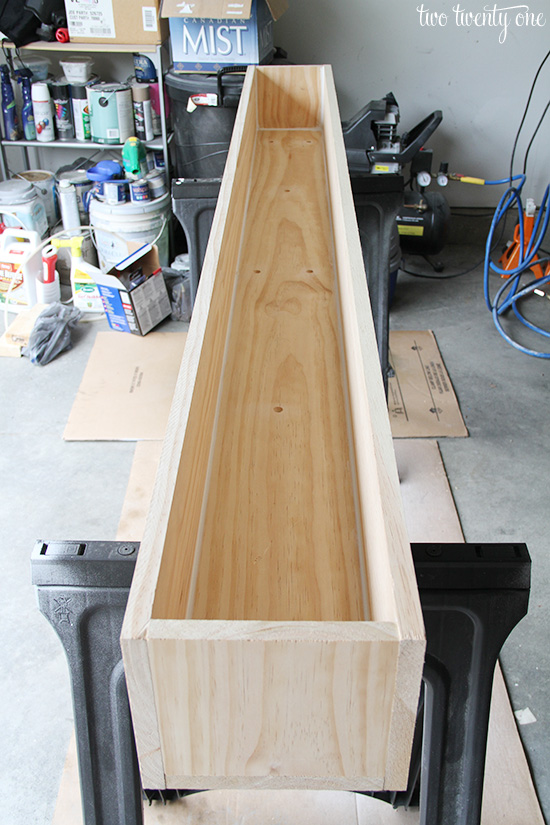
Then it was time to prime and paint.
I put on two coats of primer and two coats of outdoor paint. Since we were going with plain white, I grabbed a quart of ultra white satin outdoor paint at Lowe’s, had the paint people shake it up, and went on my way.
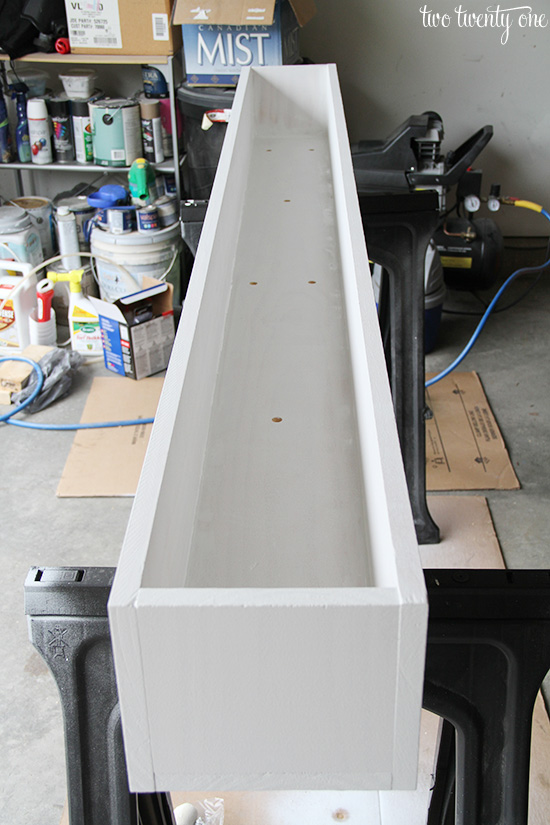
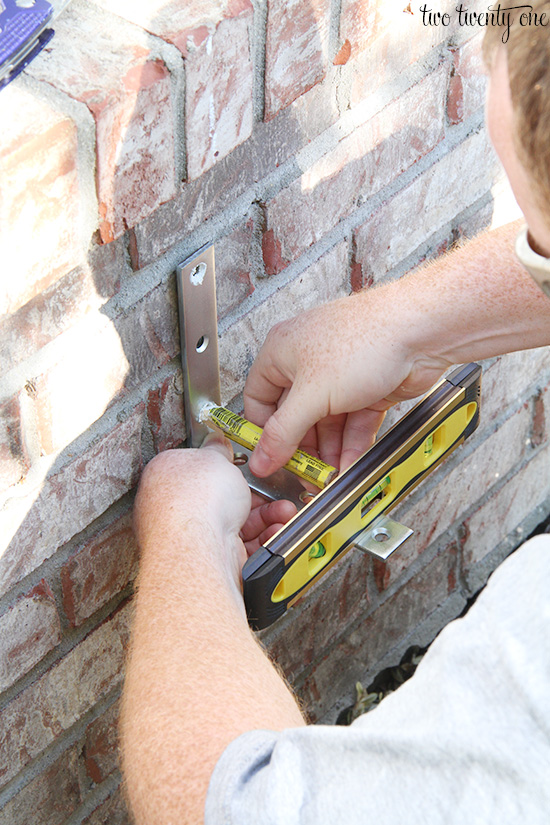
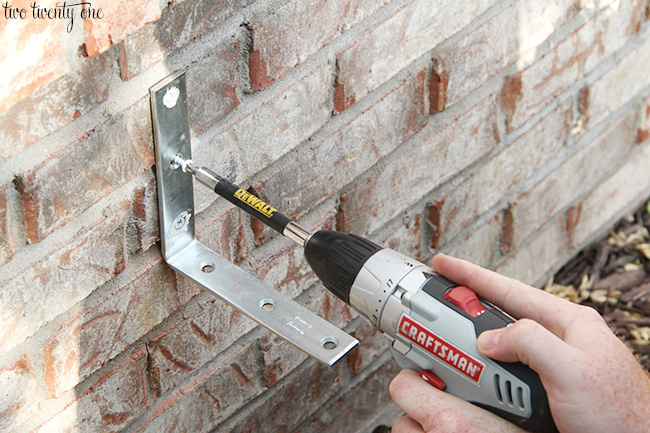
We used three L brackets to secure the window box to the house. We measured everything out and marked it accordingly. To make sure the brackets were level, we used a level.
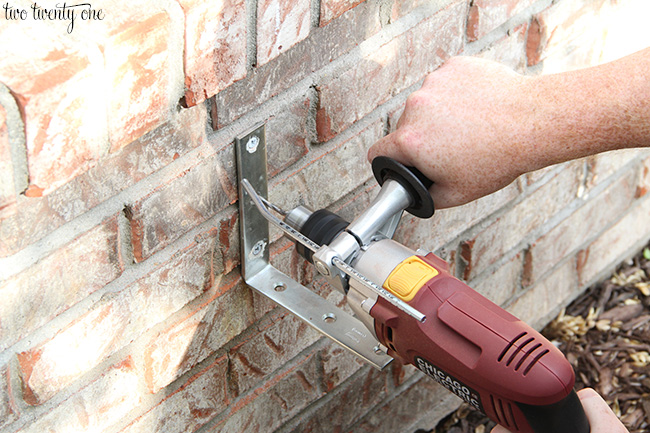
Then Brad broke out the hammer drill and masonry bit to drill into the brick.
We used masonry screws to secure the L brackets to the house.
Here’s how the brackets looked when we were done.
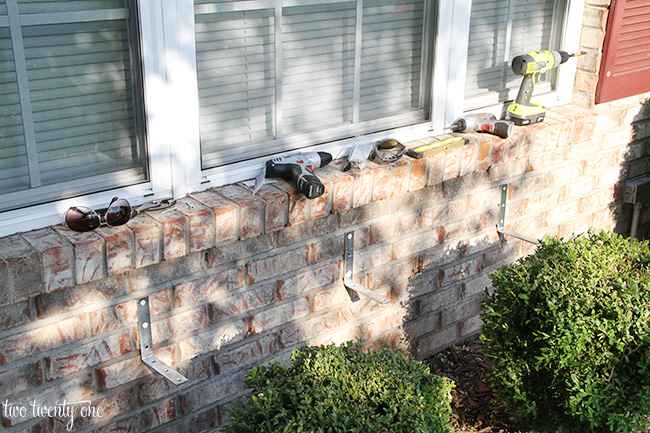
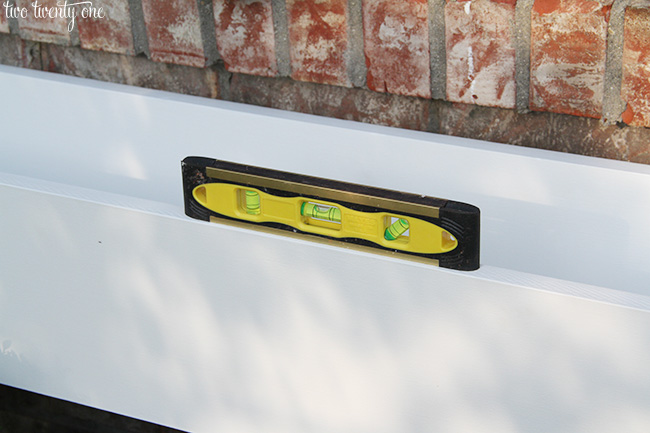
We brought out the window box just to make sure everything was level.
Since we were making the window box a removable unit, we used stainless steel nuts, bolts, and washers.
To figure out where we needed to drill the holes for the bolts, we positioned the window box on the L brackets, located the holes in the L brackets that touched the bottom of the window box, and used a Sharpie to mark where the holes were on the window box.
Then Brad drilled the holes where we made the marks.
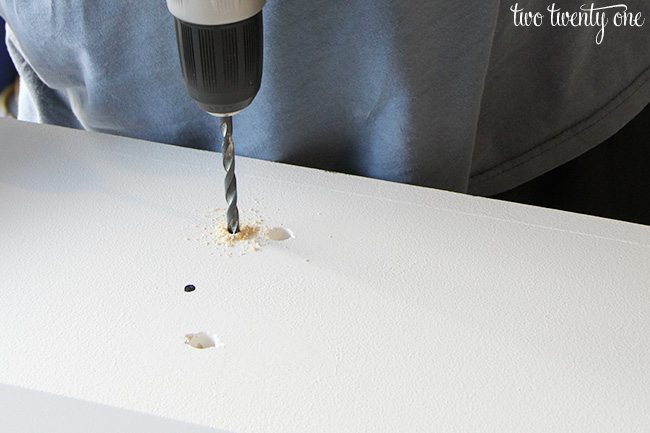
On the inside of the box he counter sank so the bolts would sit flush.
We put the window box back on the L brackets and secured it with the bolts going through the top of the window box, and the washers and nuts on the under side of the window box. So when we want to remove the window box and store it for winter, we just have to remove the nuts, washers, and bolts.
We decided to use three plastic planters inside the window box to make clean up easier. I have to admit that we didn’t account for lip on the planters so we had to saw off the lips of the planters in order to get them to fit inside the window box. Also, the planters we bought didn’t have drainage holes so we had to drill holes into the bottoms, but that wasn’t very hard. So keep all of this in mind if you intend to use planters inside your window box.

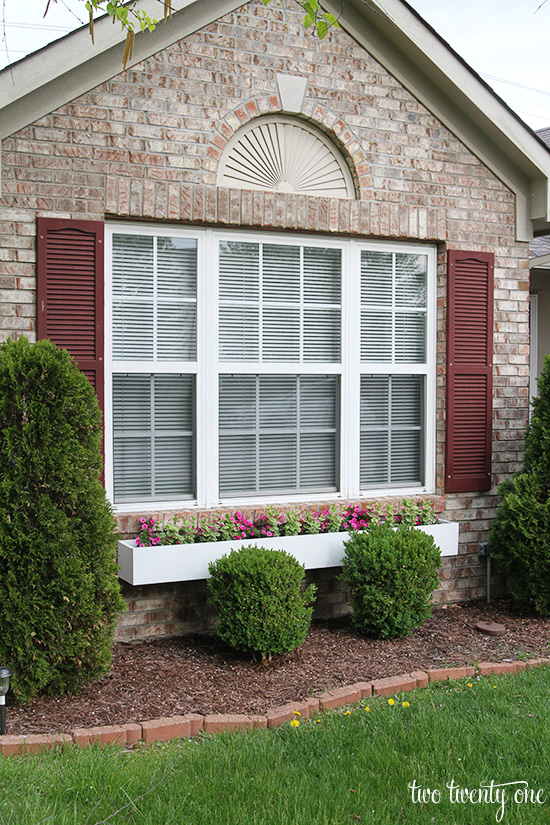
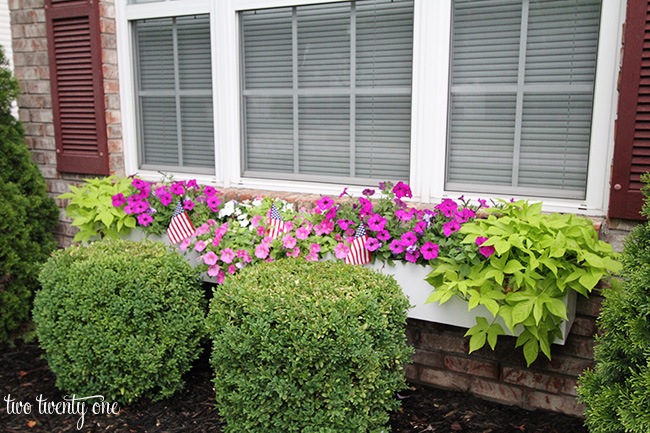
We love how the window box turned out, and how it adds instant curb appeal to our house.
I can’t wait for the flowers to fill in and begin to spill out of the window box.
You can find more DIY ideas from the other amazing Lowe’s Creators & Influencers!
Follow Lowe’s on Instagram, Pinterest, and sign up for the Creative Ideas magazine and app!

As a Lowe’s Creative Ideas Creator, I was provided a gift card to cover the cost of materials for my project. All opinions are 100% my own.
It’s adorable! It adds just the right amount of charm to your house! Jack is looking mighty handsome these days. Hope he’s enjoying his last few months as an only child. 😉
Awesome tutorial, Chelsea! Thanks for sharing. And congrats on getting picked by Lowes!
Great tutorial! It would not have even crossed my mind about caulking the interior, but this is a must. I wish I had a place to put some window boxes.
I love this project! It’s simple enough anyone can do it but makes a big impact. Can’t wait to see the calibrachoa fill out! They’re some of my favorite flowers. 🙂
Someday when I grow up and am a real blogger like you I want to do cool things like build planters as a Lowe’s Creator & Influencer! 😉 Too awesome!
love me a good window box. seems pretty simple too. not that i’d be building it. that’s for the man in my house. but i’m pretty sure he’d rock it. great tutorial
Love this! I seriously need to make one of these for our house!
What a great tutorial! I have been thinking about some windows boxes for my house, and I have looked at several tutorials, but yours is the best by far. Thank you so much!
I LOVE what it adds to your house! I want one now, too! I’ll admit, when I first saw the post title, I thought, hmmm, but aren’t window boxes pretty inexpensive to purchase readymade? After a quick googling, WHOA, I cannot believe how pricey they are! So I’m very glad you posted such a detailed tutorial so I can try my hand at building them instead of buying. It looks beautiful on your house! Awesome job.
Great tutorial! It looks beautiful. I just wanted to let you know that I am linking to this post at Simply Creative Living on May 14th if you don’t mind.
You make this look super easy! Can’t wait to try!!
I love the window box you made,cant wait to do ours.I priced them pre-made and it would be 180.00 each way too much,cheaper to make one
Estimated cost?
Hi. Could you please list the cost of the materials? I’m often surprised by how much our DIY projects cost at the end result, even though I’m sure it’s cheaper than buying good quality ones. Thanks.
Admiring the commitment you put into your site and in depth information you present.
It’s awesome to come across a blog every once in a while that isn’t the same
unwanted rehashed information. Wonderful read! I’ve saved your
site and I’m adding your RSS feeds to my Google
account.
I like to build the boxes with the wood grain sideways on the ends to stop the boxes from cracking and separating