How To Plant A Tree
Yep, today I’m going to tell you how to plant a tree. You know, in case you ever have the urge to plant one.
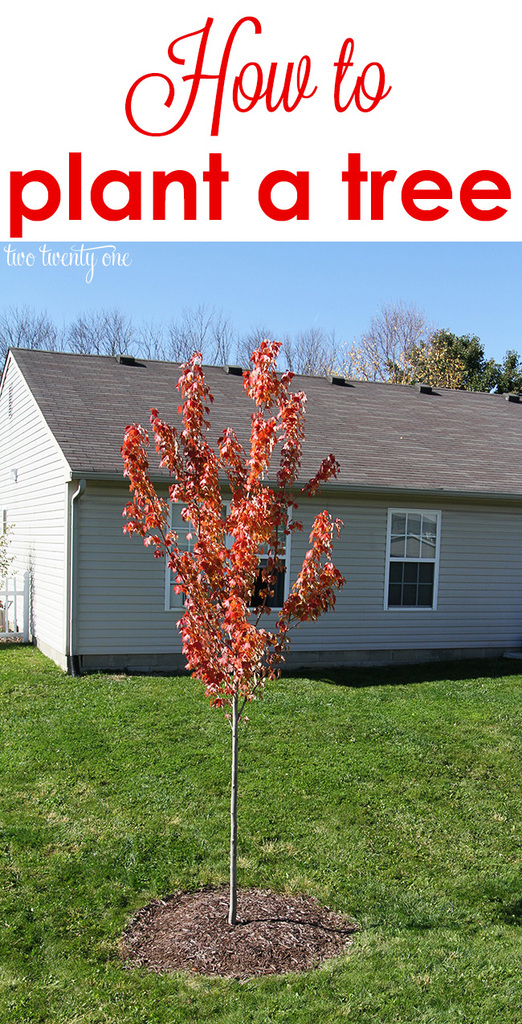
Now, we actually planted this tree last fall. I’m choosing to post about it a year later because I wanted to make sure we didn’t mess up and subsequently murder said tree. Since I’m posting, I’m happy to report that the tree survived, even through the Polar Vortex.
Brad and I read numerous articles about how to plant a tree before we embarked in tree planting. Let me tell you, there are 500 different opinions on how you should plant a tree. I’m sure I’m going to get comments on this post telling me how we planted the tree incorrectly. But you know what? That tree is alive and standing straight so I think we’re doing alright.
Okay, so a suburb near us has a balled/burlapped tree sale each fall for $50 per tree. They are really nice trees that would go for $150-$200 from a nursery, so I was all “Brad! We must buy a tree for the backyard!”
After much research, we ended up choosing an October Glory Maple.
Tip #1
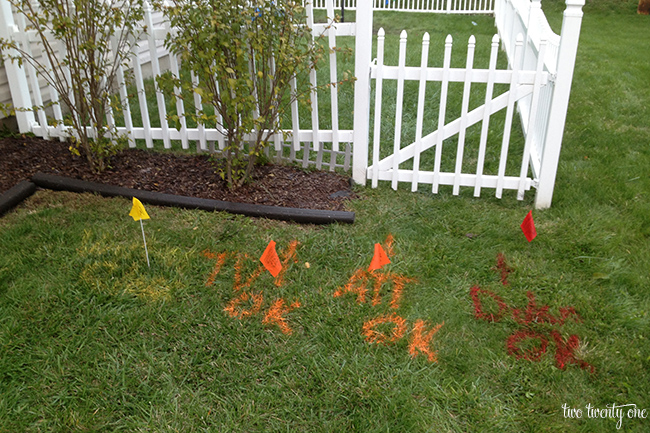
Call before you dig.
You want to make sure you’re not going to hit an underground utility line when you start digging your massive tree hole. Call 811 and they’ll set everything up. Try to call a week before you plan to dig.
Tip #3
Plant your tree in the fall when temperatures are cooler and there’s typically adequate rain to keep your tree hydrated.
Tip #4
Bring a big enough vehicle and manpower to transport your tree if you’re picking it up.
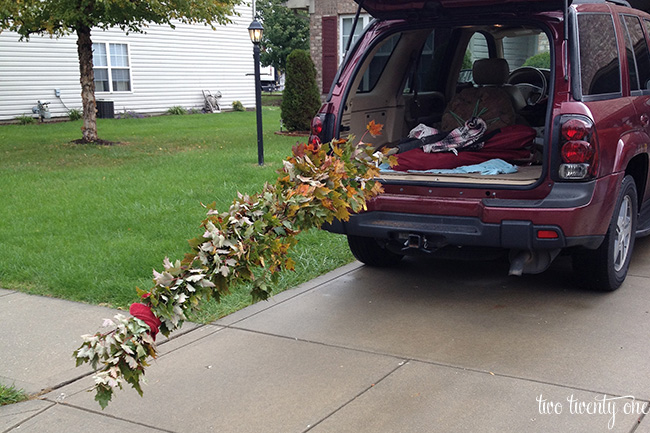
They didn’t say how tall or heavy the tree would be when I ordered it. Our tree was about 15 feet tall and 200 pounds. Heh. Brad was really happy with me.
We transported it home like shown in the photo below. THAT was fun. Then, when we got the tree home we used a piece of plywood as a ramp to slide it out of our SUV and pull it into our backyard. I called this a “marriage test”.
Step One
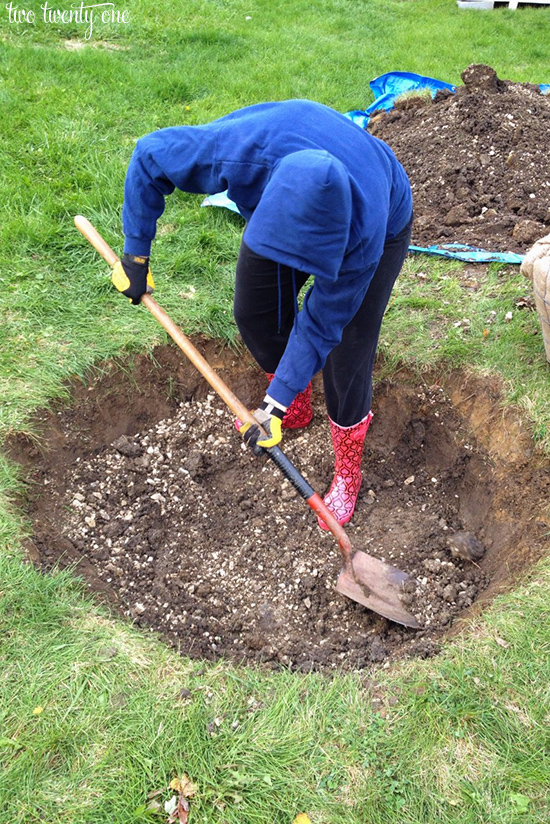
Dig a hole that’s 2 to 3 times as wide as the root ball. Our hole was about 5 feet in diameter and a foot and a half deep. Put all the dirt on a tarp for easier clean up.
As we dug, we noticed that our lovely home builders had filled part of our yard with gravel (yay!) so we ended up shoveling dirt and gravel. It worked out okay because the gravel provides extra drainage.
(So, who wants me to start my own fashion blog?)
Step Two
Manhandle your tree into the hole.
Step Three
Level it so that it’s standing up straight.
Step Four
Remove the wire and burlap. It’s okay to leave the burlap under the tree since that’s pretty hard to get to.
We heard that you can leave the wire and burlap on that’s around the root ball, but we decided to take the wire and burlap off. Supposedly, the roots will grow out of the burlap and through the wire.
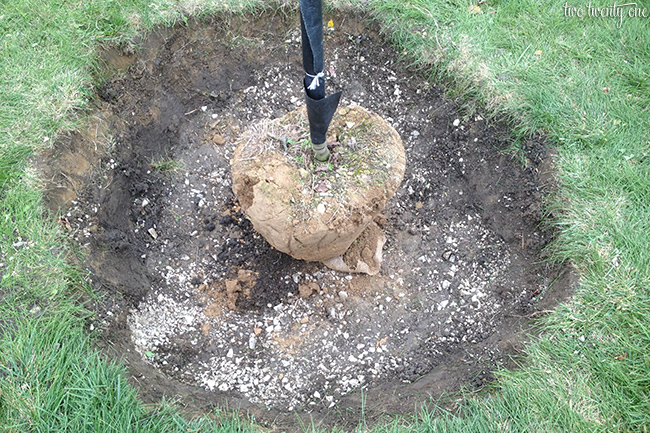
Step Five
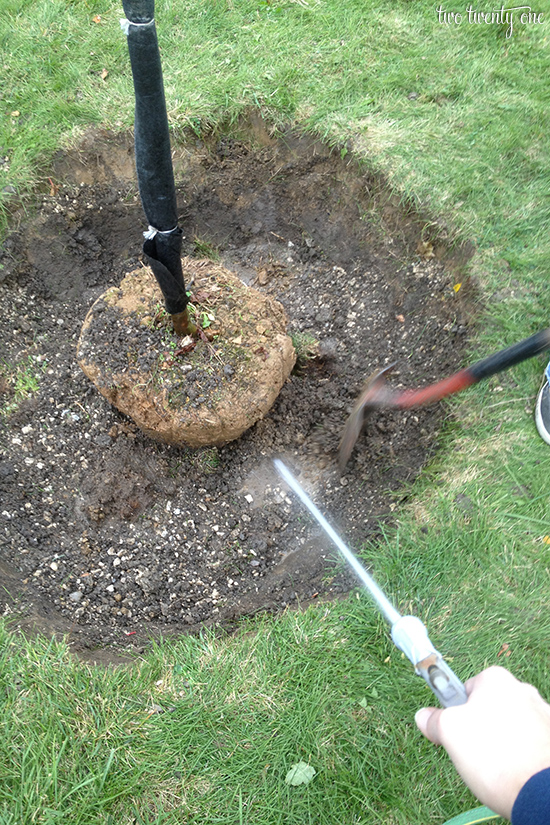
As you fill your hole, wet the soil with water. You want it muddy to eliminate air bubbles.
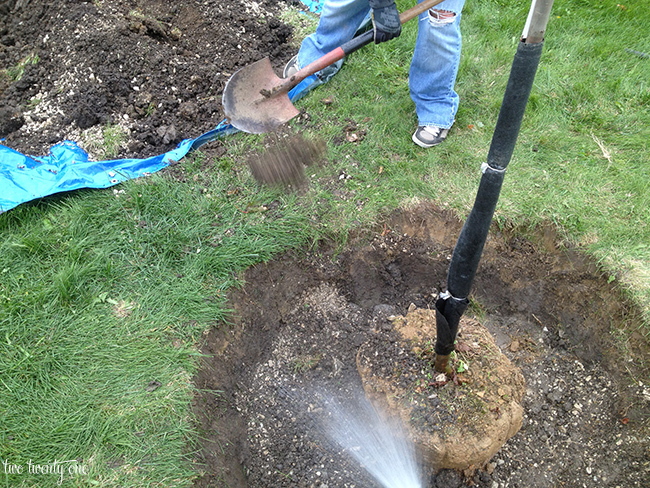
We would periodically stop filling the hole with soil, and I would wet the dirt while Brad used the shovel to work the dirt.
Step Six
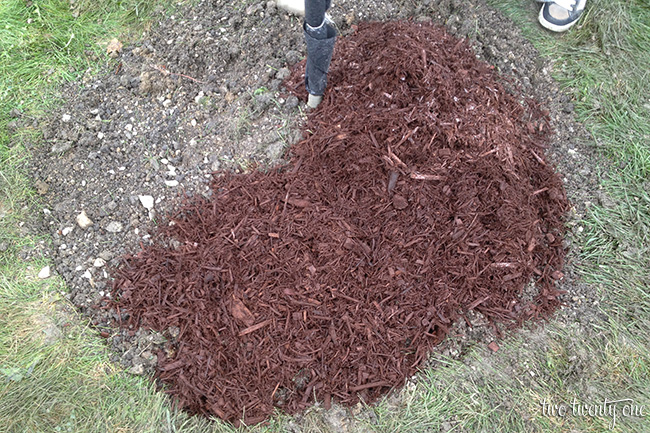
Mulch around your tree.
Don’t heap the mulch around the base of a the tree. I see this done all the time, and you’re not supposed to do this. The base of the tree needs to breathe so keep your mulch level.
Step Seven
Remove any tags and additional non-natural objects from the tree.
See the black stuff on the trunk of the tree? Yeah, remove that stuff.
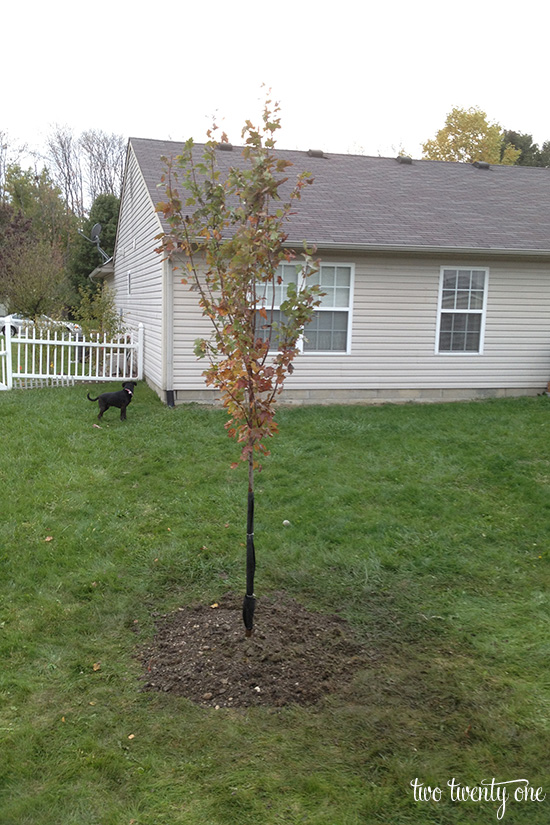
We didn’t really need to water the tree anymore because, since we planted it in the fall, there was plenty of rain.
Let me disclose that after planting this tree Brad said we’ll never plant a tree ever again. I will admit, it was a lot of work. Planting a 200 pound tree is not the same as planting a hosta or peony bush.
You’ve been warned.


What suburb has the tree sale? I live in Indy and would love to know. Thanks!
Hi, Mary! We got our tree from the city of Avon. I think they already had the sale this year. They don’t publicize it very well. We found out about it from a tiny ad in the newspaper. But you could always give their town hall a call and see when they plan to have the sale next year.
Haha too funny! We planted a pear tree this spring (this is the planting time for my climate) and it was definitely a lot of work. A few extra things to do before planting is to check the width the tree will be when it is mature and measure it out so that you know it will not interfere with anything as it grows. Also, the nursery I got my tree from told us to dig the hole a few days in advance and put water in it to see how well it drains as that can affect the trees growth.
I just sent this post directly to my fiance. He has all these plans about planting trees and arborvitae along the back of our yard. They are about to start building an estate home behind us and he wants privacy (totally understandable). A) It’s going to be an estate lot with an expensive home so I can almost bet they will probably want to do this anyway. And B) to your point, it’s a lot of work (and probably pretty expensive)! Hopefully this helps build my case against doing it ourselves. 🙂
Add to your case that arborvitae are a PITA. We have them in front of our house, and we spent all of last summer trying to save them from bag worms. HUGE headache. I’ll never purposely have arborvitae ever again.
OMG – done! 🙂 Thanks for the advice.
Arborvitae trees are easy to plant, we planted 4 then a few years later 4 more, at our old house. Now we live across the street. I sprayed the first 4 trees every year with Miracle Grow, not just the ground but all the way up to the top. And the owner now didn’t spray the last 4 and still doesn’t spray. The first 4 are healthier and much taller then the last 4. Spray them every year!
I need you to come do some landscaping at my house. Seriously.
Thanks for sharing! Not something I see on a lot of the blogs I read. Good to know for the future 🙂
Yeah, totally random, right? But I figure maybe it can help someone who plans to take on the task of tree planting. 🙂
I would love to see a recent pic of your tree.
Hi Cathy! I just added a pic to the top of the post.
LOL!!! You kill me!! Our town was giving away a free tree per person (now 5 years later they only give away a free tree for newborns) . So I begged my hubby to go and get one, after all we just built a new house and spent plenty on landscaping, a free tree is always welcomed!!! Well it was pouring that day as we drove to the city nursery. My husband expecting this huge tree packed his shovel, layered the trunk with plastic put plenty of cord in the trunk….we were ready!!! When we got there, it was a muddy mess as they directed us to a little cabin. We felt completely out of place when we saw these huge pick-ups with trailers attached! (found out later they were giving free compost, but we weren’t equipped for that!) We drove up to the women at the cabin….where she asked us which one we would like…..this twig or that twig!!!! Farmers I thought – always joking with city folks!! To my amazement that is what our free tree was! Just two twigs. LOL!!! 4 years later it is now standing in the front yard ( we planted the two together) a lovely tree about 5 feet tall!!! In summer the leaves are just beautiful!! Our neighbor has planted 2 trees in 6 years that he has been here, both have died – he paid over $200 each for them….so sometimes a freebie isn’t so bad!!! LOL!!.
I need you over my house ASAP!!! Please come on over and share this at our blog hop we have Wed-Sunday we would love to have you! https://www.floydfamilyhomestead.com/