DIY S’Mores Station
This post is sponsored by Better Homes & Gardens at Walmart. All opinions are my own.
What’s better than a summer night outside? A summer night outside with a DIY s’mores station. Today I’m sharing how to assemble a s’mores station and drink station.
DIY S’Mores Station
For the DIY S’Mores Station, you’re going to want the following items:
- marshmallow roasting unit
- wooden skewers
- marshmallows
- chocolate
- graham crackers and/ or cookies
- optional: fruit
- optional: footed board
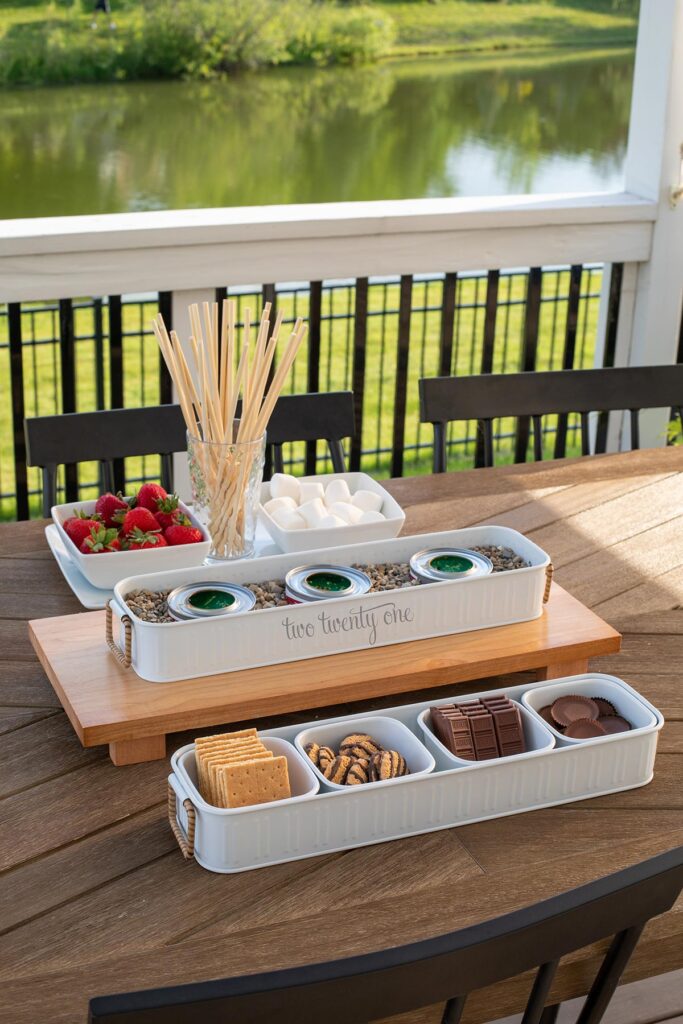
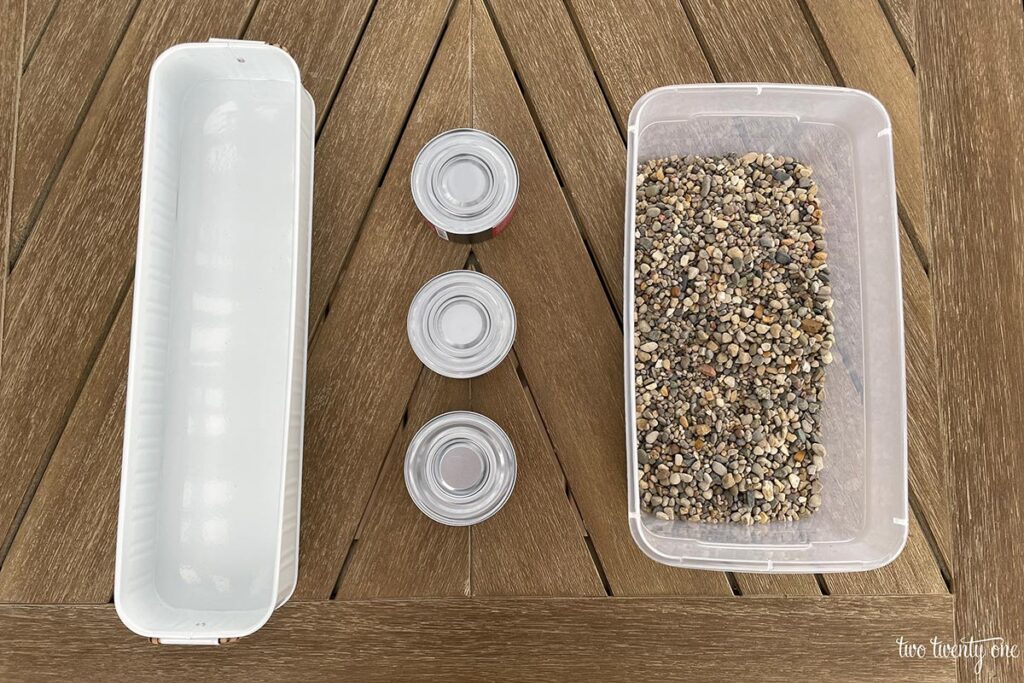
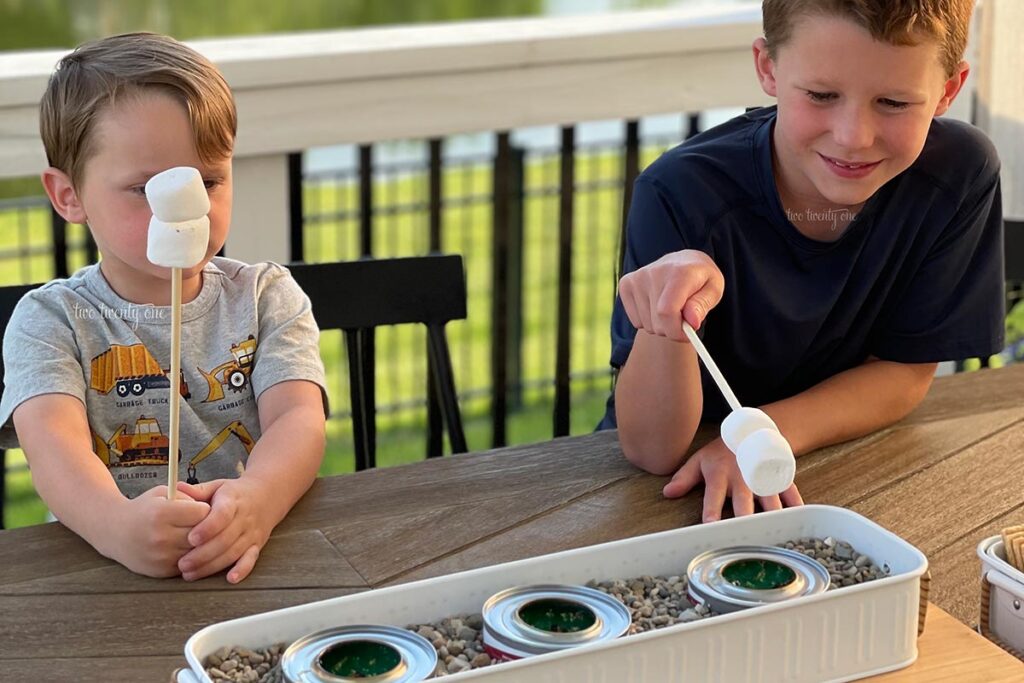
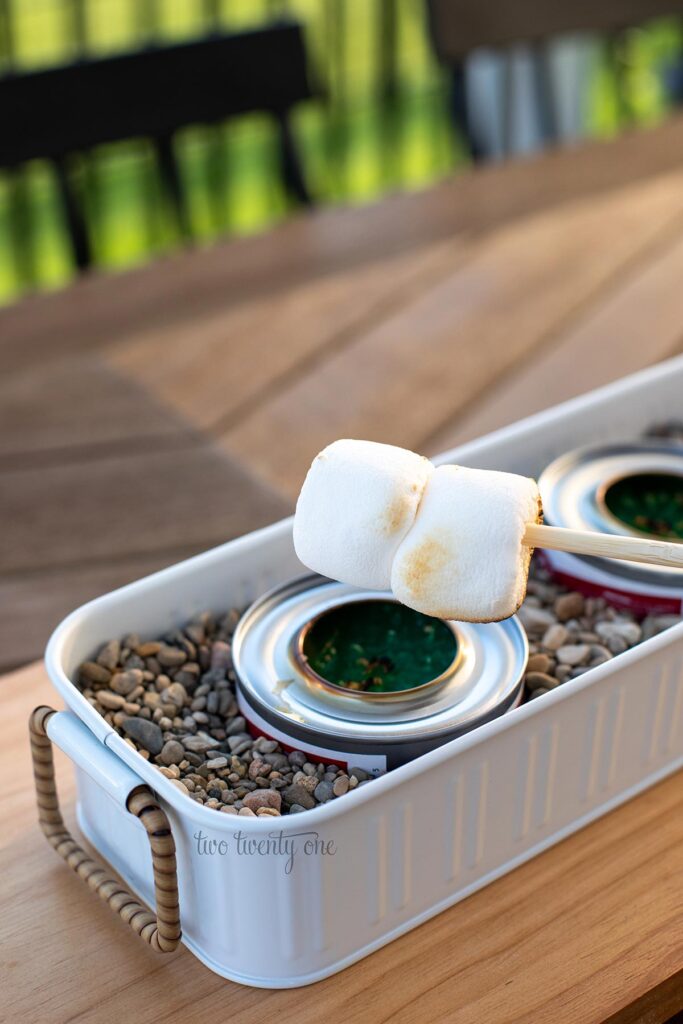
Tabletop Marshmallow Roasting Unit
If you have young kids, the trust just isn’t there in regards to open flames. That’s why I recommend using canned heat for roasting marshmallows. Yes, things can catch on fire, but it’s less dangerous than a fire pit.
To make the tabletop marshmallow roasting unit you’ll need:
- a container
- canned heat
- rocks, marbles, or fire glass
Place the canned heat in the container and surround the cans with rocks.
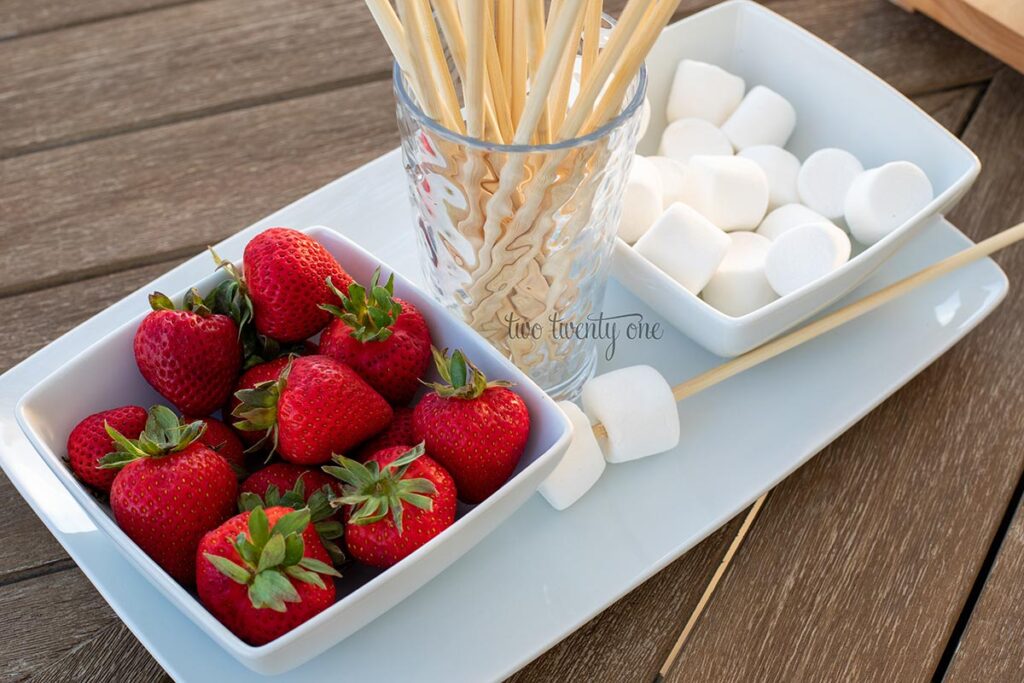
Marshmallows and Wooden Skewers
To make things easier to transport, use a large platter. The strawberries and marshmallows are in porcelain square bowls and the wooden skewers are kept tidy in a plastic tumbler.
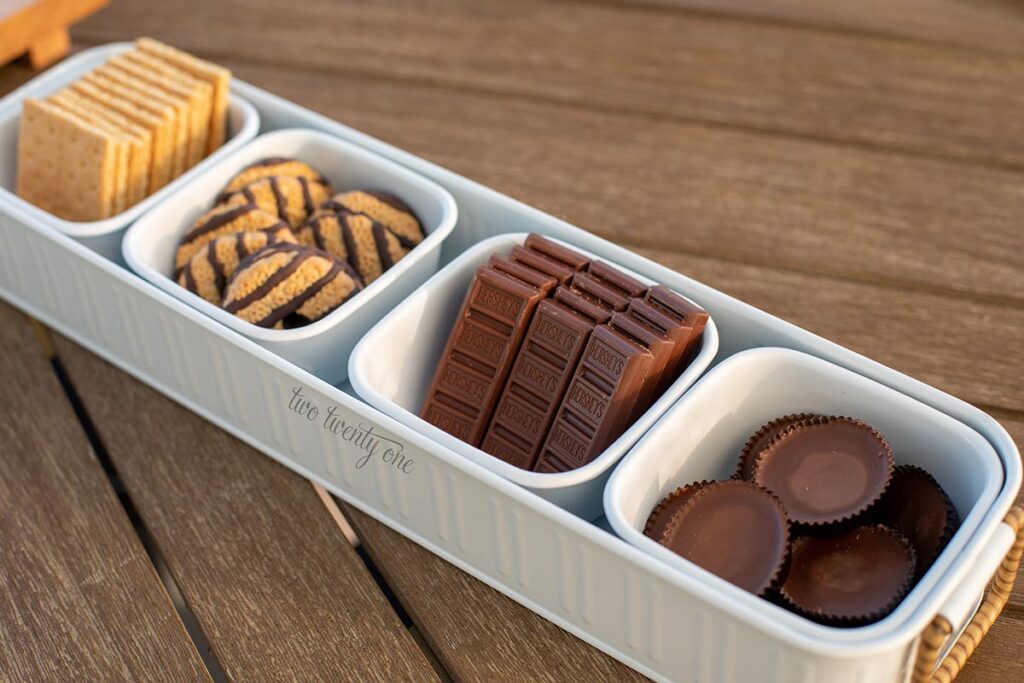
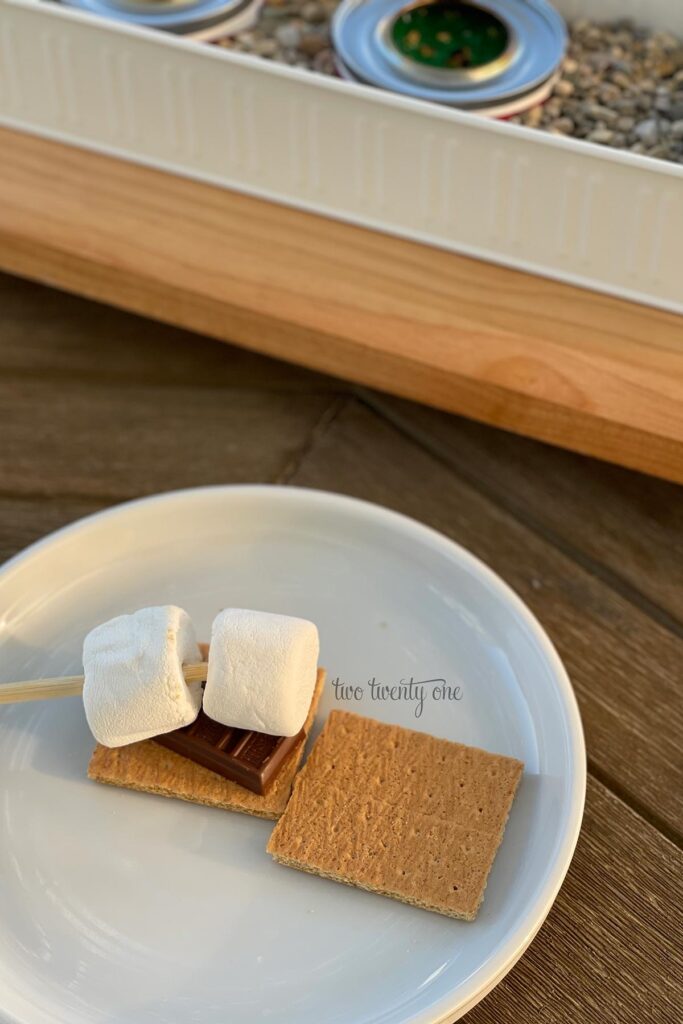
The Fixings
You can’t have s’mores without graham crackers and chocolate bars. I also like to add fudge striped cookies and peanut butter cups. To keep everything organized, I used a galvanized white galvanized condiment rectangle serving tray set from Better Homes & Gardens at Walmart.
Start Roasting
Arrange everything on a table and start roasting those marshmallows. To make the marshmallow roasting unit a little more out-of-reach, I set it on top of a footed board.
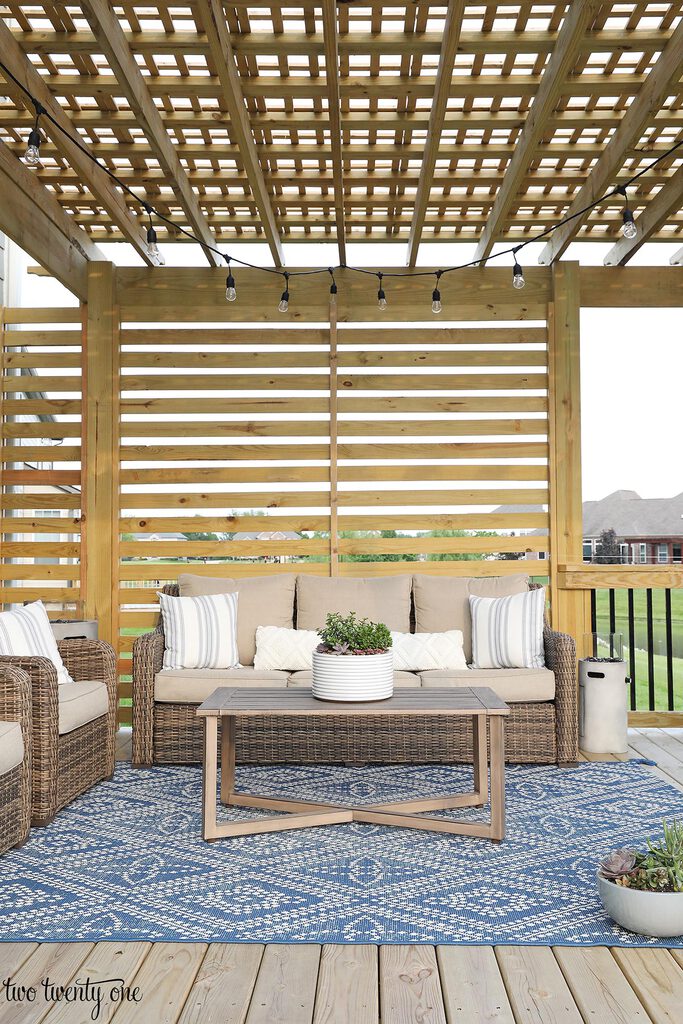
Drink Station
S’Mores make a person thirsty, which is why a drink station is a must when making s’mores. I used an outdoor console table to house our drink station.
Here’s what I had for our drink station:
- all-in-one serving caddy
- napkins
- plastic tumblers
- plates
- ice bucket
- drink dispenser
- drink dispenser stand
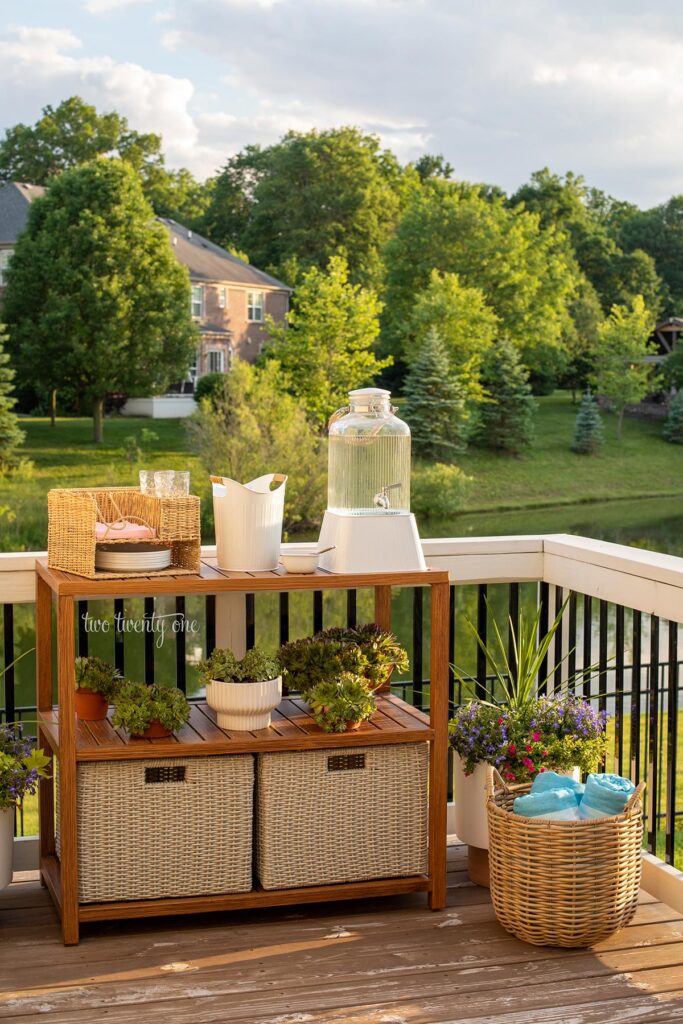
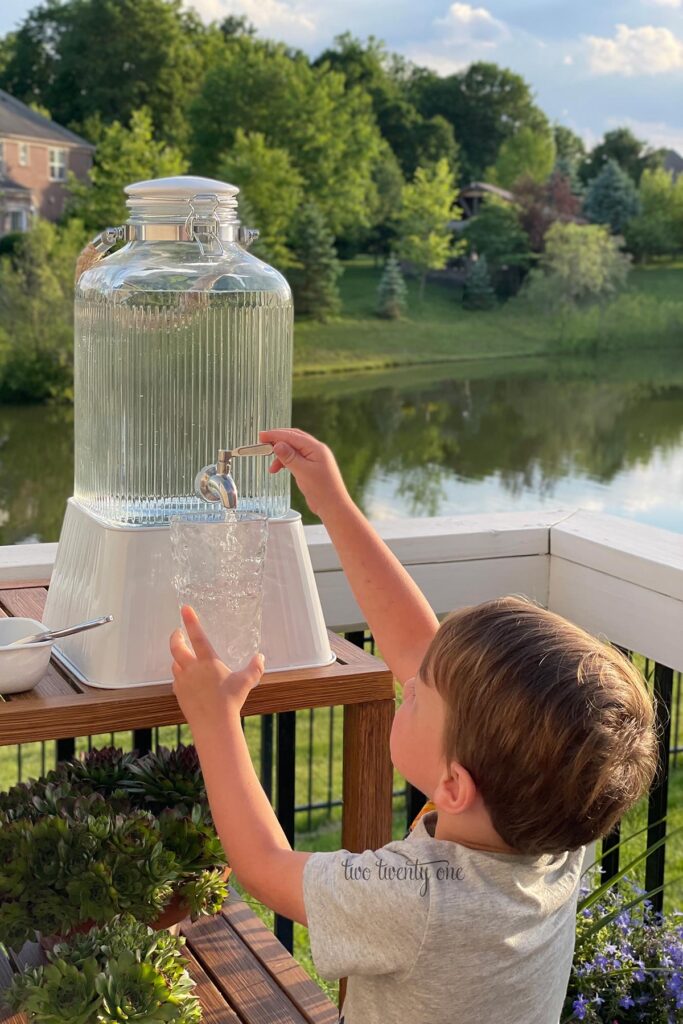
Drink Dispenser
I love a drink dispenser. They’re so nice, especially if kids are involved. No need to worry about them being able to pour their beverage into a cup. All they have to do is turn the nossle and the beverage flows out into their cup.
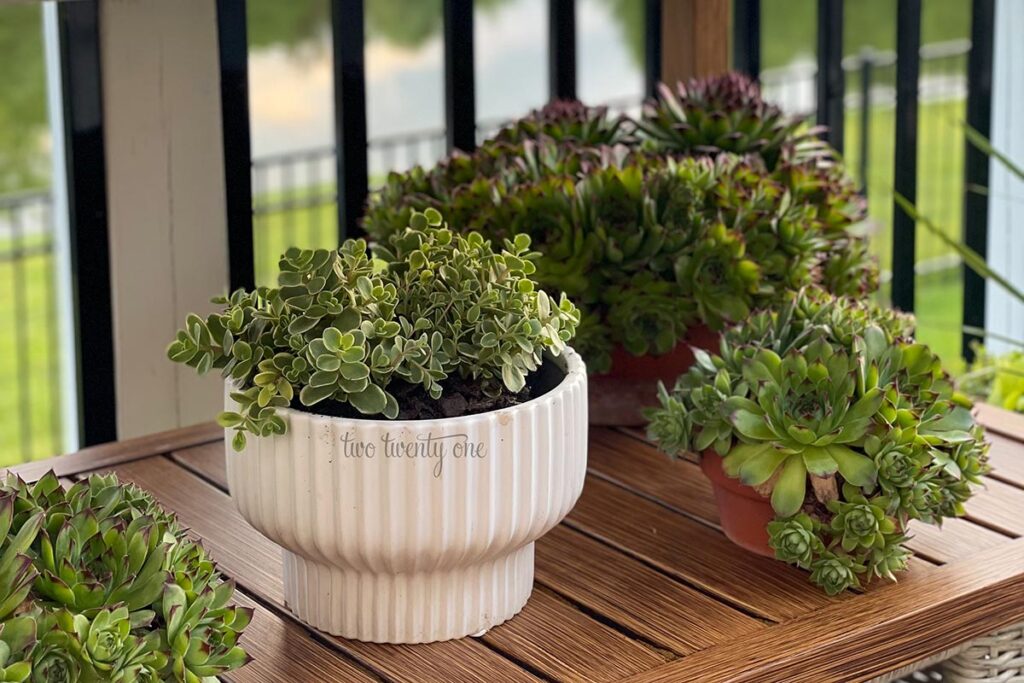
The console table shelf houses succulents. I planted this Better Homes & Gardens sedum in a white planter.
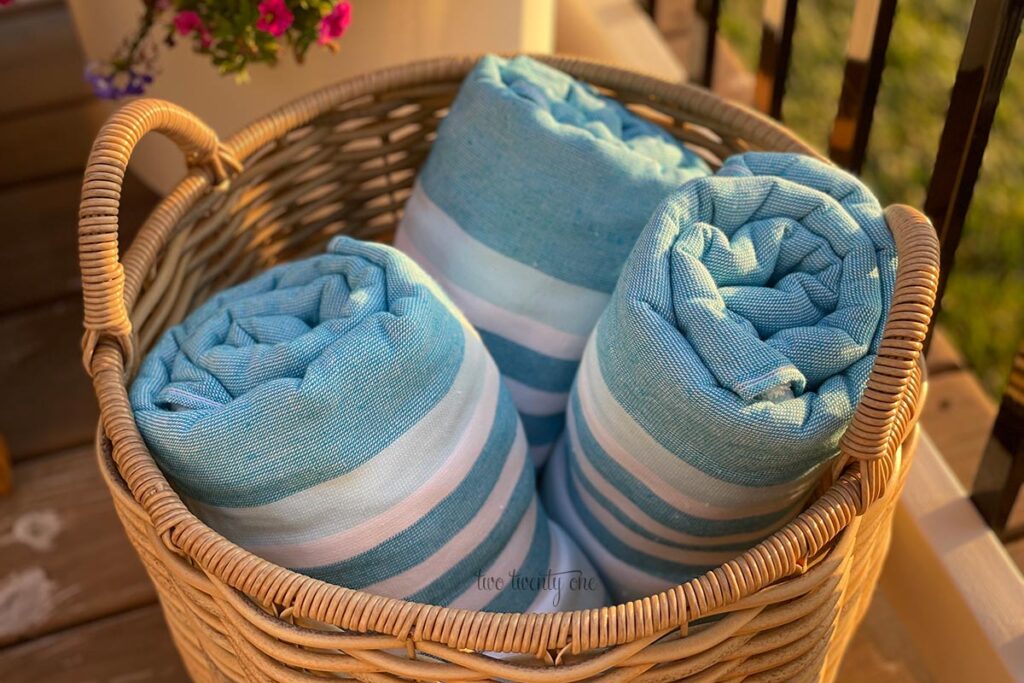
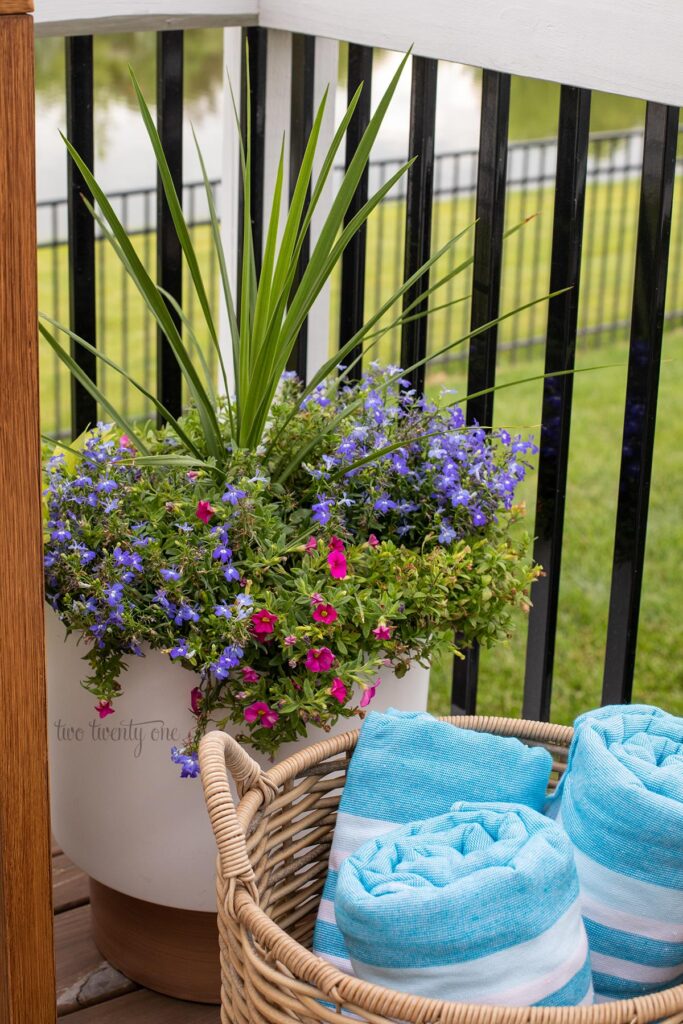
Towel Basket
Since it can get chilly in the evenings, I like to have a basket with rolled up oversized Peshtemal towels, that double as blankets, for anyone who may want to warm up a little.
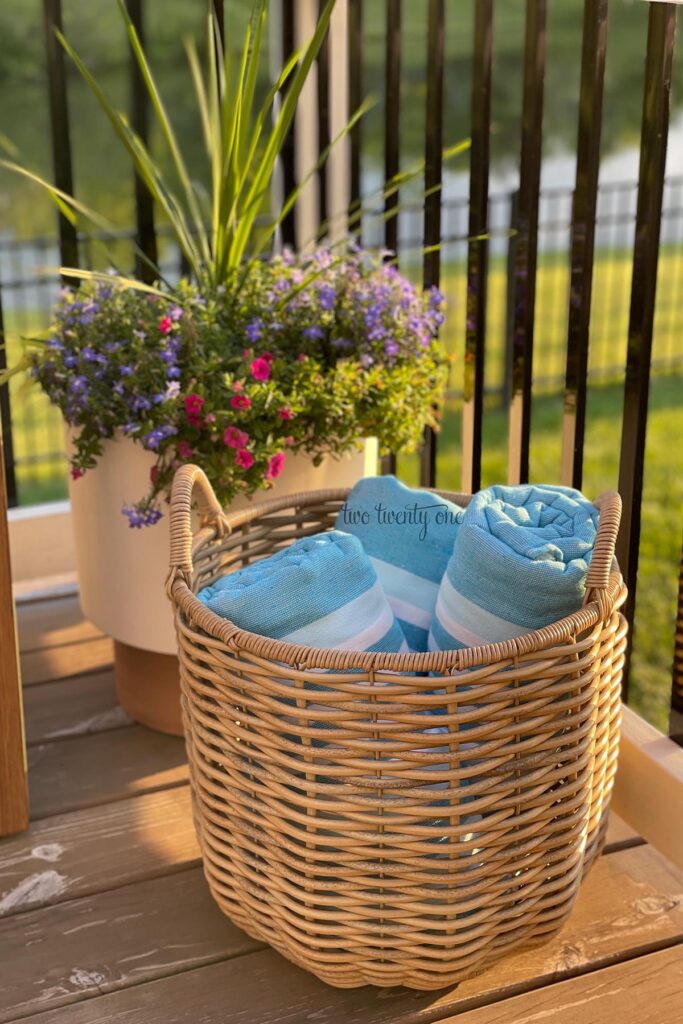
They’re also handy when we have friends over and their kids want to play with our water toys. The kids can use the towels to dry off before heading home.
Flower Planters
To elevate the drink station, I potted two large, white planters with pre-made flower arrangements by Better Homes and Gardens at Walmart. I simply took them out of their original containers and added them to the white planters. Then, I added in some sweet tomato vines for pops of neon green.
S’Mores Success
Since having our s’mores station night, the boys have asked at least twice a day if we can do it every night.

This post is sponsored by Better Homes & Gardens at Walmart. All opinions are my own.
What a cute set up! My kids have not yet learned the joy of s’mores…they only eat them deconstructed! I love the towel idea!
This is so incredibly smart.
I don’t know how I have missed that you have water behind your home.
Love the s’mores set up! Always a summer favorite. And so smart to used the canned heat.