How to Make a Diaper Cake – Step By Step Tutorial
I recently threw a baby shower for a dear friend, and I decided to make a diaper cake. This was my first time making a diaper cake so there was some trial and error on my part, but it’s pretty easy to make and can be made in under an hour. So today I’m sharing how I made mine, step by step.
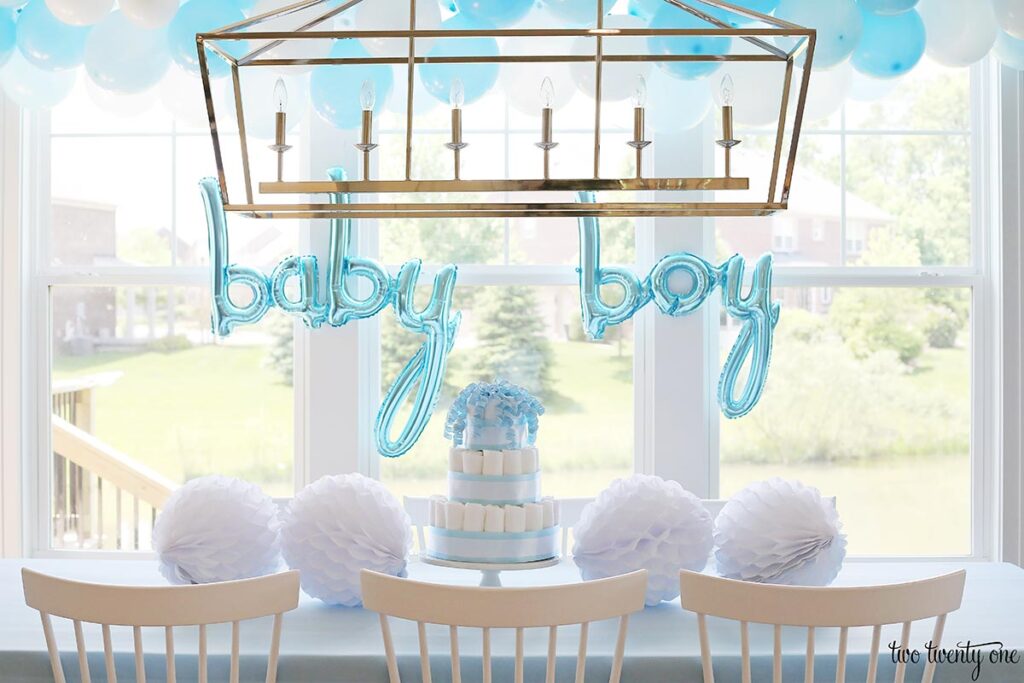
I didn’t want my diaper cake to look super babyish, so instead of adding baby lotion, baby wash, receiving blankets, stuffed animals, etc. I kept the cake decorations simple with some ribbon. Going this route also kept the cost down. And since we were celebrating a baby boy, I went with blue and white ribbon, but you can use any color of ribbon to best fit the shower theme.

Useful Baby Shower Decor
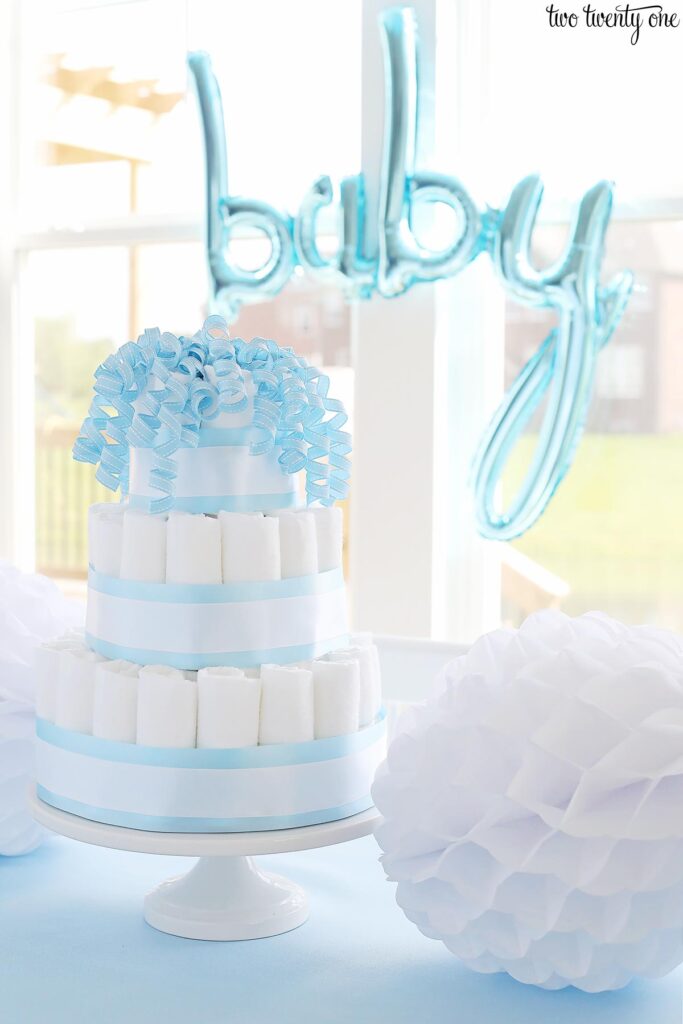
One thing I love about a diaper cake is that it’s useful baby shower decor. I used my diaper cake as the centerpiece of the main table. It’s the perfect tabletop decoration, and the mom-to-be can take it home, deconstruct it, and use the diapers. And if you’re having multiple tables at the baby shower you’re hosting, you can make smaller, two-tier diaper cakes to use as the centerpieces.
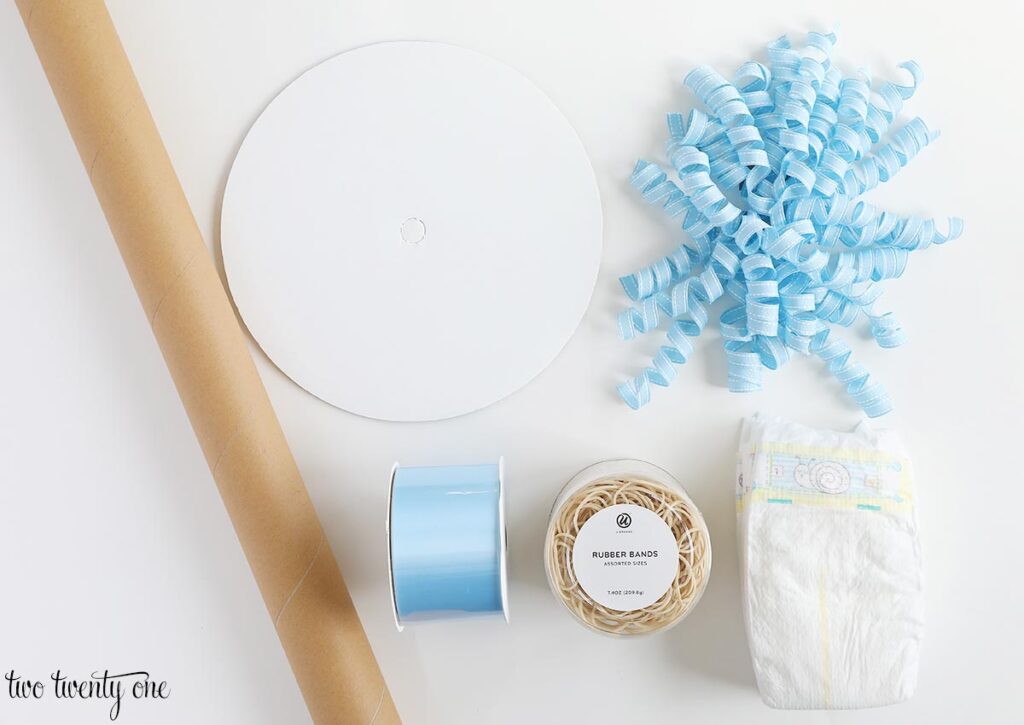
Diaper Cake Supplies
diapers … I used 61 size 1 diapers.
rubber bands … I love these rubber bands. The different sizes worked perfectly.
wrapping paper tube … I grabbed a nearly-empty tube from my wrapping paper stash.
10-inch round cardboard cake board
ribbon … I used 2.5-inch wide blue and 1.5-inch white satin ribbon
curly ribbon bow … A great pre-made topper
tape
hot glue gun & glue
Since the size and brand of the diapers you use will affect the height of your diaper cake, the height of the cardboard tube can vary. If you’re doing a three-tiered diaper cake, I suggest cutting the tube to 18-inches tall. And then you can trim it more once your cake is assembled. You can cut your tube with a serrated knife, hack saw, or a strong pair of scissors.
If you don’t want to buy a 10-inch round cake board, you can make one by cutting a 10-inch circle out of a cardboard box. It doesn’t need to look perfect because it will be mostly hidden when you’re finished with your diaper cake. And if you don’t have an empty wrapping paper tube handy, you can use an empty paper towels roll. However, a paper towel roll has a smaller diameter than a wrapping paper roll, so the dimensions of the cake will be slightly different than the tiered cake I made.
How to Make a Diaper Cake
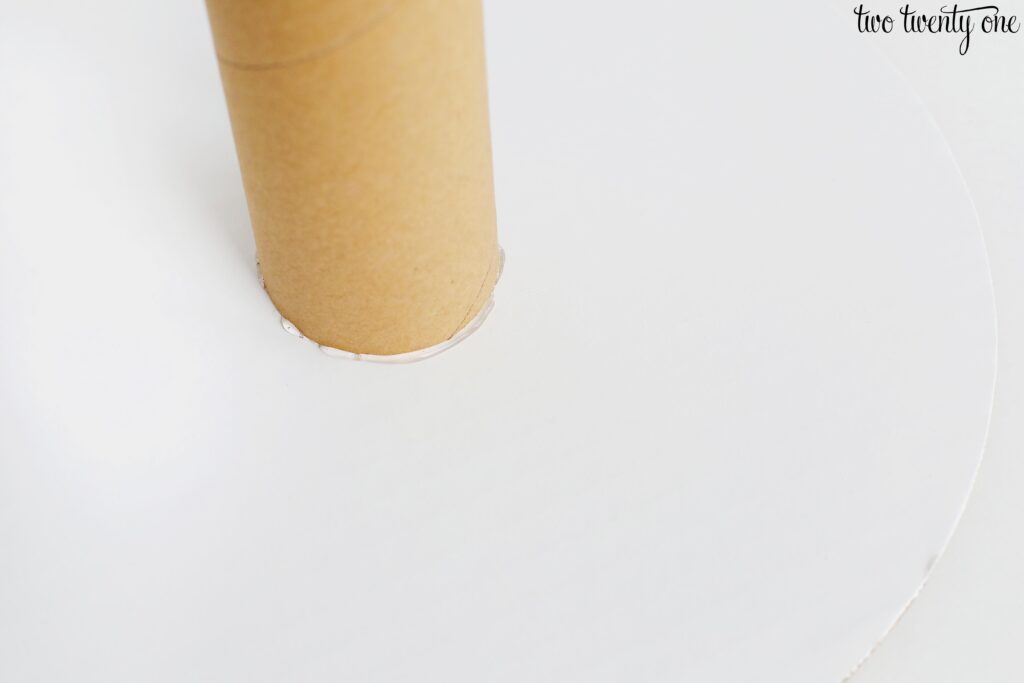
Attach the wrapping paper tube to the cake board with some hot glue.
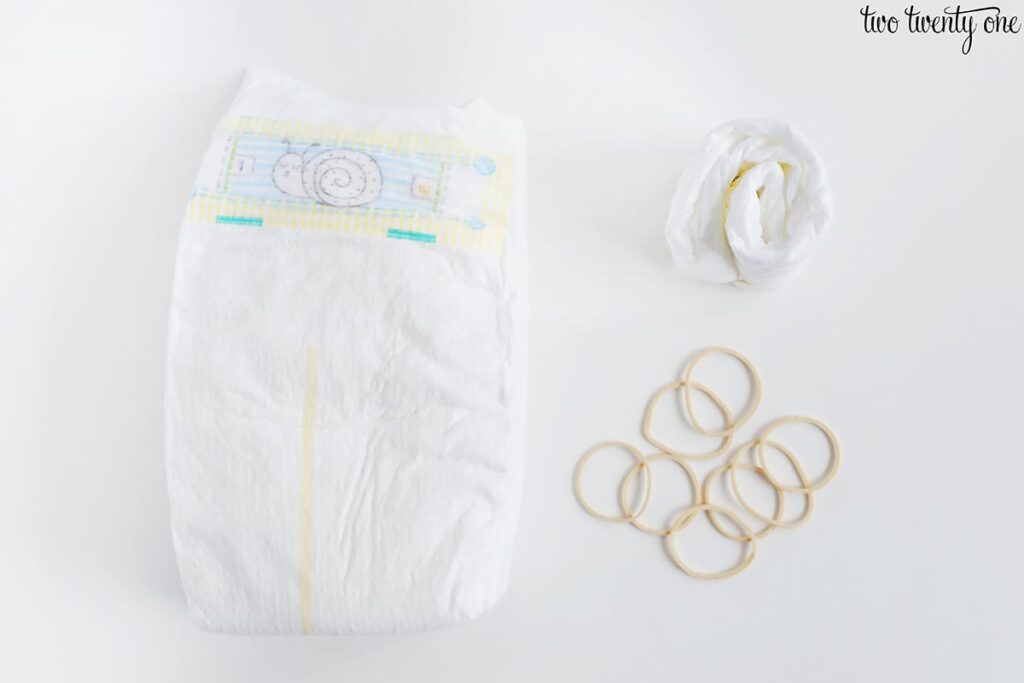
Roll the Diapers
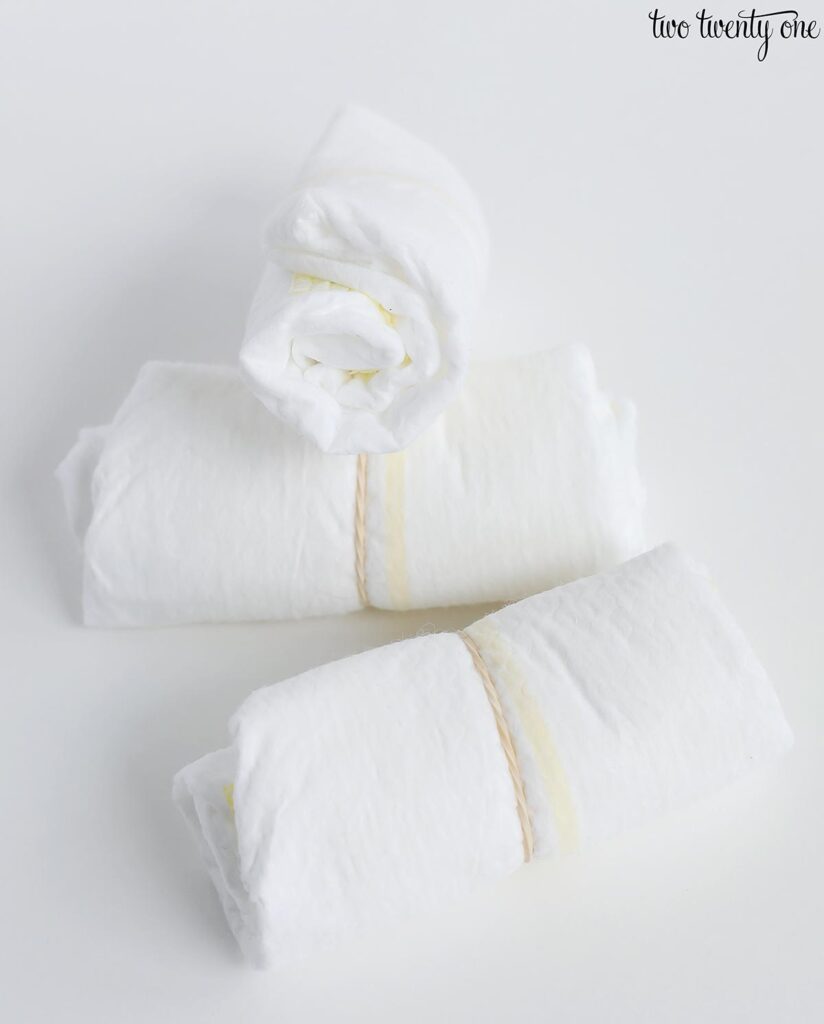
Starting with the top of the diaper, roll the diaper so the graphics are inside of the roll. Secure the diaper with a small rubber band. When standing the rolled up diaper on its end, you should only be able to see a little bit of color (yellow).
I suggest using size 1 or 2 diapers since most babies aren’t in the newborn size for longer than a month. I opted for size 1 diapers.
To best conceal the rubber bands under the ribbon, put the rubber band more toward the end with the diaper decoration.
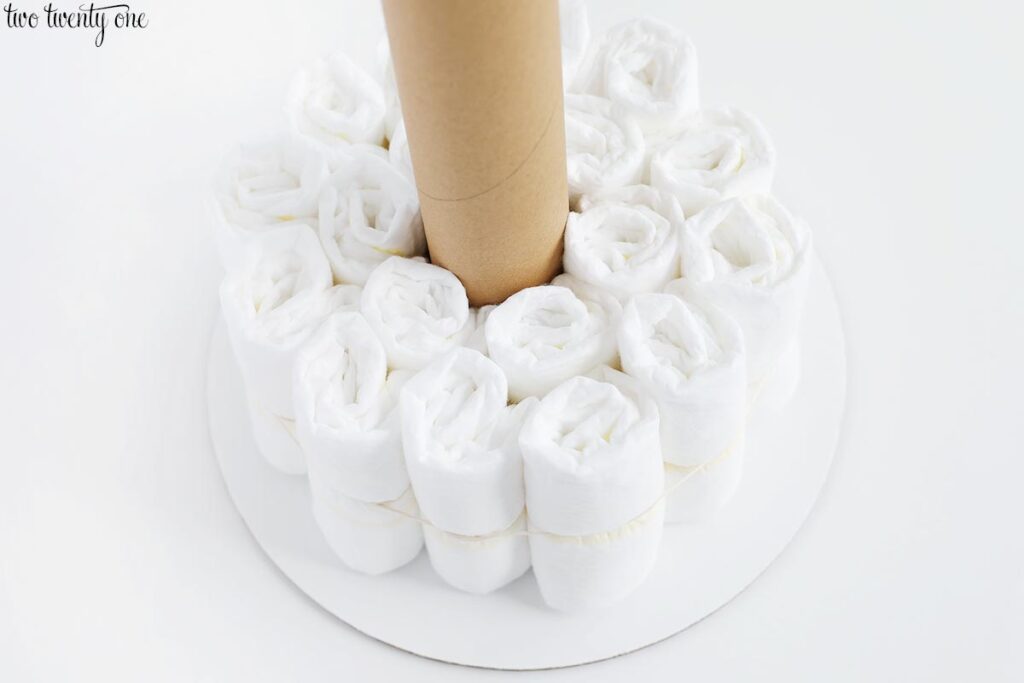
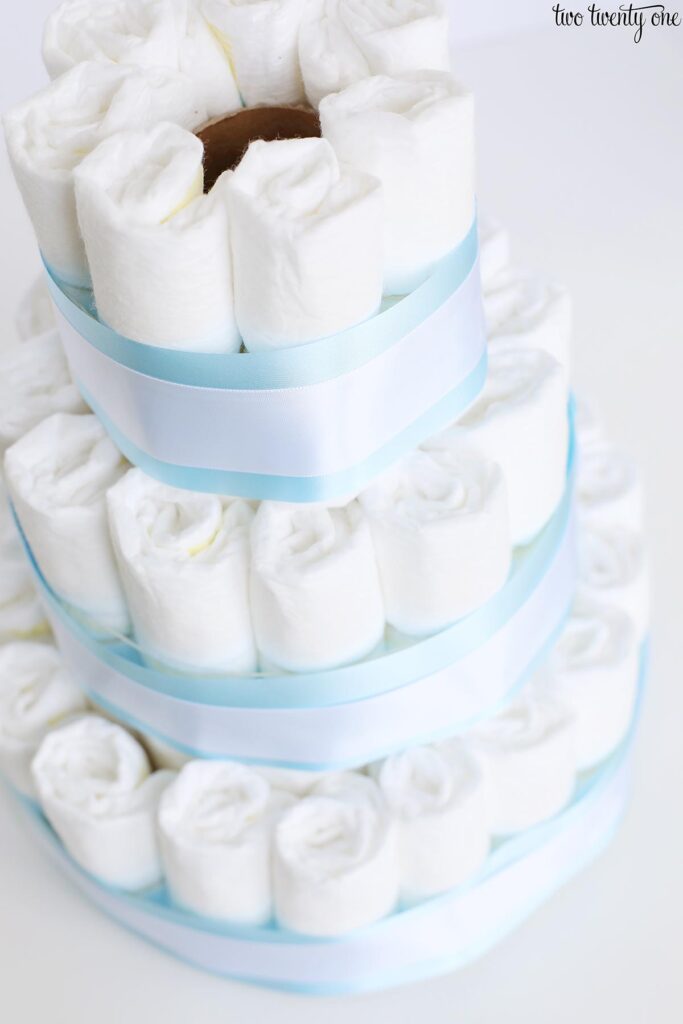
Assemble the Cake
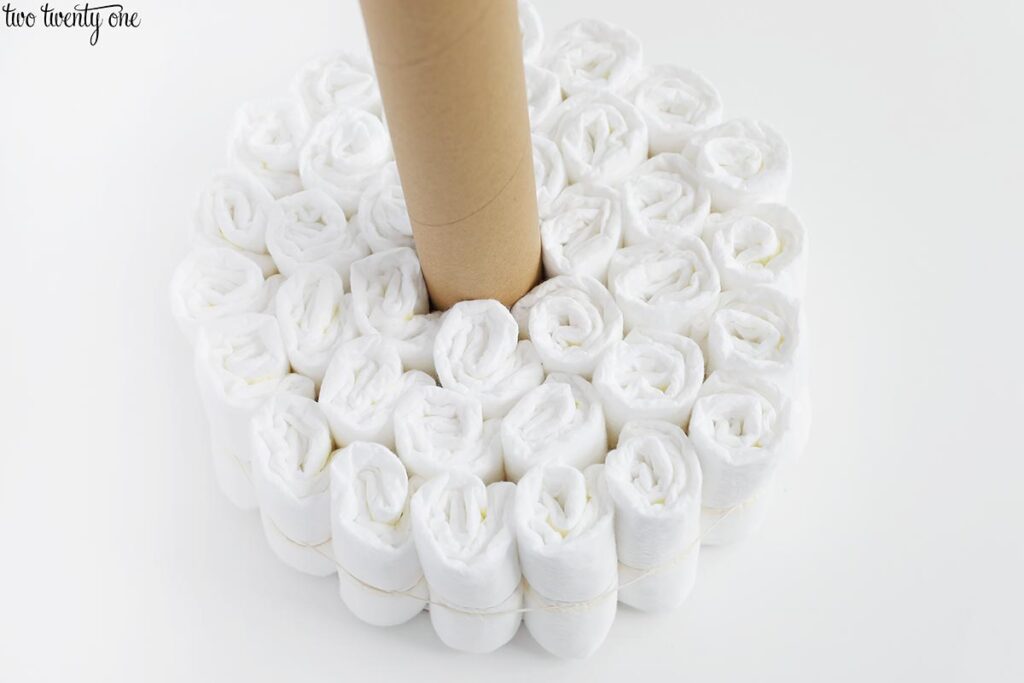
Begin the base layer by encircling the cardboard tube with 6 diapers. Wrap a rubber band around the diapers.
When placing the diapers, make sure you point the end of the rolled-up diaper toward the center so the roundest, most seamless part of the diaper is showing on the outside.

Next, add circle the first layer with 12 diapers and secure with a large rubber band.
To finish the bottom layer, secure 18 more diapers with another rubber band. The diapers will slightly overhang the cake board, but that’s fine.
For the second tier, add 6 diapers. Secure with a rubber band.
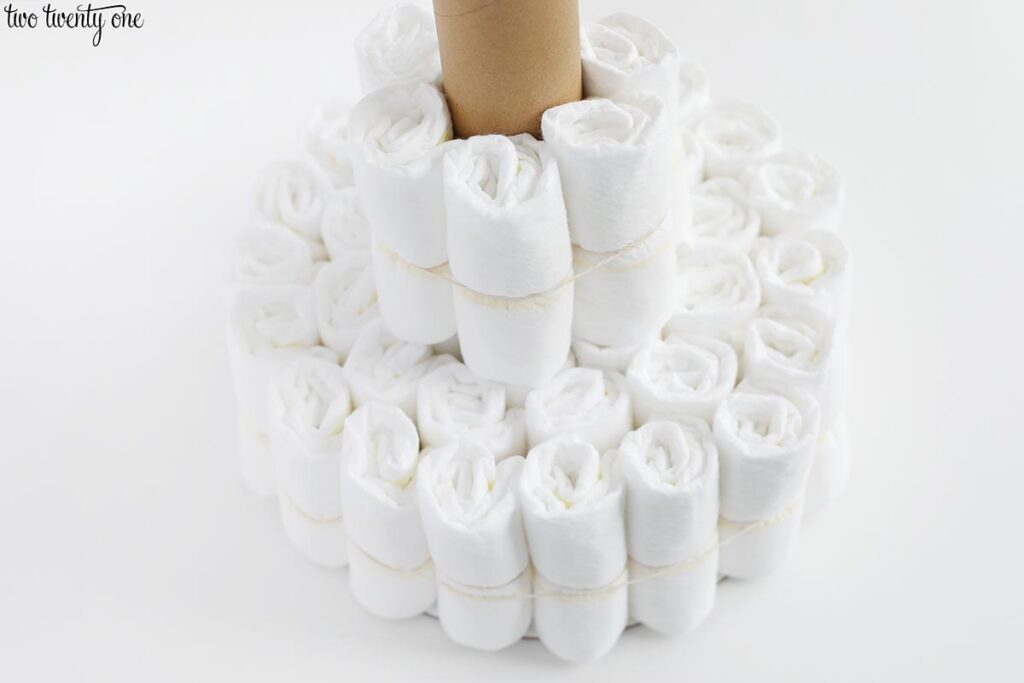
Next, add 12 diapers. Keep them in place with a rubber band.
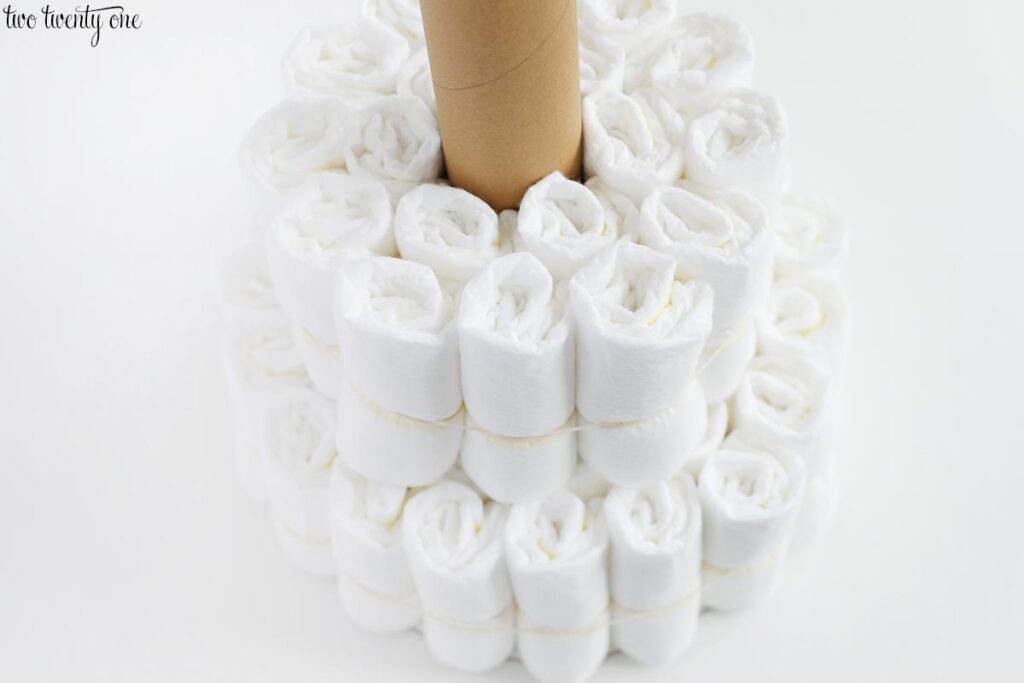
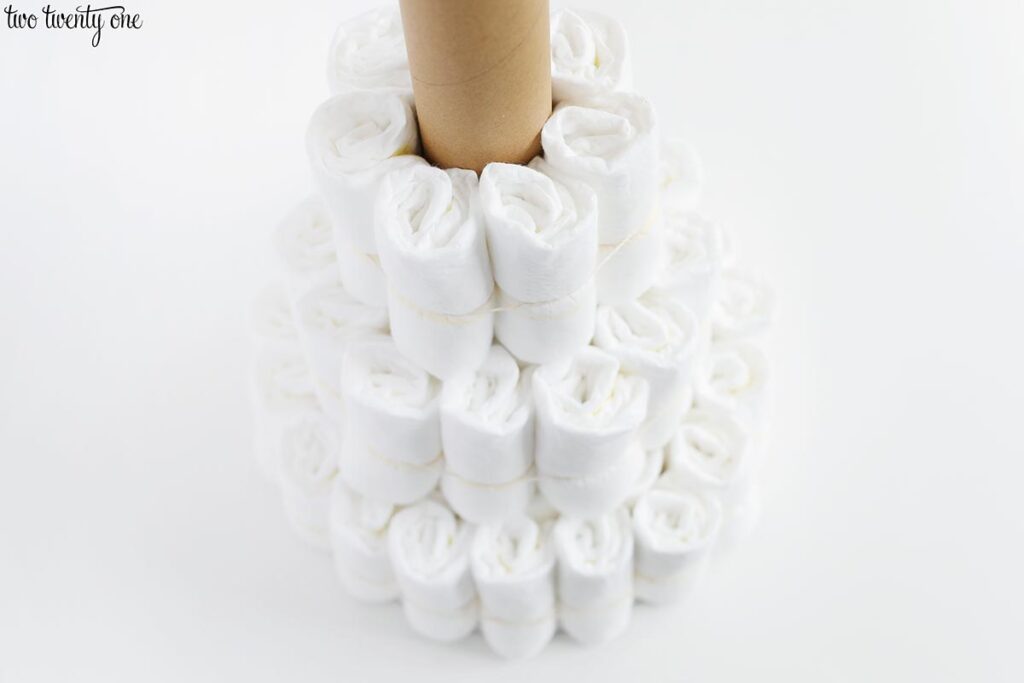
For the top tier, surround the cardboard tube with 7 diapers, and then secure the diapers with a rubber band.
I didn’t cut my cardboard tube until after I was done building the diaper cake. The height of the cardboard tube is dependent on the size and brand of diapers you use, but I cut my tube to 12″ by sliding the top tier of diapers up the tube, cutting the tube, and then putting the diapers back on.
Add Ribbon
To decorate the diaper cake, and hide the rubber bands, add ribbon to each tier. Tape one end of the ribbon to a diaper, tightly loop the ribbon around the tier, and tape the ribbon on top of the starting point. I did the same for the narrower, white ribbon. For a cleaner look, you can use this trick and double side tape the ribbon. Or cover the ending point of the ribbon with a bow or some other decorative adornment.
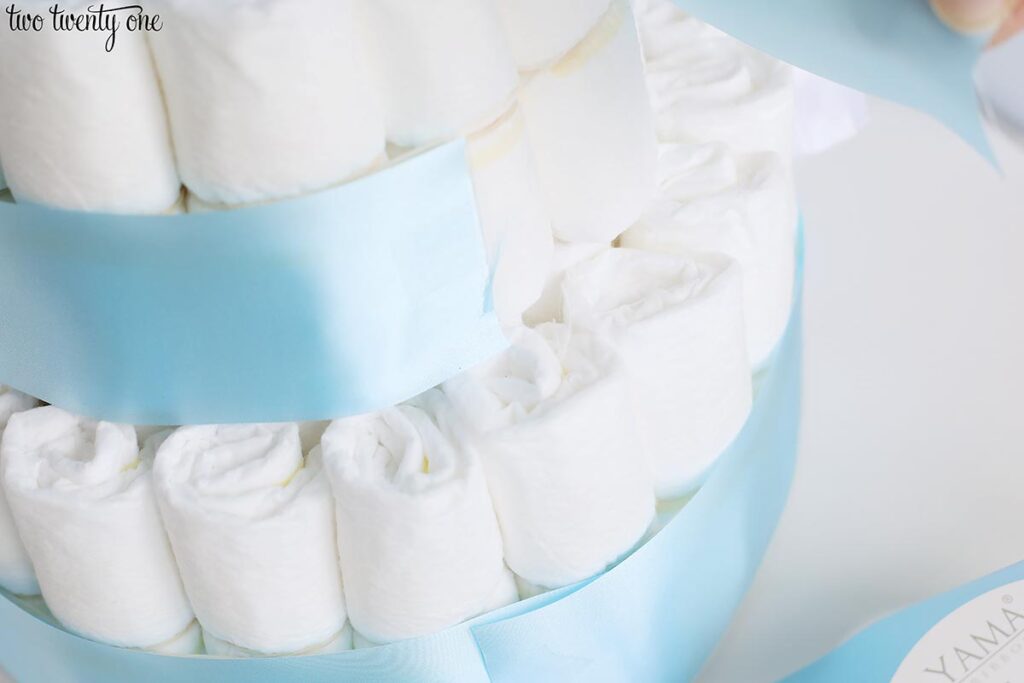
Also, you can see in the photo below that my tube is about 2 inches shorter than the diapers so it can be concealed with the bow.
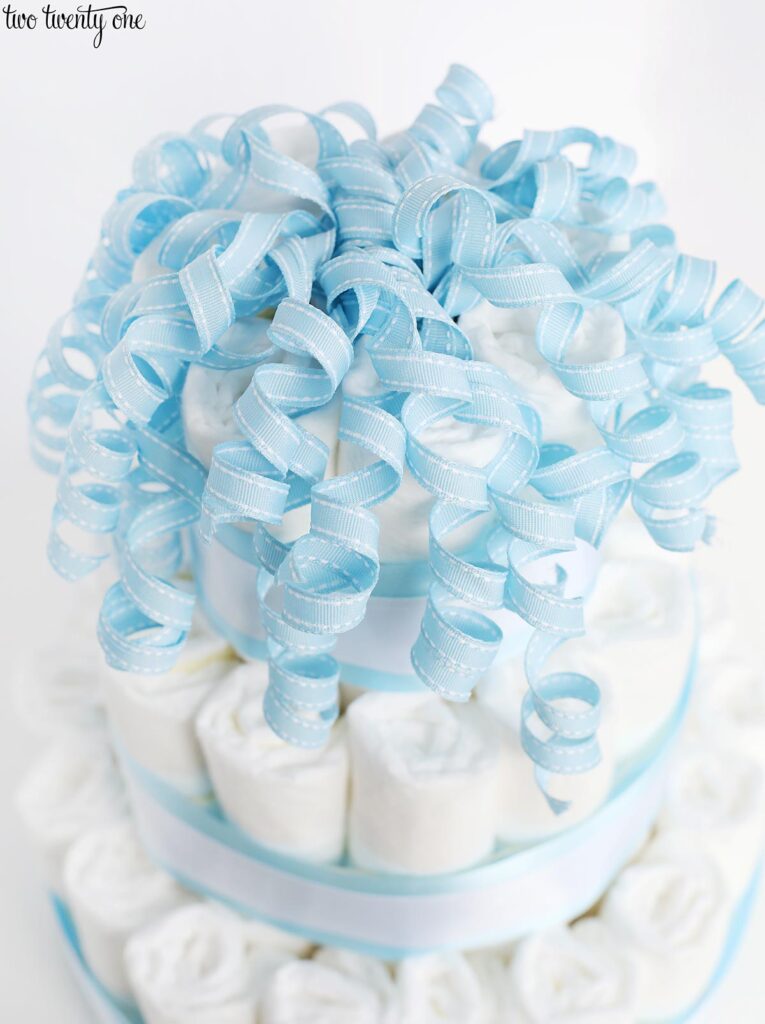
Top It Off
Curly ribbon bows make a great diaper cake topper. To add the bow, simply stick insert the tag part into the top of the cardboard tube. There’s no need to secure it as it should stay in place.
If the curly ribbon bow you find isn’t necessarily beefy enough, use two or three instead of one.
To give your diaper cake a little height, place it on top of a 12-inch or larger cake stand. And honestly, if you don’t have a white cake stand in your kitchen arsenal, you need to get one.
Cost
The cost of your diaper cake will be dependent on the size and brand of diapers you use. I used size 1 Pampers Swaddlers because I know my friend prefers that brand of diapers. My diaper cake cost around $35 because I had to purchase the diapers, rubber bands, ribbon, and the bow.