How to Make a Topiary {DIY}


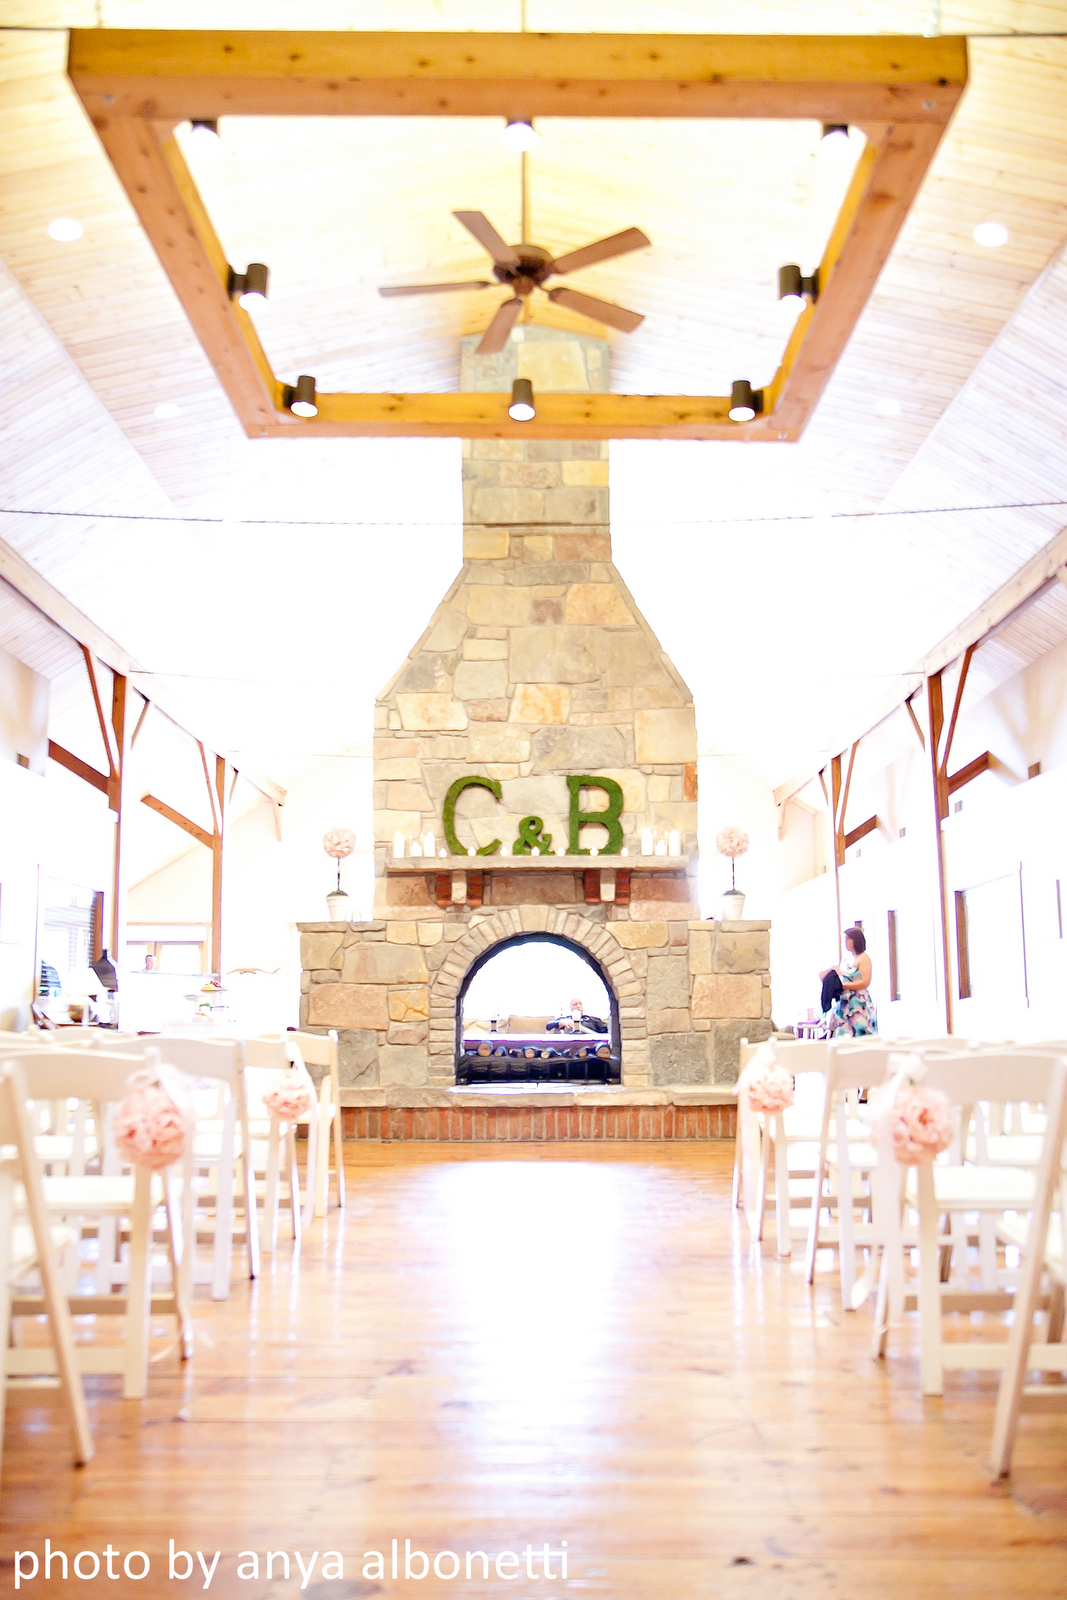
The topiaries flanked the fireplace we were married in front of. I also made the moss covered monograms and ampersand that set on the mantel.

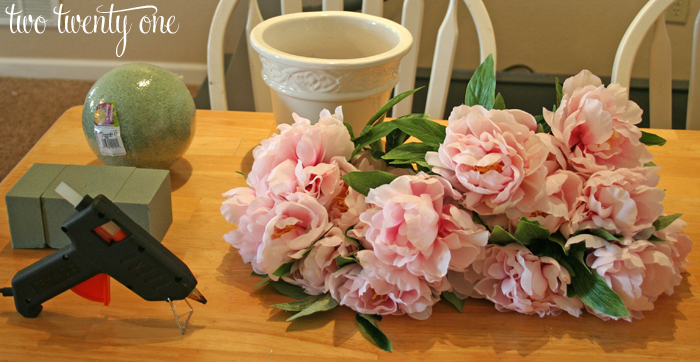
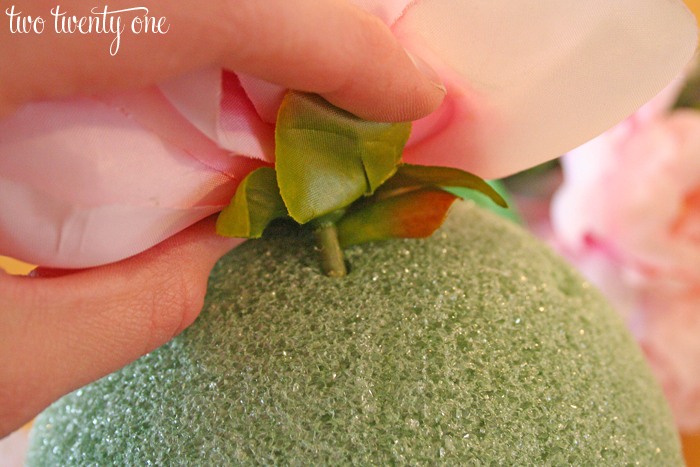
2. Begin placing some of the peonies in the foam ball to determine spacing.
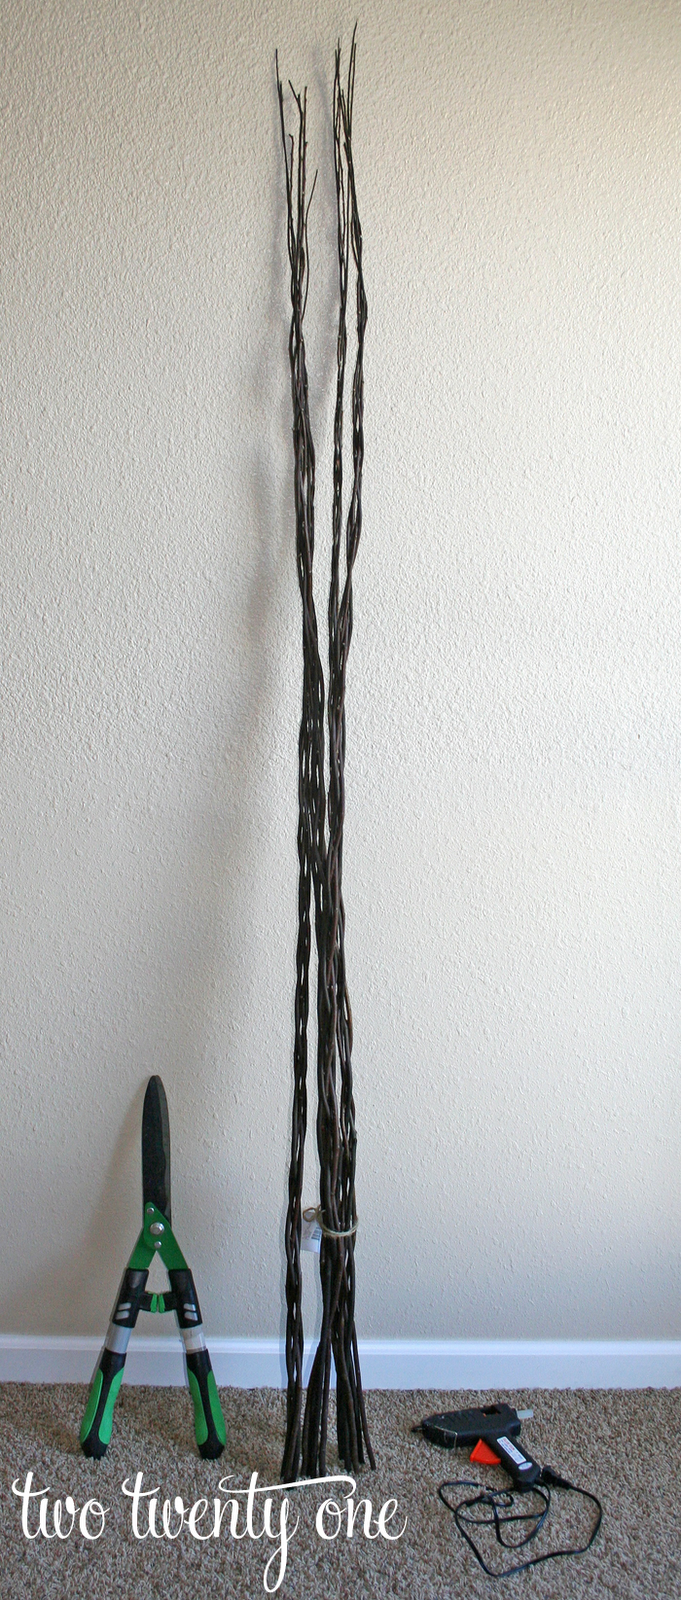
7. Determine the center of the pot and insert a bundle of twisted willow branches into the floral foam.
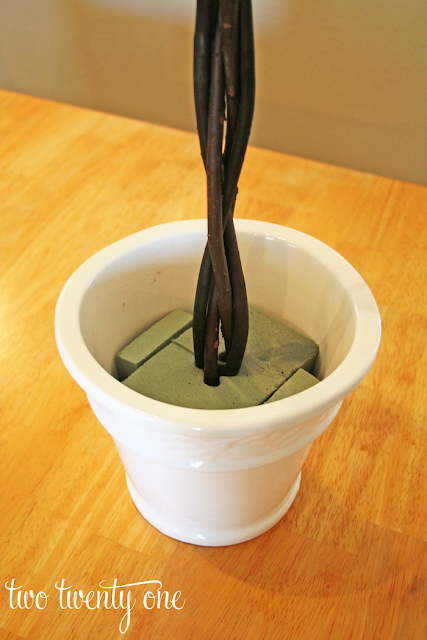
8. Use the remaining 4 floral foam pieces to secure the willow branches in the pot. You may need to use your knife to cut the foam to fit.
11. Take your peony ball and insert it on top of the willow branches, making at least a 1 inch hole in the foam.
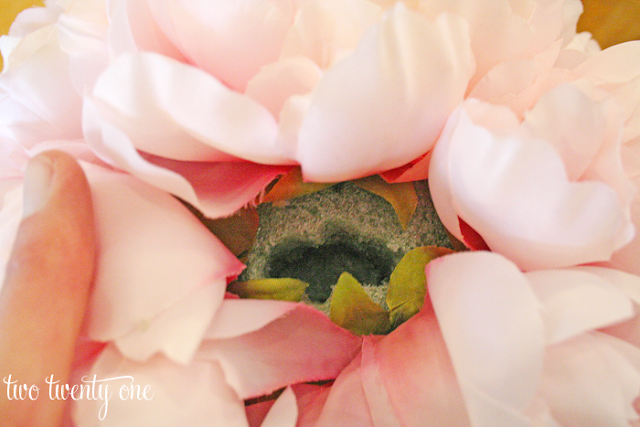
12. Put hot glue in the hole in foam in peony ball and immediately place on top of willow branches. Hold it in place for a few minutes, allowing the glue to dry.

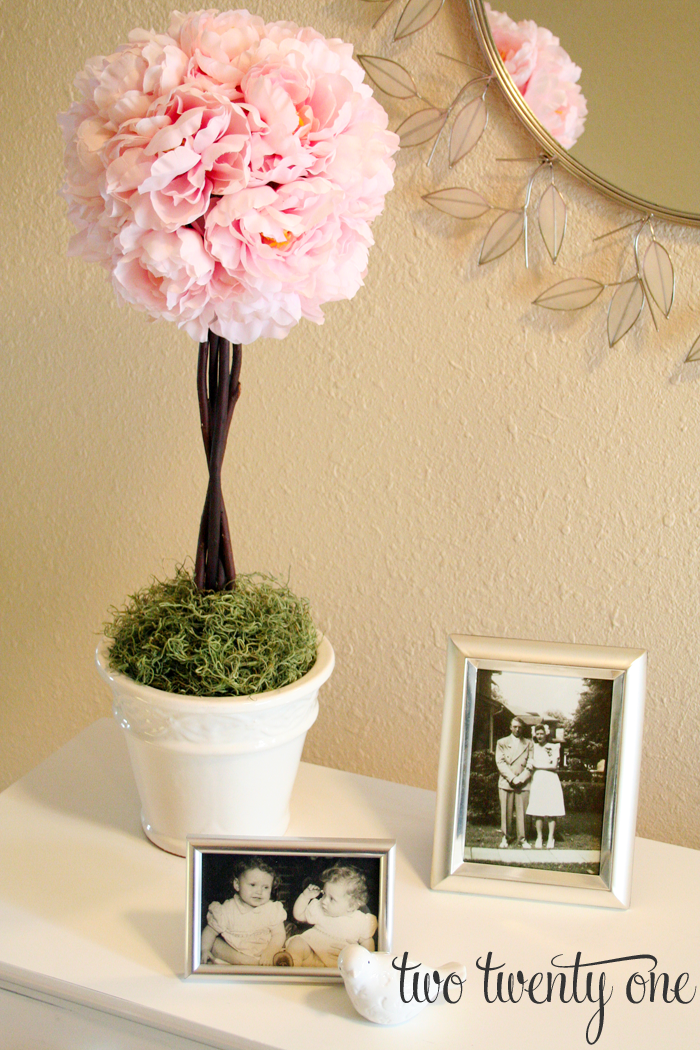
13. Lay the Spanish moss over the floral foam in the pot, covering it so that the floral foam is not visible. If you wish to secure the moss, glue it to the floral foam using the glue gun.
My topiaries came out to be 27 inches tall. Kind of a random height, but I went with what looked best proportion-wise to the peony pomander and the white pot.
Note: I’m typically not a silk flower fan, but this option was much more cost effective for our wedding than getting the real deal. (The topiaries cost me about $32 each, so $64 total. MUCH cheaper than the $65-$155 per topiary quote I got from my florist.) Also, I think they look better than your usual silk flower arrangements because I used expensive-ish silk flowers.
 Have you ever made a topiary?
What’s your favorite flower?
Did you DIY anything for your wedding?


Can’t wait to make these!
Okay, that settles it. You must make a trip up to Michigan and help me decorate my house. Everything you make is beautiful!!
Well, I’ll just jot that little nugget down for Christmas. Should translate well with holly, poinsettias or even ornaments.
You know, my WHOLE wedding was DIY. Had we lived in a nicer house at the time, we wouldn’t have even had a venue cost.
LOVE this!! I want to make one!!
Those silk flowers definitely look good! There’s a line in the silk flower department between tacky and acceptable. Yours pass inspection, for sure. And there’s your pretty moss-covered ampersand! Love it!
They look so much nicer that typical fake flowers! By the way, thanks for posting this tutorial again! I’ve been eyeing some topiaries at HomeGoods but they’re much more than I want to spend and I thought I could make them for cheaper which I can now, thanks to your tutorial 🙂
Those look so good! I’m definitely going to have to give that a try!
It is very, very pretty!
i honestly didn’t even know they weren’t real peonies when I looked through all your wedding photos! There is a WORLD of difference between cheap silk flowers and expensive silk flowers. I love them, I think i need to try my hand at making one!
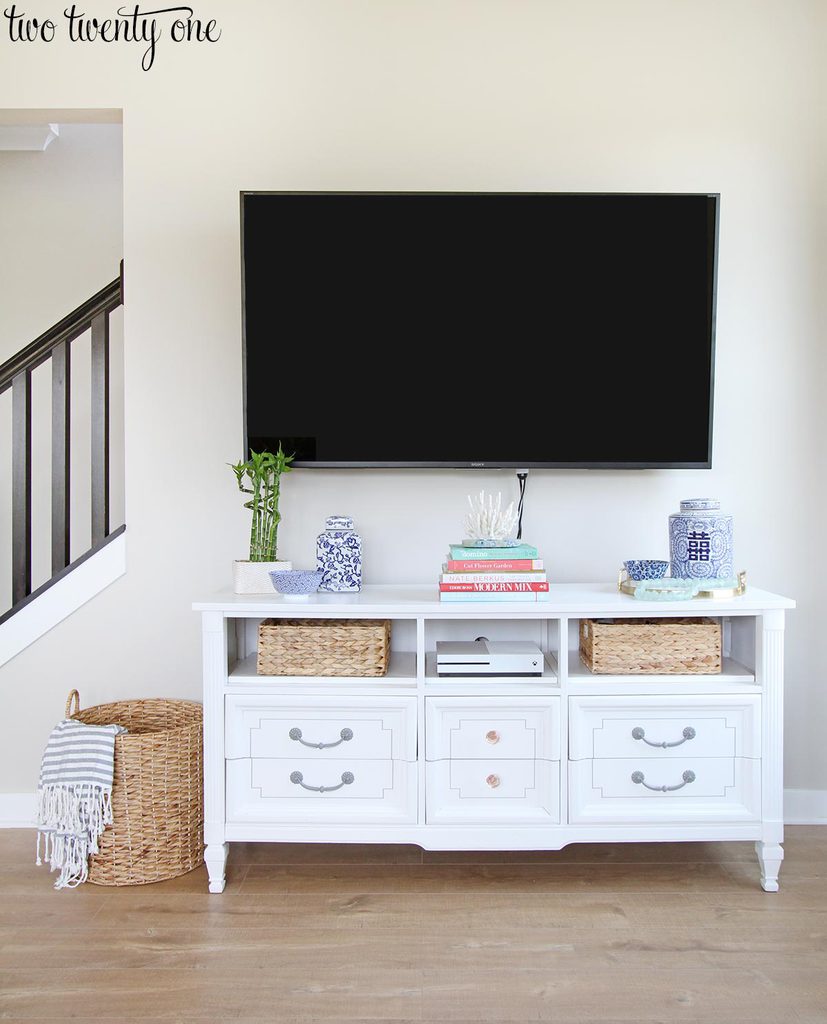
These peonies and the tv stand really match together!
I want to do the same peonies!!
I just have to find some beautiful silk flowers in belgium… not so easy…
I all the timе emailed this webszite post page to all my associates, as if like tօ
read it next my links will too.
Hi! Can you please tell me how many peonies you needed for the 6″ ball? I looked at Joann’s and nothing seemed ‘full’ enough…I would have had to buy quite a few.
Thank you so much!
It’s an amazing post for all the web viewers; they will
take benefit from it Iam sure.
I love this! Thanks for sharing.
These are gorgeous! Thanks for sharing at Work it Wednesday.
I was thinking of having something similar at my wedding. Thanks for the instructions. Its a lot cheaper to make than to buy.
How gorgeous! Thanks for sharing your project with us at Merry Monday.
What a pretty topiary, I just made one for a post as well, should go live tuesday
Thanks
Maria
These are super pretty. I’ve been curious how this was done.
Thank you for sharing this with us on the #HomeMattersParty. We hope to see you next Friday at 12 AM when we open our doors again.
That is beautiful!! I would love to make some of these for my home! #HomeMattersParty
Hi just stopping by and letting you know that this awesome post was picked as one of the featured posts on the #HomeMattersParty this week. You can find it at http://adventuresfrugalmom.com/home-matters-linky-party-89/. While you are there make sure to grab the I was featured button for sidebar. Congrats and hope you will link up again.
Those are beautiful! Congrats on being featured! #HomeMattersParty