Skip to content
About
advertise
Resources
Email
Facebook
Instagram
Pinterest
Twitter
Home
Decorating
Gardening
Organizing
Entertaining
Search
Browse by room
kitchen
bathroom
bedroom
dining room
living room
outdoor
Facebook
Twitter
Instagram
Search
Toggle Menu
Home
/
Home Decor
Home Decor
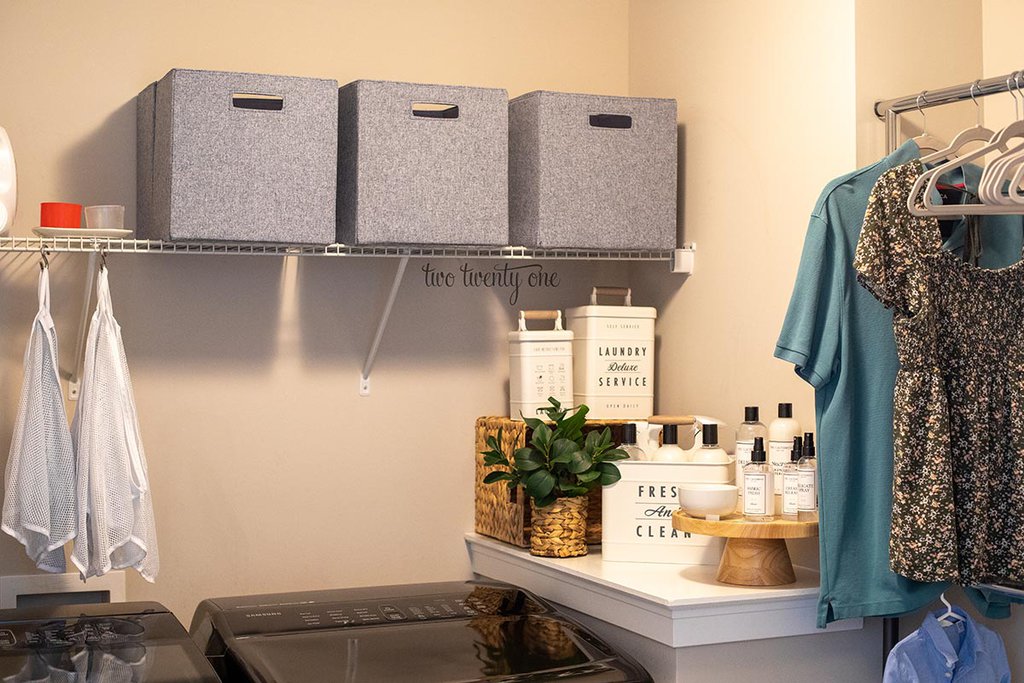
Laundry Room Storage Ideas
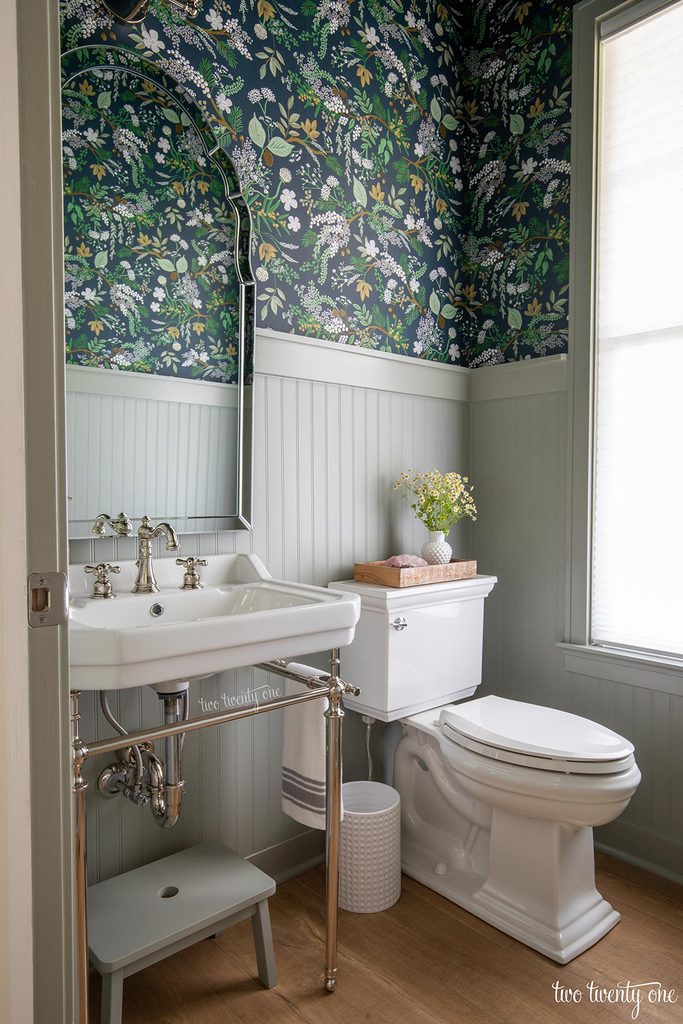
Powder Room Makeover
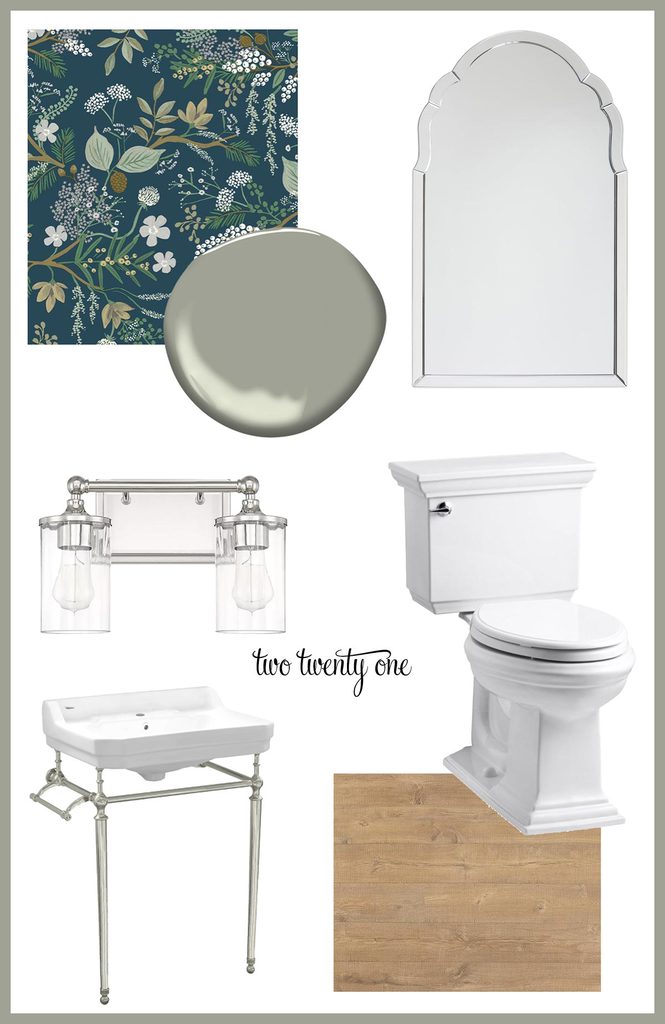
Powder Room Design Plan- Spring 2021 One Room Challenge – Week Two
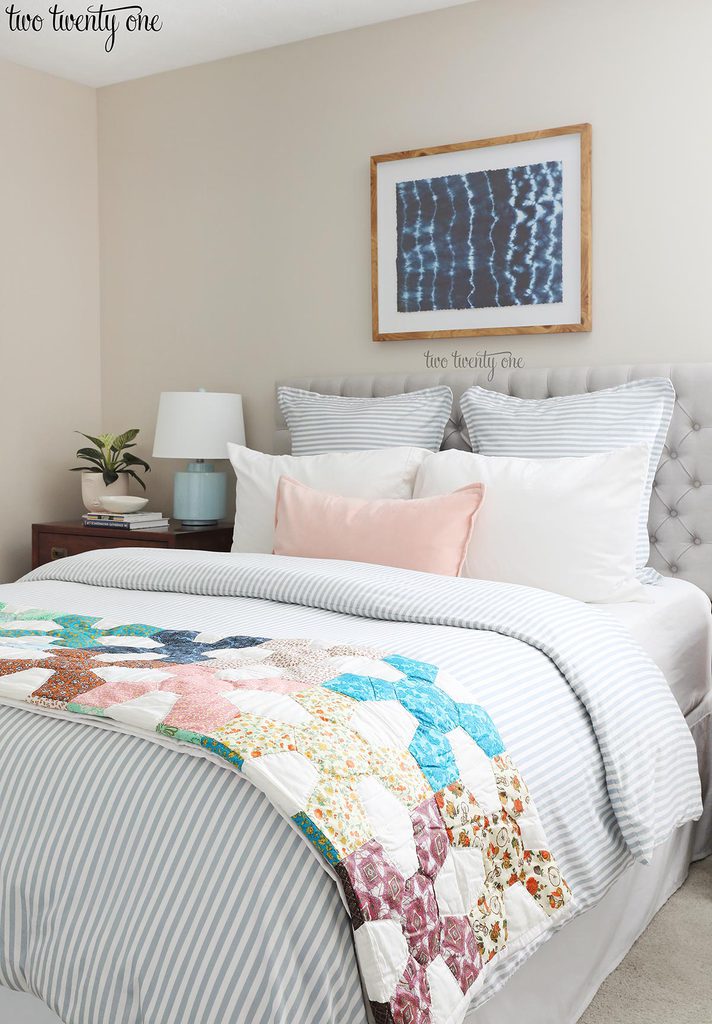
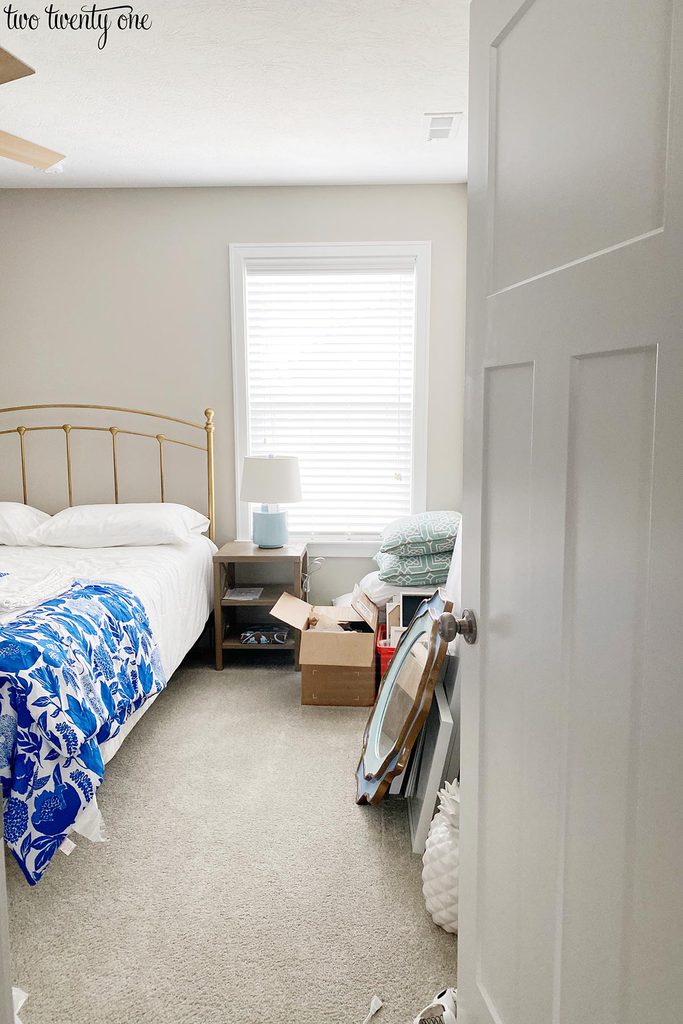
Guest Bedroom Spring Refresh
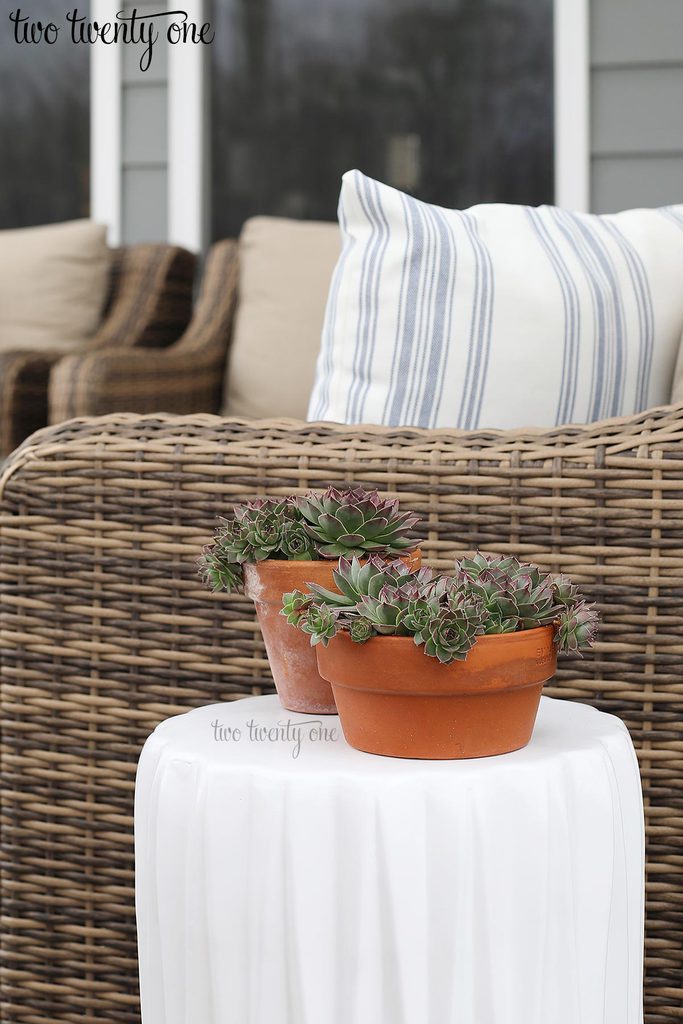
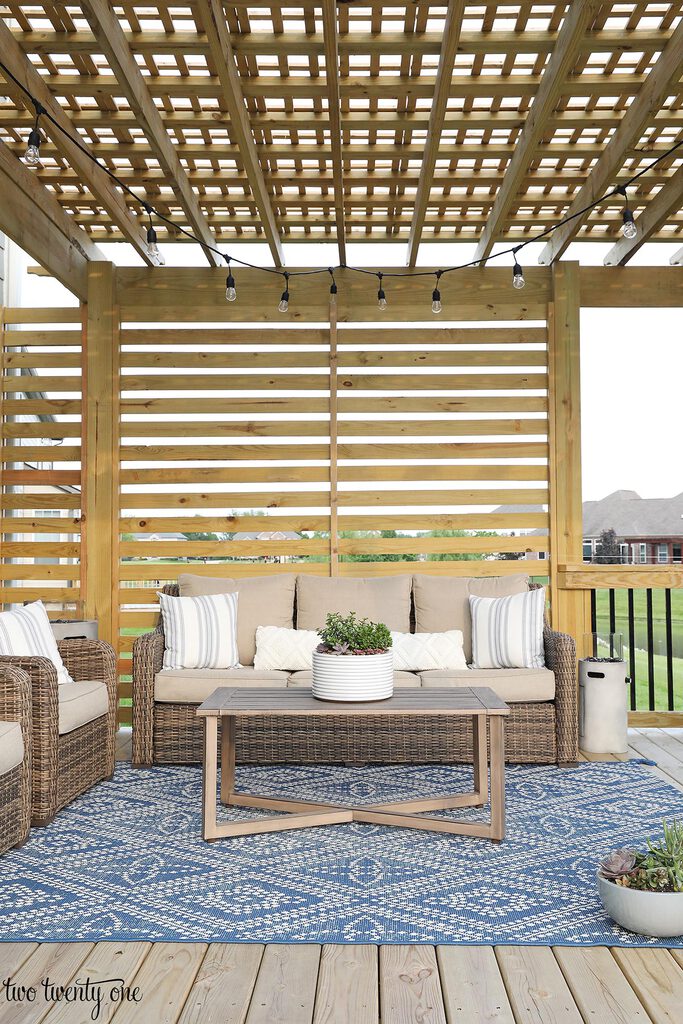
Creating the Perfect Outdoor Sitting Area
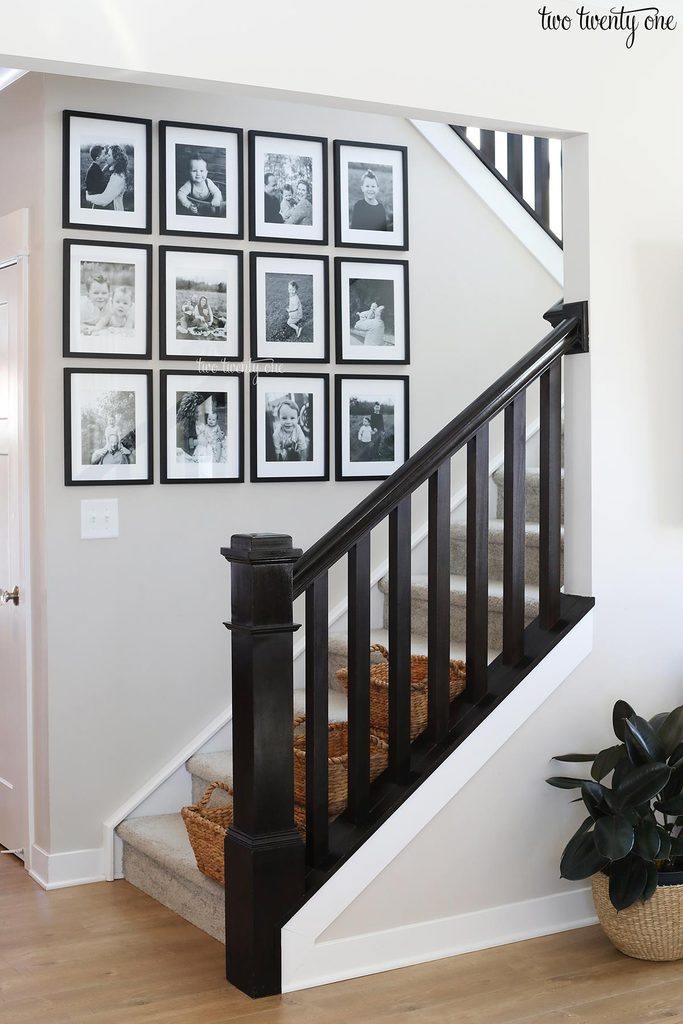
Stairway Gallery Wall
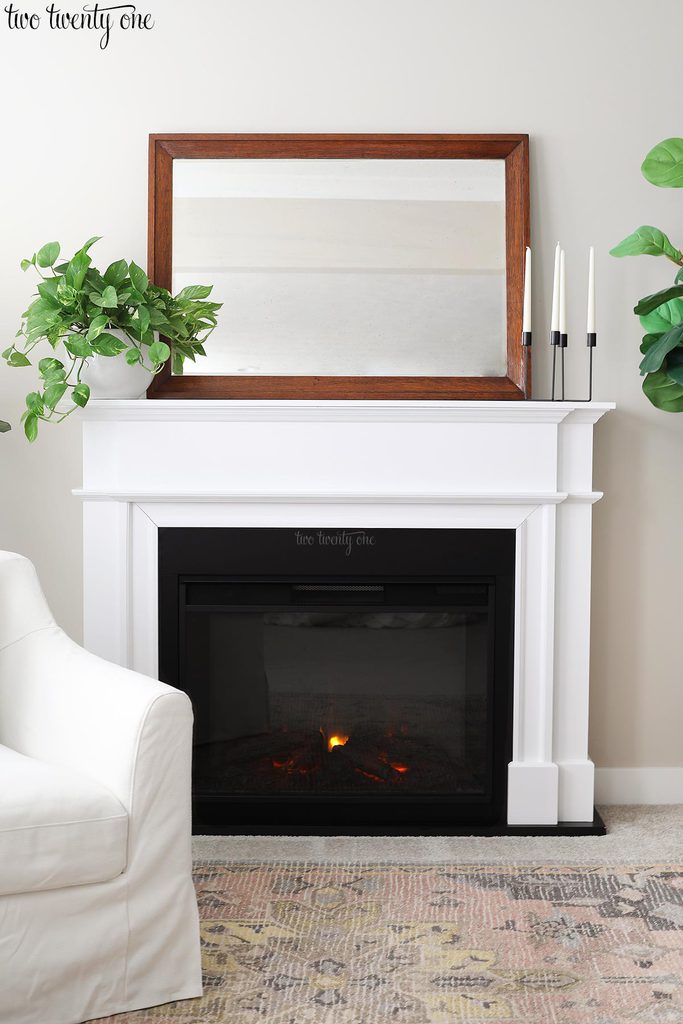
Our Bedroom Fireplace
Fall Decorating Ideas
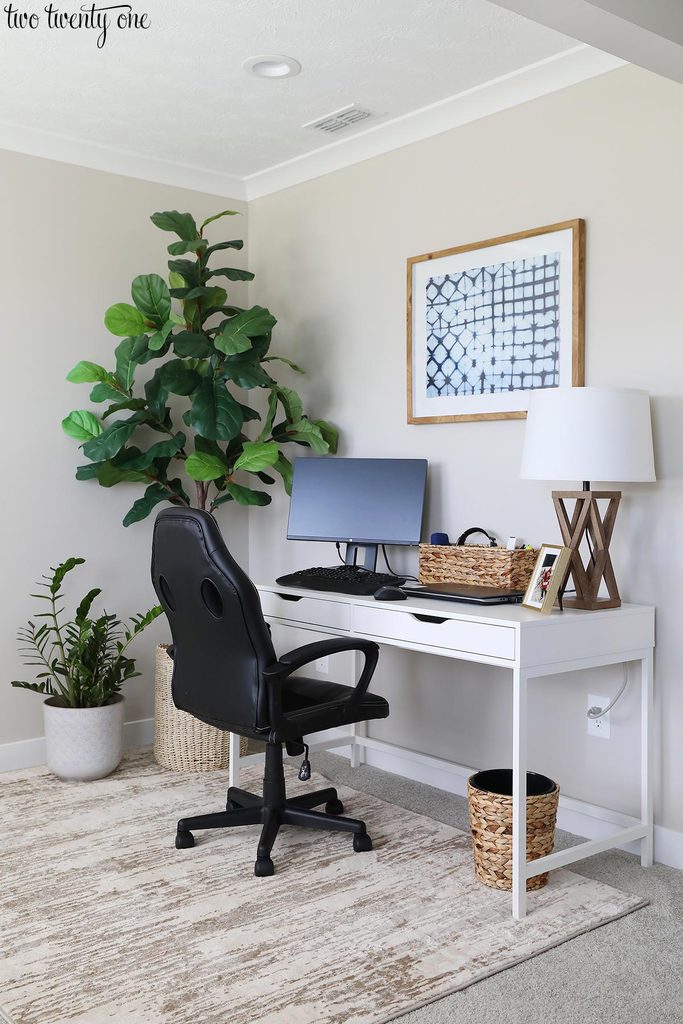
Home Office Area
Summer Home Tour
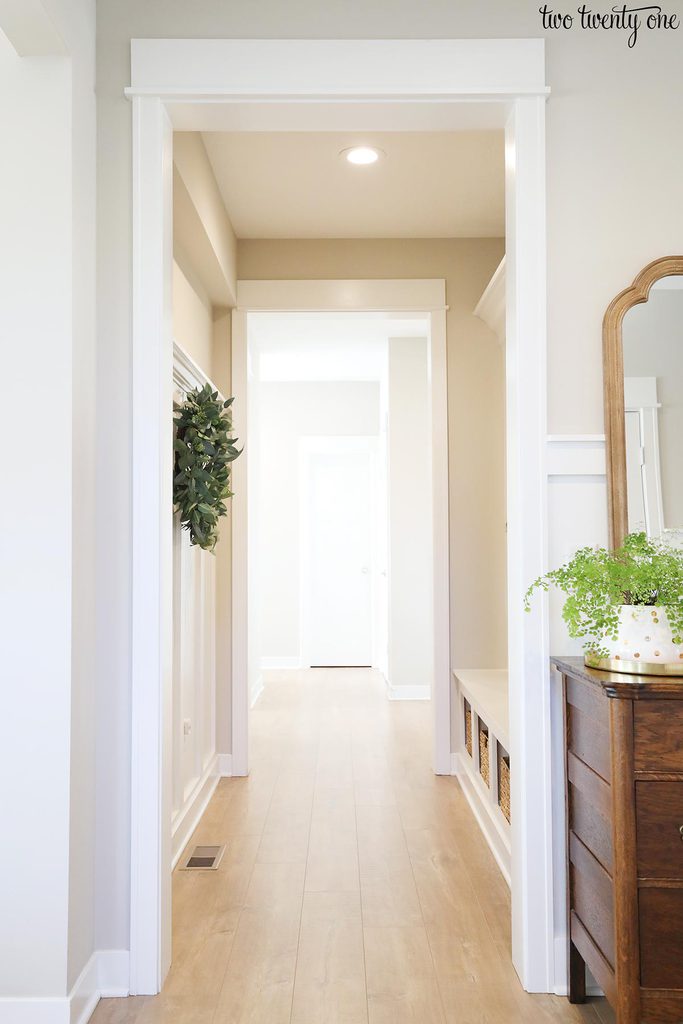
Sherwin Williams Worldly Gray: A Great Neutral Greige
Guest Bedroom Refresh
Laminate Wood Flooring FAQ
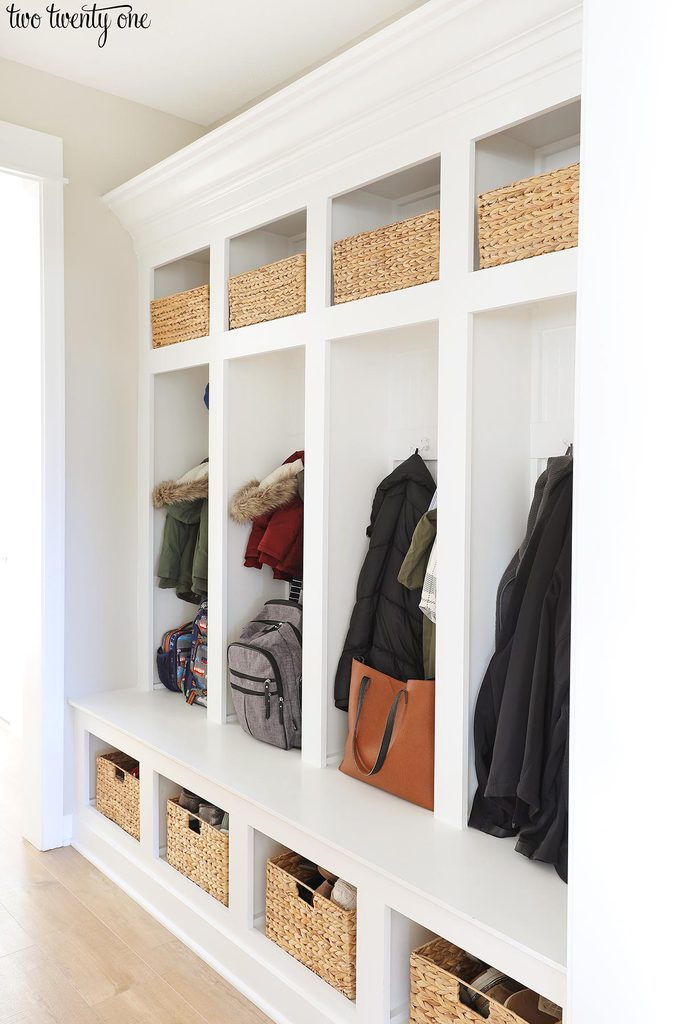
Mudroom Lockers Organization
Mudroom Tour
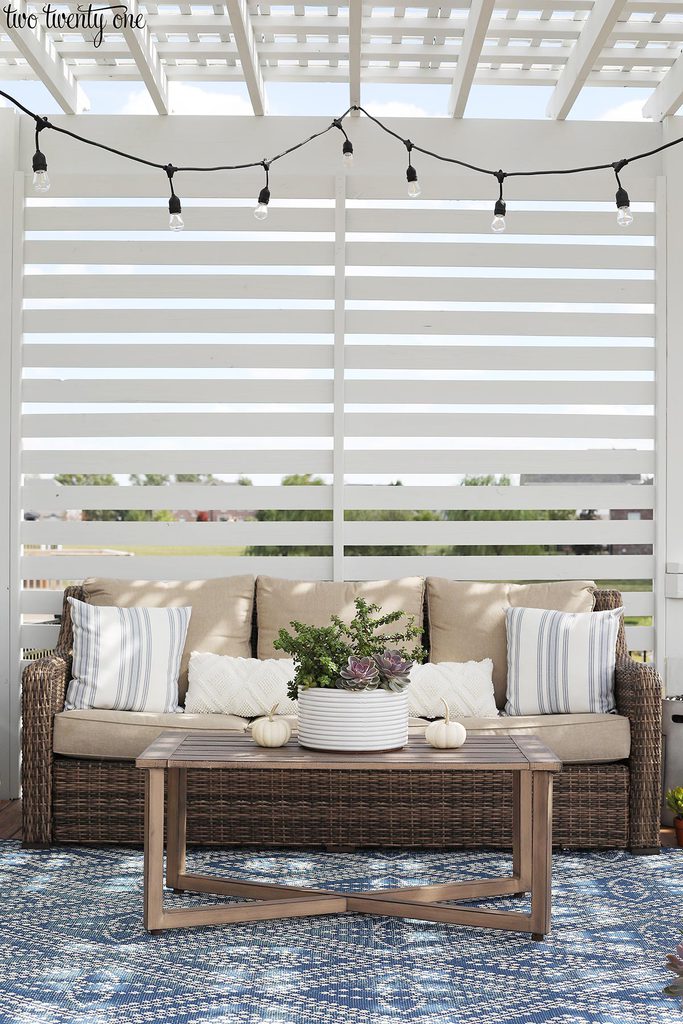
Summer Deck Styling
Summer Styled Loft
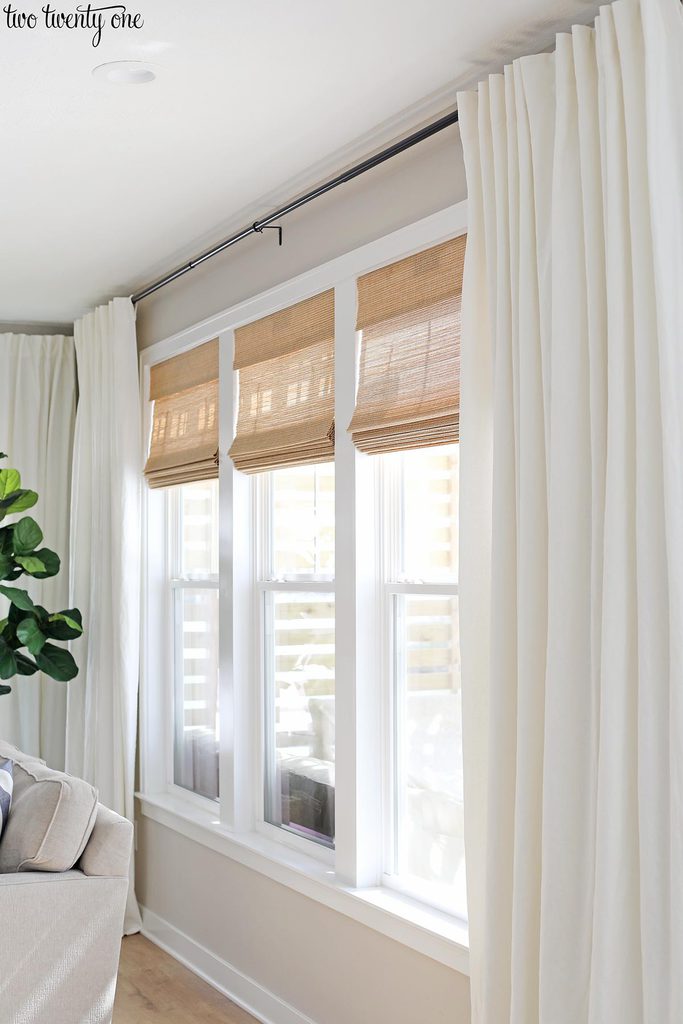
Budget-Friendly Living Room Window Treatments
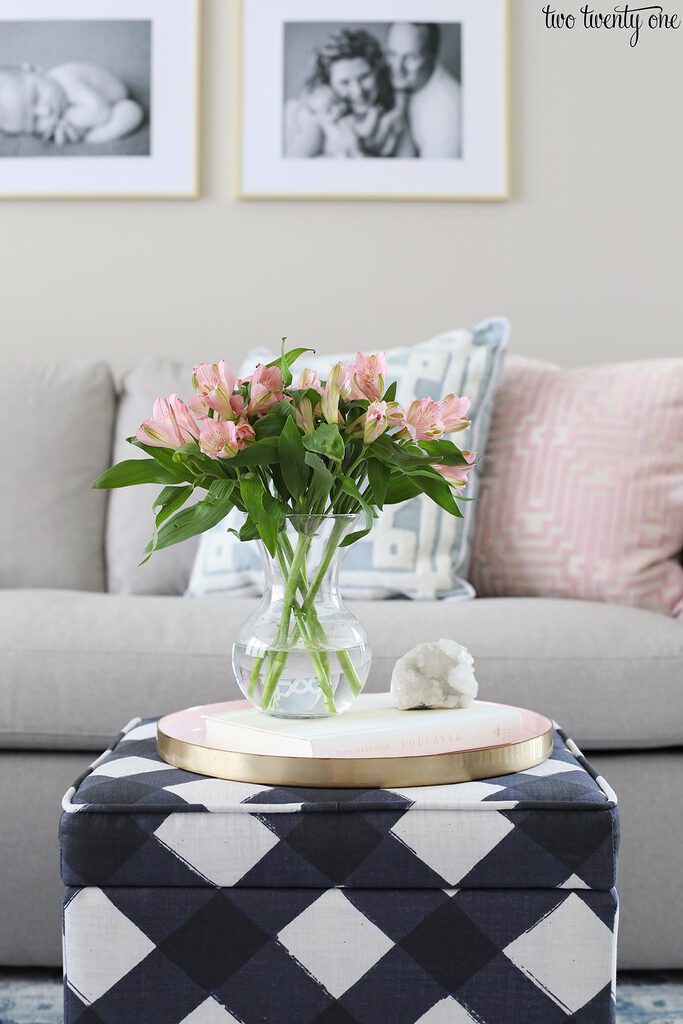
New Living Room Sofas – Radley Sofas from Macy’s
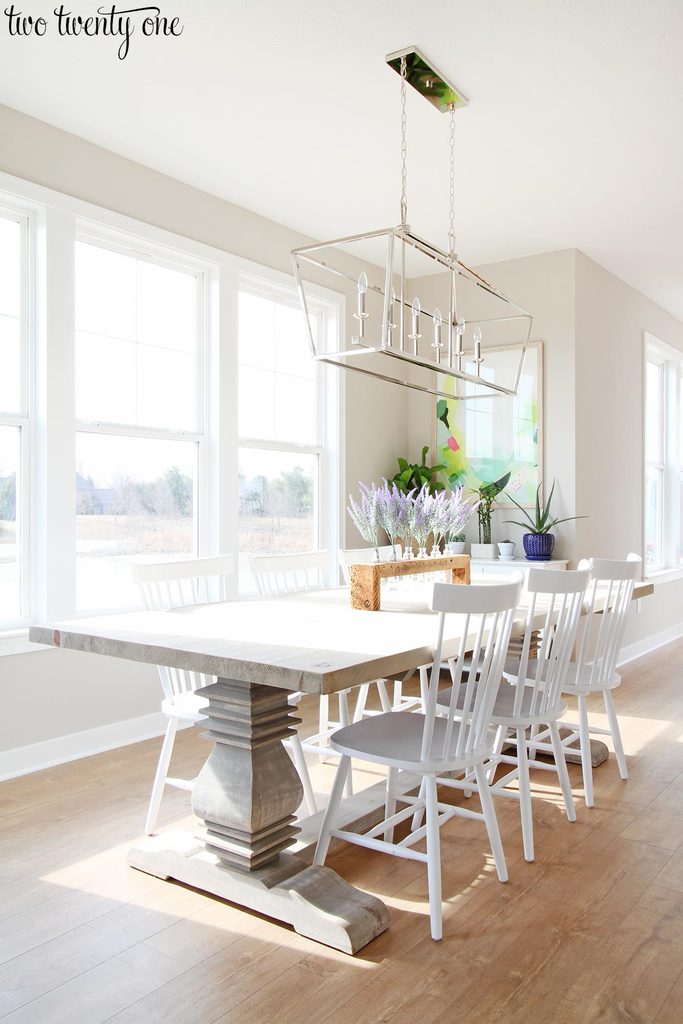
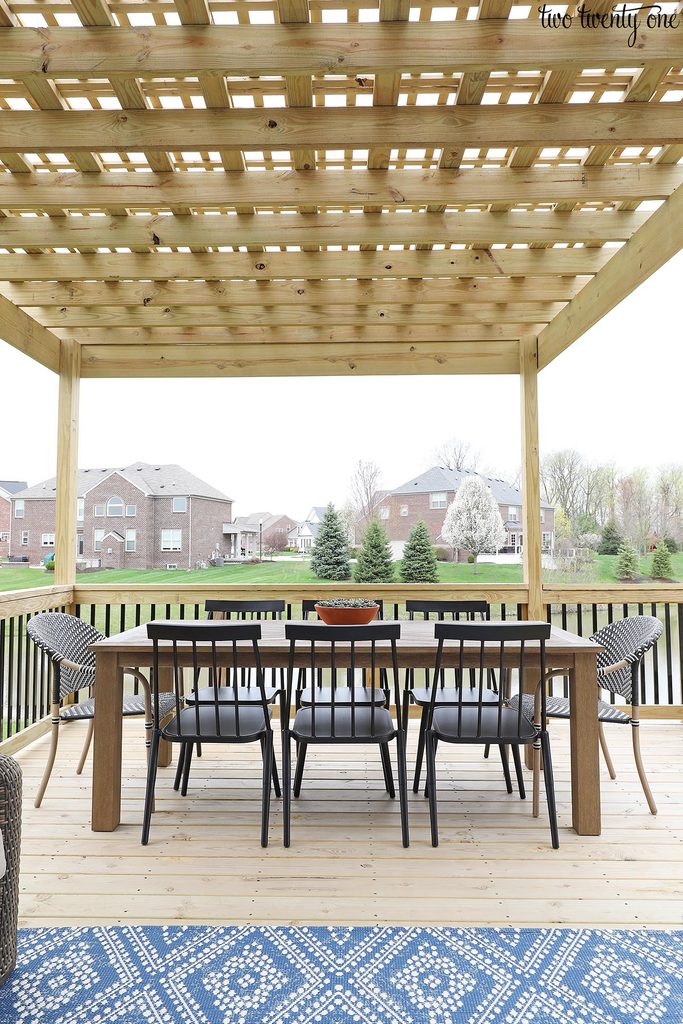
Deck Dining Table and Chairs
Page navigation
1
2
3
…
5
Next Page
Next
Scroll to top
Scroll to top
Home
Decorating
Gardening
Organizing
Entertaining
Toggle Menu Close
Search for:
Search